


Link a domain to a VPS using HestiaCP
Linking a domain to a VPS using HestiaCP involves several steps:
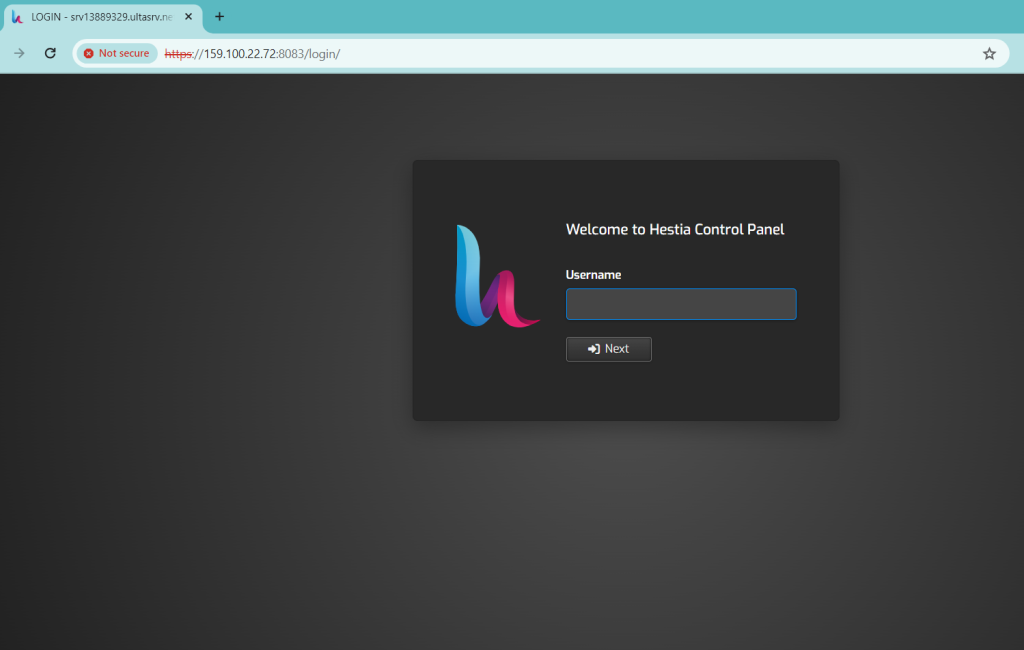
Log in to HestiaCP: Access your HestiaCP control panel using your web browser. You can simply hit your VPS IP address and default Hestia port which is 8083 like https://159.100.22.72:8083/
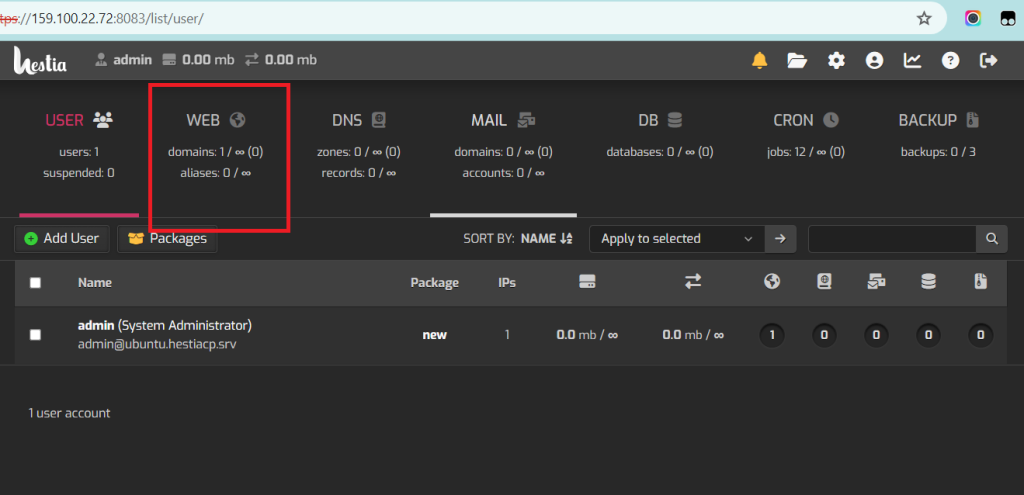
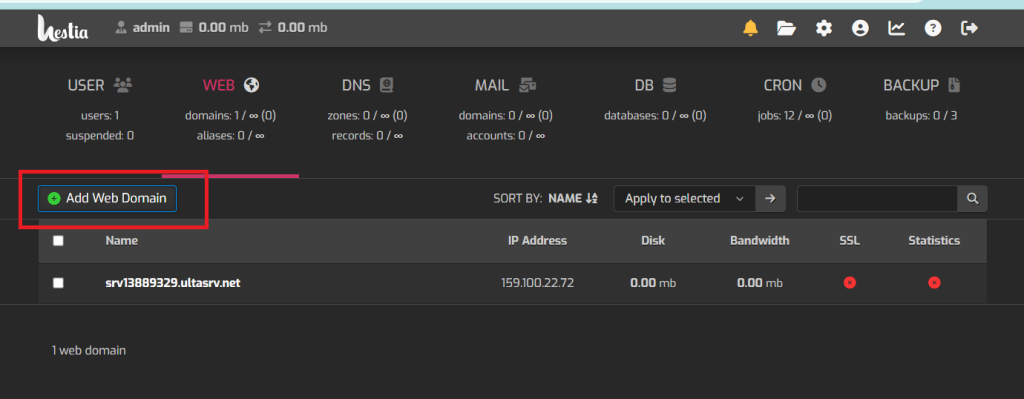
Add Domain: Navigate to the “Web” section and select “Add Web Domain” option
Enter Domain Details: Enter you domain name and select the options like DNS Support and Mail Support
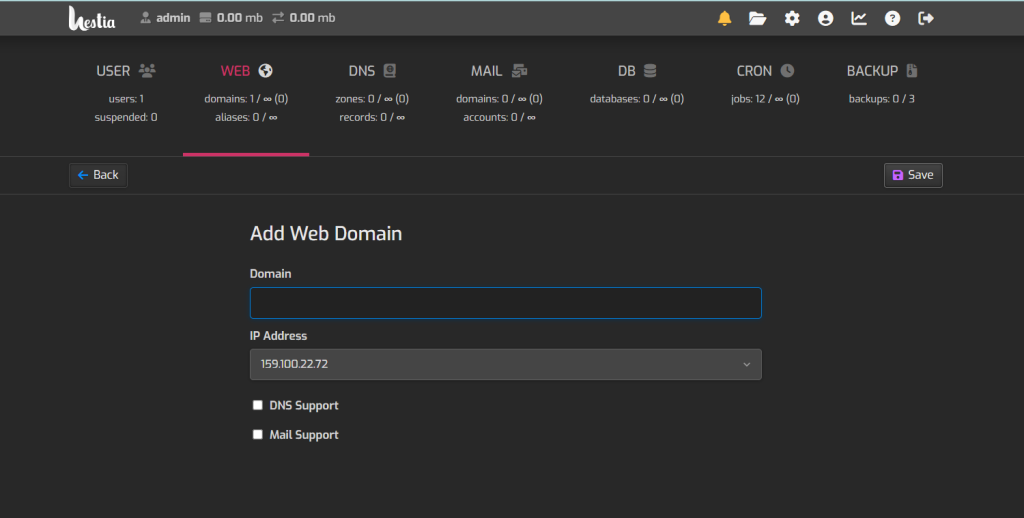
Save Changes: Click on the “Save” button to save the changes.
Update DNS: Go to your domain registrar or DNS provider’s website and update the DNS settings to point to your VPS’s IP address. You need to create an “A” record pointing to the IP address of your VPS.
Wait for DNS Propagation: DNS changes may take some time to propagate across the internet. It usually takes a few hours but can sometimes take up to 48 hours.
Test Access: Once DNS propagation is complete, you can test access to your domain by entering the domain name in your web browser.
That’s how you can link a domain to a VPS using Hestia control panel.
