


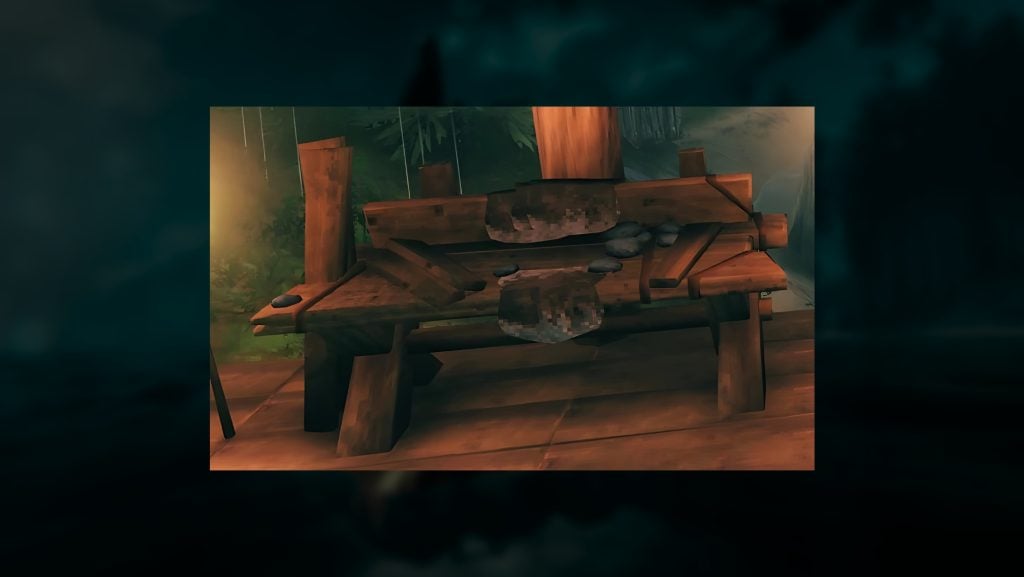
When you first start playing Valheim, one of the first things you’ll want to build is a workbench. This humble structure is the cornerstone of your base and opens up a world of crafting possibilities. But did you know your workbench can be upgraded to unlock even more recipes and better item upgrades?
Let’s dive into how you can make the most out of your workbench in Valheim.
Enjoy zombie survival games? Try Humanitz, where tons of players are braving the apocalypse! Fight off the undead, scavenge for resources, and also craft your way to survival with our in-depth guide.
Why Upgrade Your Workbench?
Upgrading your workbench isn’t just about aesthetics; it’s a practical necessity. Each upgrade level adds new crafting recipes and allows you to upgrade your tools, weapons, and shields in Valheim. This means more durable items and better performance in combat. Plus, each upgrade increases the build radius around your bench, giving you more space to construct and expand your base.
What You Need for Each Upgrade
To upgrade your workbench, you need to build specific structures within a two-meter radius. These structures are:
- Chopping Block: Requires 10 Wood and 10 Flint.
- Tanning Rack: Requires 10 Wood, 15 Flint, 20 Leather Scraps, and 5 Deer Hide.
- Adze: Requires 10 Fine Wood and 3 Bronze.
- Tool Shelf: Requires 10 Fine Wood, 4 Iron, and 4 Obsidian.
Each of these structures needs to be placed in a way that they don’t block each other’s connection paths. You’ll see these paths as dotted lines of light when you’re in the building menu. If the paths overlap, the upgrade won’t work.
Valheim Workbench Level
Basic: Workbench Level 1
- Build Radius: 20 meters
- Crafting Recipes: Basic tools, weapons, and armor.
- Requirements: Just build the workbench.
- Benefits: You can start crafting essential items and building structures within the 20-meter radius.
Update Your Valheim Gaming Today
Ultahost offers high-performance servers for Valheim, ensuring smooth gameplay and low latency. Moreover, you can experience the brutal world of Valheim with unrivaled server stability and support. Choose Ultahost for your Valheim server hosting and dominate the exiled lands!
Chopping Block: Workbench Level 2
- Build Radius: 24 meters
- Crafting Recipes: Additional wood-related items and more advanced tools.
- Requirements: Build a Chopping Block (10 Wood, 10 Flint) within 2 meters of the workbench.
- Benefits: More crafting options and a larger build radius.

Tanning Rack: Workbench Level 3
- Build Radius: 28 meters
- Crafting Recipes: Leather-based items and more advanced armor.
- Requirements: Build a Tanning Rack (10 Wood, 15 Flint, 20 Leather Scraps, 5 Deer Hide) within 2 meters of the workbench.
- Benefits: Access to leather items and a further increase in build radius.

Adze: Workbench Level 4
- Build Radius: 32 meters
- Crafting Recipes: Advanced wood and stone structures.
- Requirements: Build an Adze (10 Fine Wood, 3 Bronze) within 2 meters of the workbench.
- Benefits: More advanced crafting options and a larger build radius.

Tool Shelf: Workbench Level 5
- Build Radius: 36 meters
- Crafting Recipes: The most advanced tools, weapons, and armor.
- Requirements: Build a Tool Shelf (10 Fine Wood, 4 Iron, 4 Obsidian) within 2 meters of the workbench.
- Benefits: Access to the best recipes and the maximum build radius.

Upgrading Tools, Weapons, and Armor
With each level of your bench, you can upgrade your tools, armor, and weapons in Valheim. Each upgrade gives your items more durability, and for weapons and armor, it also improves damage or defense ratings. This is crucial for surviving in the harsh world of Valheim, where every bit of extra durability and damage can mean the difference between life and death.
Preventing Monster Spawns
One of the lesser-known benefits of the workbench is its ability to prevent monster spawns. Since the workbench defines your base, you can use it to create safe zones where monsters won’t spawn. This is particularly useful when you’re setting up your base or creating safe areas for crafting and storage.
To check the radius of your workbench, right-click the hammer and select the workbench. A white circle will appear on the ground, showing the 20-meter radius. This can help you ensure that your base is fully covered and safe from unwanted visitors.
Tips for Building and Upgrading
- Plan Your Layout: Make sure you have enough space around your workbench to place all the upgrade structures without overlapping connection paths.
- Gather Resources Early: Start gathering the materials you need for upgrades as soon as you can. This will save you time and effort later on.
- Expand Gradually: You don’t need to upgrade your workbench all at once. Do it gradually as you gather more resources and unlock new recipes.
- Use the Radius to Your Advantage: Place your workbench in a strategic location to maximize the build radius and prevent monster spawns.
Conclusion
The workbench is more than just a crafting station; it’s a vital part of your survival in Valheim. By upgrading it, you’ll gain access to new recipes, better item upgrades, and more build space. Plus, it helps keep your base safe from monsters. So, get building and start crafting your way to greatness in Valheim!
If you enjoy this article about workbench in Valheim then you’ll love elevating your gameplay with Ultahost’s Gaming hosting. Also, experience seamless hosting for your favorite games and elevate your gaming experience with reliable and high-performance servers. Stay tuned for more building tips and tricks, and keep on building.
FAQ
What is the purpose of a workbench in Valheim?
The workbench is essential for crafting, repairing items, and building structures. It also helps prevent monster spawns within its radius.
How many levels can a workbench be upgraded to?
A workbench can be upgraded to Level 5, with each level providing new crafting recipes and increasing the build radius.
What materials are needed for each upgrade?
- Level 2 (Chopping Block): 10 Wood, 10 Flint.
- Level 3 (Tanning Rack): 10 Wood, 15 Flint, 20 Leather Scraps, 5 Deer Hide.
- Level 4 (Adze): 10 Fine Wood, 3 Bronze.
- Level 5 (Tool Shelf): 10 Fine Wood, 4 Iron, 4 Obsidian.
Can I place upgrade structures in a straight line?
No, each upgrade structure needs its own unique, non-overlapping connection path to the workbench. Placing them in a straight line will block the connection paths.
What is the maximum build radius of a workbench?
The maximum build radius is 36 meters, achieved at Level 5.
Can I use the workbench to prevent monster spawns?
Yes, the workbench can prevent monster spawns within its 20-meter radius, making it useful for creating safe zones.
How do I check the build radius of my workbench?
Right-click the hammer and select the workbench. A white circle will appear on the ground, showing the 20-meter build radius.


