
How to Combine External Javascript and CSS in...
Combining external JavaScript and CSS files in WordPres...


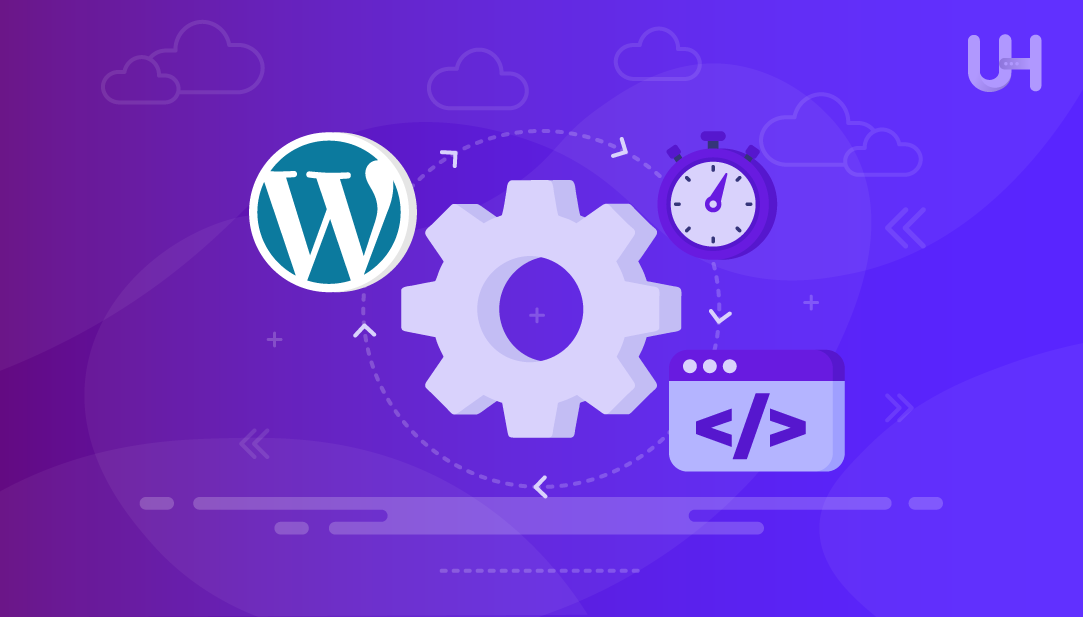
Cron is a tool that can help Unix/Linux systems schedule tasks. These tasks can be very useful in saving time on your day-to-day tasks, especially when you have a content-rich environment like WordPress. WordPress has developed WP-Cron specifically to cater to this need. WordPress uses wp-cron.php to handle tasks on responsible servers.
This article will demonstrate a step-by-step process of creating and modifying the cron jobs in WordPress.
In WordPress, there is a file called wp-cron.php, which has the WP-Cron Service configured and does some tasks like posting items, checking for the latest plugins and themes, etc. Just as the bank account needs you to log back in after a certain time of inactivity, WordPress also logs you out with wp-cron.php. But with plugins or changes in code, such as rules of WordPress Login, it can be skipped.
The underlying issue of wp-cron is its lack of reliability. Sites with no traffic and some form of caching are not reliable for having cron issues, triggering missed updates, and consuming resources as tasks accumulate. Apart from this, there is a big performance issue with wp-cron, which is that it runs on every page load, and this can cause a big performance hit, especially on larger sites with slowly loading pages.
Create WordPress Cron Jobs With Our cPanel VPS
Experience Ultahost’s cPanel hosting to easily create and modify WordPress Cron Jobs. Our cPanel hosting allows you to automate your site data securely and efficiently.
You have two possibilities available that can schedule the WP-Cron job, but the most recommended one is to disable it in WordPress and then use a real cron job on your server. This strategy ensures that everything occurs when it is supposed to and not on a page visit. The best way to schedule events in your WordPress site is through Cron on your server. If you don’t have the technical knowledge, you can utilize some simple software to edit your WordPress cron jobs.
With Cron jobs in WordPress, your site can do key tasks on time. For example, think of a membership site that sends updates or reminders each week. If the site does not send these emails on time, users might lose interest or miss your news. Cron jobs help here by sending emails as planned.
These tasks help site owners too, making work easy and neat. As a blogger, you might spend a lot of time looking at comments, which can be tiring. Many of them might be spam. Instead of deleting them by hand, you can use a plugin with Cron jobs to clear spam.
Many WordPress plugins need Cron jobs. But plugins that are not managed well can hurt your site, using too many server resources and slowing it down. It’s key to keep your site up to date, so watch your Cron jobs and keep them balanced.
Let’s take a look at the advantages of cron jobs:
Let’s explore some disadvantages:
WP-Cron works differently from traditional system cron jobs, each having its unique advantages. Using WP-Cron, tasks run on set times, and system cron jobs can be defined to run tasks on the same time interval. It is important to know that WP-Cron checks to see when a visitor has viewed a page; if they have, it starts the processes set to WP-Cron, and if the site has no traffic, WP-Cron does not work.
Read also How to Access WordPress Database
If you want to make your custom things with WP-Cron, you have to put custom hooks. The WP Crontrol free plugin is also available, which provides easy installation and direct access to WP-Cron tasks from your WordPress dashboard.
WP-Crontrol is a popular plugin with over 300K active users and a rating of 4.5 out of 5. You can find it directly inside your WordPress dashboard by navigating to Plugins > Add New and then clicking the Install Now button:

After you have installed the WP Crontrol plugin, you will be able to view, edit, and delete cron jobs that you have in your WordPress installation. Remember, you need to activate this plugin in order for it to be functional:

Once you’ve activated the plugin and configured the “Cron Schedules” section in WordPress settings, hit Add Cron Schedule to introduce the WordPress Cron Job:

You can also add the custom schedule (if needed) in your functions.php file like this:
add_filter('cron_schedules', 'ultahost_cron_schedule');
function ultahost_cron_schedule($schedules) {
    $schedules['every_five_minutes'] = array(
        'interval' => 300, // 300 seconds = 5 minutes
        'display'  => __('Every 5 Minutes')
    );
    return $schedules;
}
To modify an existing cron event, go to Tools and then select Cron Events. Now, locate the event that you want to modify and click Edit:

Here, you can update the time, next run, etc.

In order to set up cron jobs through the control panel, use the cPanel that your web hosting provider gives you. The section is typically found under the Advanced tab, so find Cron Jobs and click on it:

In the Cron Jobs section, you’ll see options to set time intervals: minute, hour, day, month, etc.

The Common Settings menu offers pre-configured options, like running once a minute or once a year. You can pick one of these or fill in the fields below to set your own custom time:

After setting how often the cron job should run, enter the command it needs to perform in the Command field. Then click on Add New Cron Job to save it:

Once a cron job is successfully created, you will see it listed under Current Cron Jobs at the bottom of the page:

You can click on the Edit or Delete button to modify or remove a cron job.
Cron jobs serve as valuable resources in the automation of repetitive activities on your WordPress website. Such tasks thereby saved time and enhanced productivity, further proving their importance. WP-Cron and other related tasks can help automate the weekly task of publishing new content, sending out newsletters, and even moderating spam comments.
However WP-Cron plugin is good, but a lot of times, this runs even when no request hits the server. So, you can replace the WP-Cron with a real server-based Cron job, which is limited to certain sites. After you have managed the task via a plugin like WP, there are some requirements that you should do manually so that these tasks keep running without any concerns. To easily manage tasks on your site so they run smoothly and without any delays or lapses, we have discussed how to do just that in the above guide.
We hope this article has enabled you to create and modify WordPress cron jobs. Consider Ultahost’s fast, user-friendly, and secure WordPress hosting to improve the security of your website. Ultahost provides features like enhanced protection against unauthorized access and unlimited bandwidth. All these features are optimized for superior website performance.
A Cron job in WordPress implies automating activities, e.g., post publishing, checking for updates, or sending emails.
WP-Cron is a WordPress-specific system that carries out pre-defined duties when someone lands on your site. It uses the wp-cron.php file to search for duties and execute them, i.e., post publishing, plugin updating.
WP Crontrol lets you manage your Cron jobs directly from the WordPress dashboard, no coding needed.
Stakeholders like marketers, editors, authors, etc., can automate recurring activities and boost their efficiency. In this way, sending newsletters, deleting comments, saves all without any physical commitment.
Head to the Cron Jobs section, configure the time intervals when you want that task to repeat, and input the code that needs to be run. Press ‘Add New Cron Job’. Now you have a more resilient server-based Cron job.
You can create custom Cron schedules by adding a filter to your functions.php file or by using the WP Crontrol plugin to define the schedule directly through the dashboard.
Absolutely. If you are firing off tons of them, especially on a server with other customers, it can create a high load on the server. That’s why it’s important to implement and manage them in a way that doesn’t impact overall performance.