
How to Use Linux SS (Socket Statistics) Comma...
The ss (Socket Statistics) command is a modern Linux ut...


A Linux Virtual Private Server (VPS) has serious consequences if it’s high on cpu usage. It slows down website response time, degrades application functionality, and can even take down the stability of the server. If it is taking long, is not responding at all, or if it is crashing often, then it may be experiencing high cpu usage. Whether you are operating a WordPress website, an AI Automation server, a server with Docker, or a database application, knowing how to keep CPU usage low on an Ubuntu server is a prerequisite to optimal functionality.
To resolve high cpu usage on Linux VPS, you must monitor, perform optimization, and complete preventive maintenance. After analyzing the resource-gutting processes, closing off the server to security threats, and adjusting the configurations, you will likely restore performance and prevent additional increases. If the optimized attempt is unsuccessful, then the best route for assurance of the VPS staying reliable and running smoothly is upgrading the resources.
This guide will walk you through how to fix high CPU usage on a Linux VPS.
Your websites will load more slowly when there is high CPU usage on your Linux VPS if you use CPU-intensive applications, and may even go offline unexpectedly. Services like Apache HTTP Server, NGINX, and databases like MySQL that consume high CPU resources are usually a sign of an underlying trouble in your CPU resource usage, performance, or configuration. Learning how to diagnose, implement, and maintain high CPU usage issues in your VPS is crucial.
Optimize Your Linux VPS Performance with Ultahost!
Take control of your Linux VPS! Learn how to fix high CPU usage and keep your server running smoothly with Ultahost’s reliable Linux VPS hosting.
First, you need to confirm that your server is indeed overloaded before you start troubleshooting. CPU usage causes an issue when it:
You can find the CPU load average and the load average with the uptime command. The command shows how heavily your system is loaded over the last 1, 5, and 15-minute intervals.
uptime

If your VPS is a 2 CPU core VPS and it is consistently above a 2.0 load average, then your system is under stress.
Find out which application is using the high CPU. This is the first step before you implement any fixes.
The top command shows real-time CPU usage and the active processes. This command helps determine which program is using the highest CPU resources.
top
Look for the %CPU column and PID.
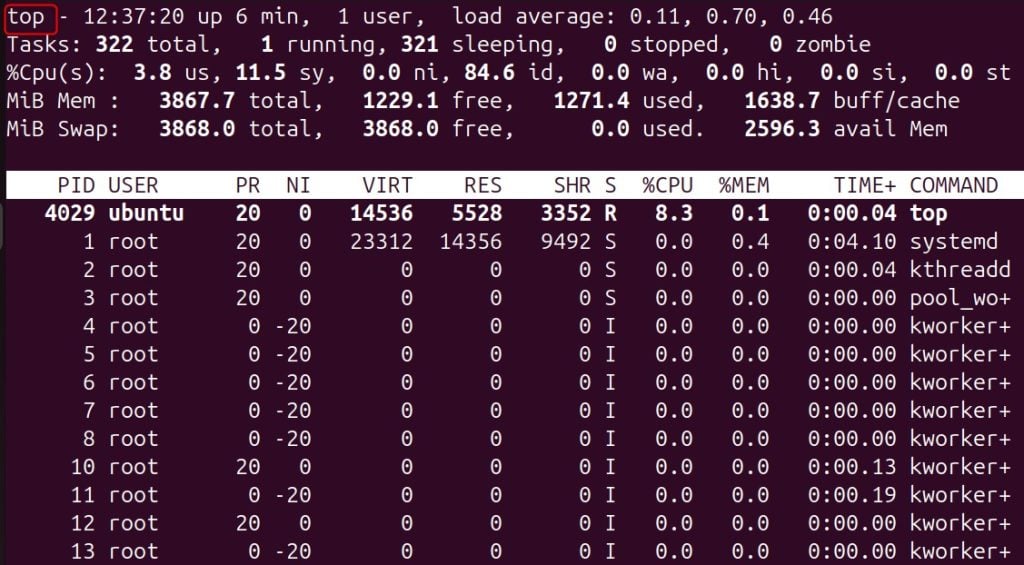
To sort processes in order of CPU usage, press the letter P.
htop has a more visually appealing, color-coded, standardized interface, which makes identifying and controlling processes much easier. If htop is not available, install it:
sudo apt install htop -y
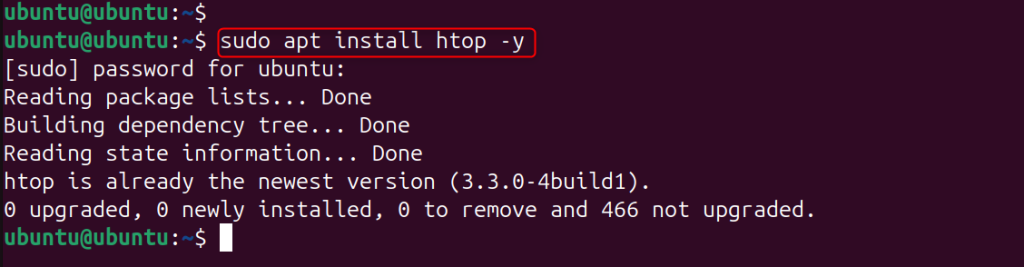
After installation, you can run it using the following command:
htop
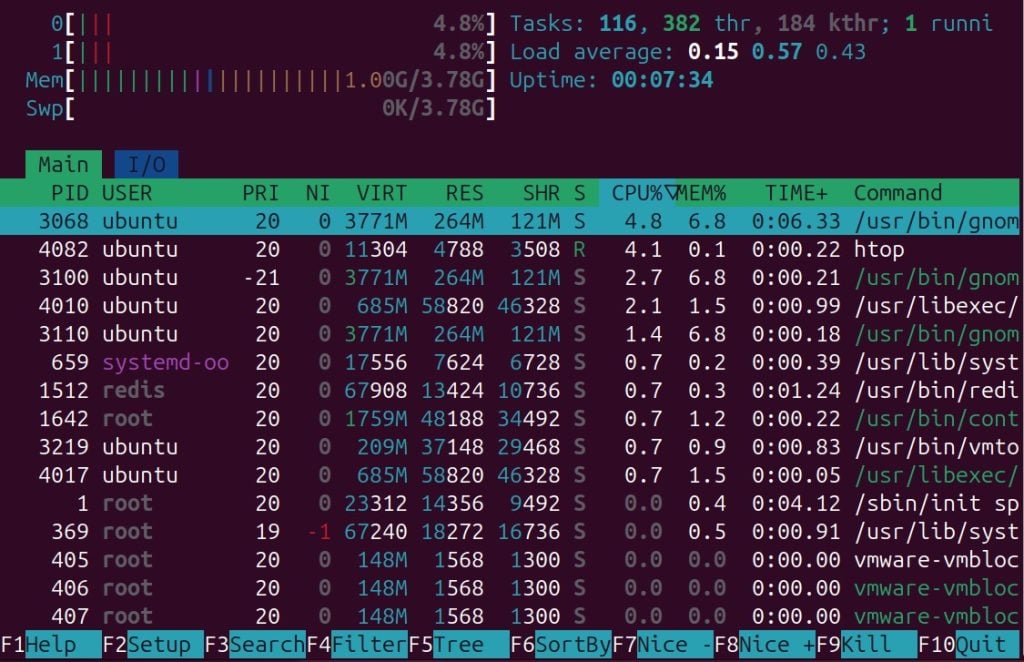
This helps visually detect and manage CPU usage spikes, and lets you kill processes.
Not all CPU spikes are a result of high demand or usage. Temporary glitches, infinite loops, and services that get stuck can also cause spikes.
If a process is stuck or misbehaving, eliminate it. This helps to free up CPU resources.
sudo kill -9 PID

Replace PID with the actual process ID. You can obtain the process ID using top or htop.
Restarting a service helps ensure that the service is reloaded cleanly, which helps make sure that the service is not mishandling its functions. To restart Apache, execute the following command:
sudo systemctl restart apache2

Restart NGINX using the following systemctl command:
sudo systemctl restart nginx

Web servers are the main cause of the high CPU usage. Apache may also be configured to accommodate an overwhelming number of simultaneous requests, leading to an overload of your VPS.
To open the configuration file, use the following command:
sudo nano /etc/apache2/apache2.conf
And apply the following settings in the “.conf” file:
KeepAlive On
MaxRequestWorkers 50
KeepAliveTimeout 2
To restart Apache, use the following command:
sudo systemctl restart apache2

This configuration limits the overload of worker processes.
When configured improperly, the workers may cause the CPU to be underutilized. To edit the configuration, use this command:
sudo nano /etc/nginx/nginx.conf
Apply the following settings:
worker_processes auto;
worker_connections 1024;
To restart, use the following command:
sudo systemctl restart nginx

This configuration helps Nginx to utilize the CPU optimally.
A slow database query can frequently cause a CPU to spike.
A slow query can cause the CPU to scan a very large dataset. To edit MySQL configuration, run the following command:
sudo nano /etc/mysql/my.cnf
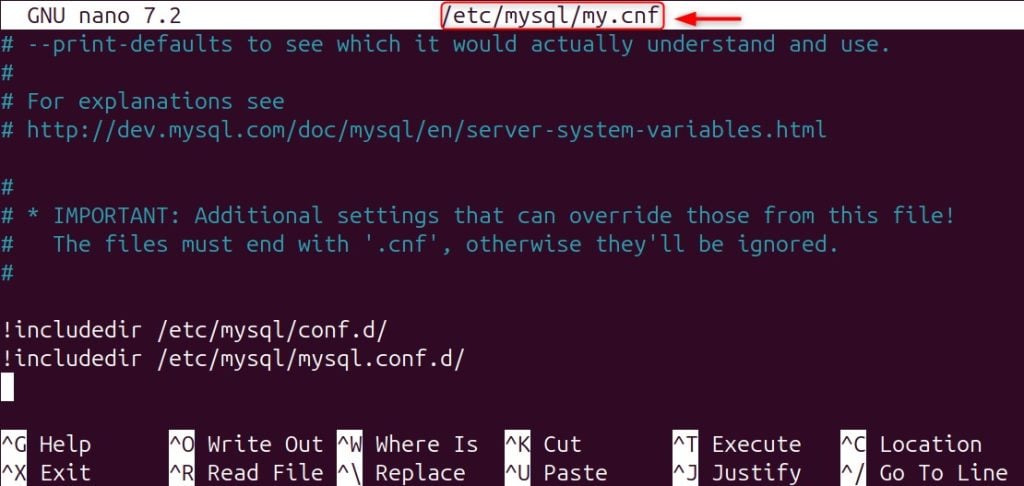
Now, add the following configuration:
slow_query_log = 1
long_query_time = 2
To restart MySQL, run the command below:
sudo systemctl restart mysql

This will help you identify inefficient queries.
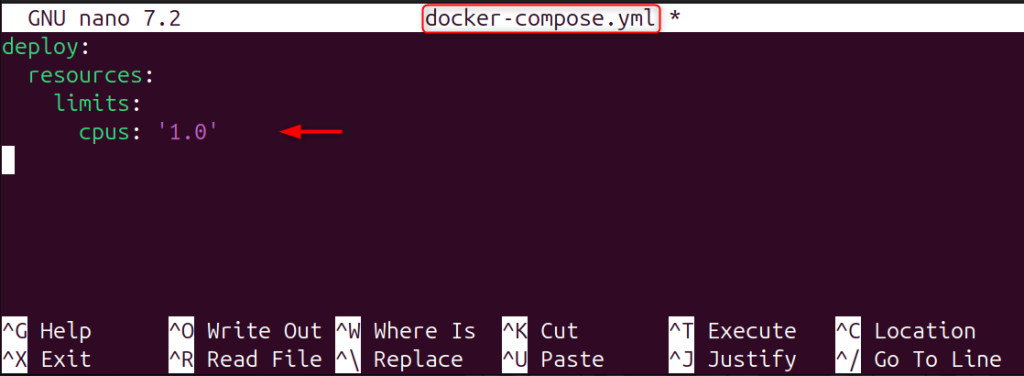
If you have Docker containers running (like OpenClaw, WordPress, Node apps), they are likely to consume an unlimited amount of CPU.
Containers without a CPU limit can overwhelm the host system. To prevent this, edit the docker-compose.yml file:
deploy:
  resources:
    limits:
      cpus: '1.0'
Monitoring shows which containers are the heaviest users of resources.
docker stats

Unneeded services consume CPU cycles. To discover superfluous background services, use the following command.
systemctl list-unit-files --type=service
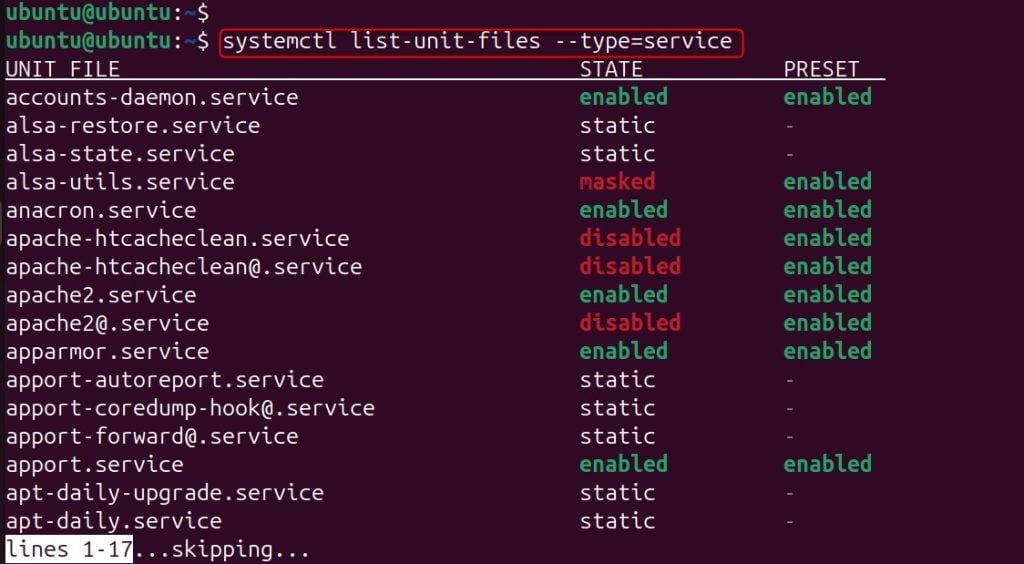
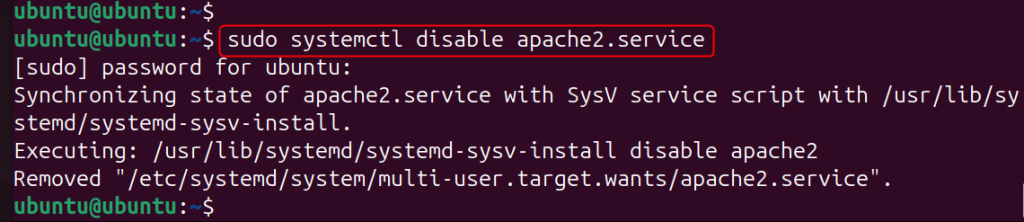
Now disable the unused services. This is an operation that lessens the load on background CPU usage.
sudo systemctl disable service-name
When physical RAM is insufficient, the system may begin excessive swapping. This can lead to memory thrashing, where the CPU spends most of its time handling page faults instead of executing processes efficiently. To reduce memory pressure, you can enable swap space. Swap acts as virtual memory and helps prevent system crashes when RAM is exhausted, though it is much slower than physical memory.
To create swap memory, you can use either the fallocate or dd method. This process will create a 2GB swap file on your server.
sudo fallocate -l 2G /swapfile

To limit access to the swap file, it will be necessary to secure it. It is important to ensure that only the root user can access the file for reading and writing.
sudo chmod 600 /swapfile

Format the file to use it as swap memory. This changes its status, allowing the system to use it for overflow memory. Let’s create a swap:
sudo mkswap /swapfile

Run the command below to activate the swap file and check its status.
sudo swapon /swapfile
Configure your swap file in “/etc/fstab” to ensure the system activates it after a reboot. Let’s make it permanent:
echo '/swapfile none swap sw 0 0' | sudo tee -a /etc/fstab

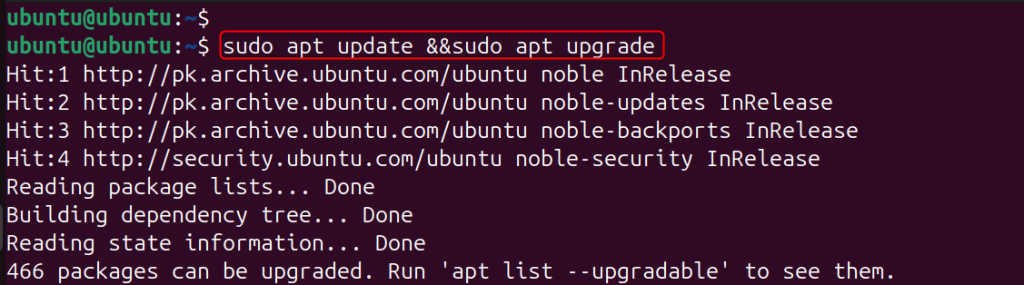
Outdated software can contain bugs that affect performance. Always update your software to ensure system stability.
sudo apt update && sudo apt upgrade
If high CPU usage persists even after optimization, consider the following reasons:
So, increase your VPS specifications for better long-term results.
You can resolve excessive CPU usage on a Linux VPS by identifying the exact process causing it using the top or htop command, killing or restarting problematic services, optimizing the web server and database, disabling unnecessary background services, scanning for malware, enabling swap space, updating system packages, and improving caching. Upon completing these optimizations, if the load average is still greater than the number of your CPU cores, the most effective long-term strategy is to raise your VPS specifications.
UltaAI – the Intelligent AI Assistant for Ultahost Users
UltaAI is your advisor for anything related to domain or hosting. Experience personalized suggestions with our Smart AI!
The ss (Socket Statistics) command is a modern Linux ut...
Docker has revolutionized how we build, deploy, and run...
The sleep command in Linux is designed to introduce a d...

The ping command in Linux checks if a host or IP addres...
Vim and Vi are two of the most popular text editors in ...
File Transfer Protocol (FTP) refers to a network standa...