
Exploring the Ping Command in Linux
The ping command is a powerful network diagnostic tool ...


In the modern digital world, where our online activities play a significant role in our lives, ensuring the safety and privacy of our data is very important. Virtual Private Networks (VPNs) are like shields that protect us from prying eyes, hackers, and people trying to see our data. Among the different ways to use VPNs, there’s one called Point-to-Point Tunneling Protocol (PPTP). It’s one of the first types and is easy to set up with good connections. In this article we will talk about how you can install PPTP VPN server on your VPS.
This article talks about making your own PPTP VPN server on a VPS. If you want to see stuff that’s blocked in your area, make your online life private, or keep your internet safe when you use public Wi-Fi, this guide will help you make your own VPN server or you can consider free vps. By the end, you’ll have your own working PPTP VPN server, so your data can go through the internet in a safe tunnel.
The Point-to-Point Tunneling Protocol (PPTP) was one of the first VPN methods made. People like it because it’s simple and works with a lot of things. This makes it good for beginners and those who want an easy setup. Even though PPTP isn’t as secure as newer methods like OpenVPN, it still encrypts your data pretty well. It’s also good for things like watching videos and using the internet.
Before we start creating your PPTP VPN server, there are a few things you need to have ready. Don’t worry if you’re new to dealing with servers – we’ll help you get everything in order step by step.
You don’t have to be a Linux expert, but knowing some basic stuff will help. Understand things like how to use the command line and terminal. You’ll need to know how to do things like move around folders, change files, and use tools to install stuff.
You’ll need special access to make big changes to the server. It’s called “root access” or using the “sudo” command. This helps you install things and change settings. Make sure you have this kind of access.
Now that you have everything ready, let’s start setting up your PPTP VPN server on your VPS. We’ll break down the steps so they’re easy to follow, even if you’re new to servers.
ssh username@your_server_ip
Replace “username” with your VPS username and “your_server_ip” with your VPS’s IP address.
sudo apt update
sudo apt upgrade
Install the PPTP VPN package using the package manager (apt):
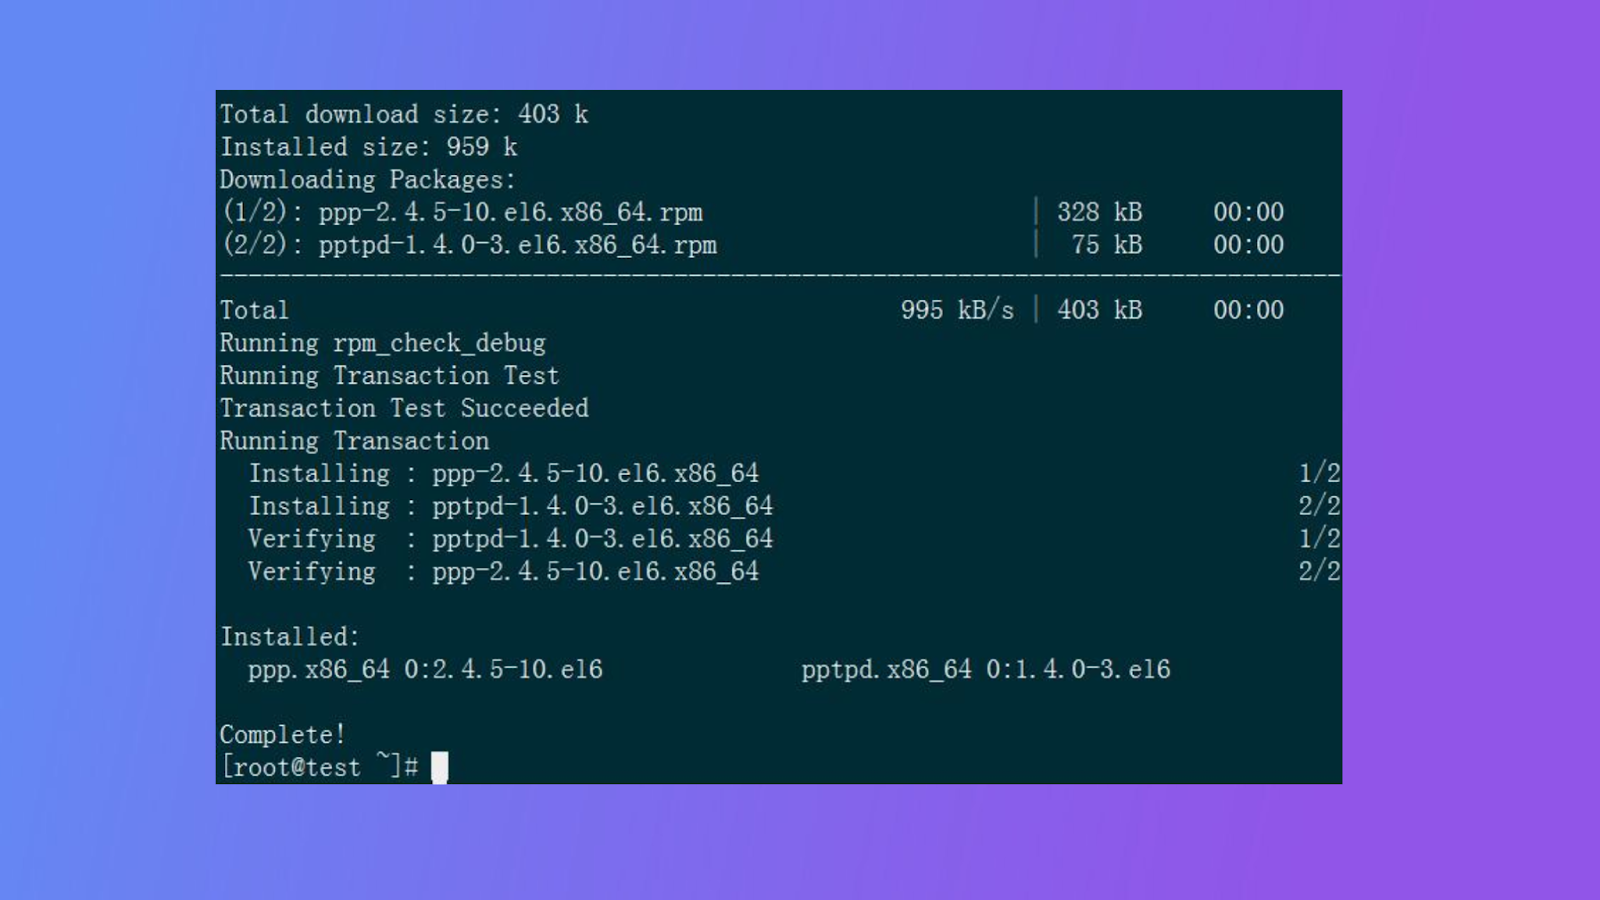
sudo apt install pptpd
sudo nano /etc/pptpd.conf
localip 192.168.1.1
remoteip 192.168.1.100-200
Modify IP addresses as needed.
sudo nano /etc/ppp/chap-secrets
sudo nano /etc/sysctl.conf
sudo sysctl -p
Configure firewall rules using iptables:
sudo iptables -t nat -A POSTROUTING -o eth0 -j MASQUERADE
sudo iptables-save | sudo tee /etc/iptables.sav
Restart the PPTP service to apply the changes:
sudo service pptpd restart
In the world of digital security and privacy, Virtual Private Networks (VPNs) play a massive role. They help keep us safe from threats, hide who we are online, and let us access stuff from all over the world. This guide walked you through how to put a PPTP VPN server on your Linux VPS hosting. This is a big deal because it gives you a strong tool to protect yourself online. Following the steps in this guide, you’ve made your own PPTP VPN server. You’ve learned how to connect to your VPS, put in the things you need, set up the VPN, and even tried it out to make sure it works. This is a great move towards making your online life more secure.
You can also read about Authenticate OpenVPN Clients Using FreeRADIUS.