How to Install BlueStack Android on Windows
Imagine playing your favorite mobile games, but on a mu...
IntelliJ IDEA is a powerful Integrated Development Environment (IDE) widely used for Java development which also supports other languages like Kotlin and Scala used for web development for different needs such as Big data programming.
In this article, we will cover the process to install IntelliJ on Windows operating system and getting started in your Java development journey.
Before we move into the installation process of IntelliJ IDEA Windows it is important to determine which edition of IntelliJ IDEA is right for you. There are two primary options:
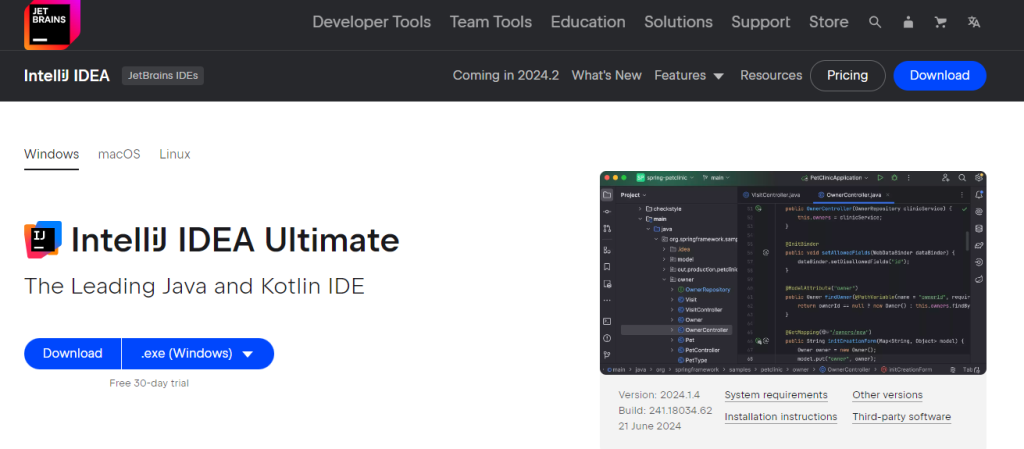
To download IntelliJ IDEA Windows 10 Open your web browser and visit the official JetBrains website select either the community or ultimate edition based on your requirements.
Next, you have selected “Windows” as the operating system then click the download button.
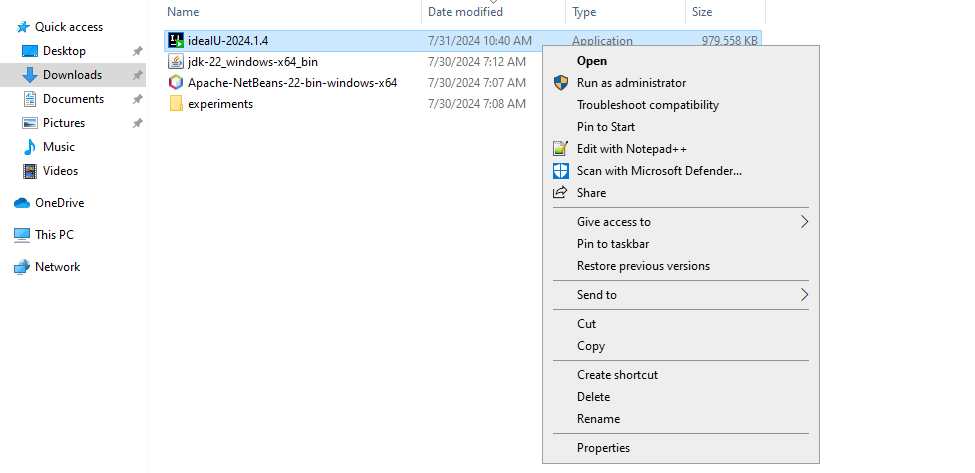
Once the download is complete find the downloaded .exe file usually in your Downloads folder. Right-click the file and select “Run as administrator” to start the installation process.
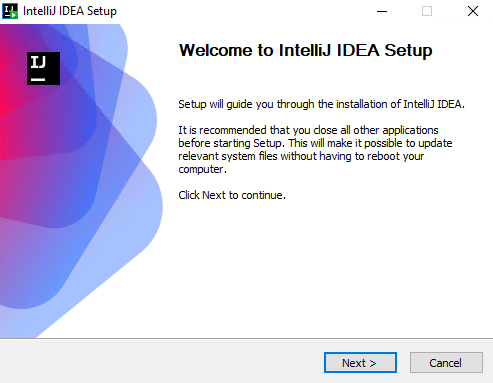
A welcome wizard screen showed up for the setup guide click “Next” to proceed.
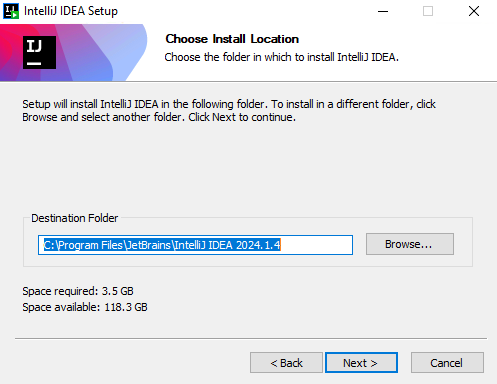
You can choose the default installation directory or specify a custom one by clicking “Browse”.
Now select the installation option for example creating a desktop shortcut, start menu shortcut, and add “Open Folder as Project” to the context menu. Meanwhile associate file types for example .java and .kt with IntelliJ IDEA.

Click “Install” for the installation process will begin.
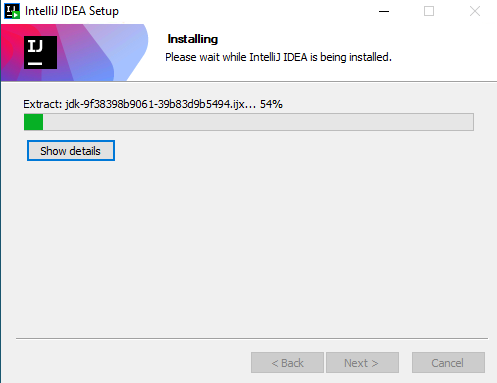
Once the installation is complete, click “Finish” which means the IDE installed successfully.
Install IntelliJ IDE on Our Windows 10 VPS!
With Ultahost, Hosting Windows VPS has never been easier or faster. Enjoy ultra-fast SSD NVME speeds with no dropouts and slowdowns.
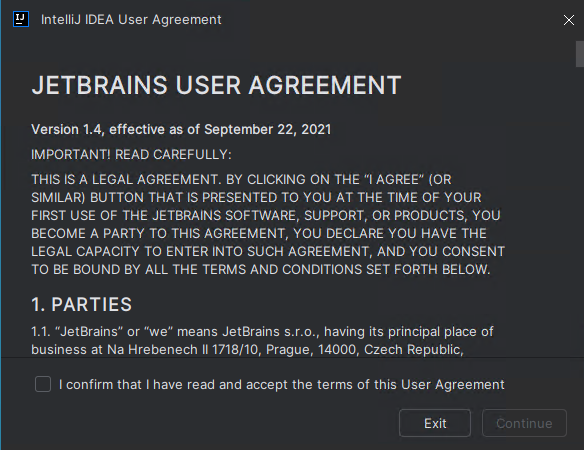
You can find it on your desktop or in the Start menu. Double-click the icon to start the IDE. If you have previous IntelliJ IDEA settings you can import them. Accept the license and agreement.
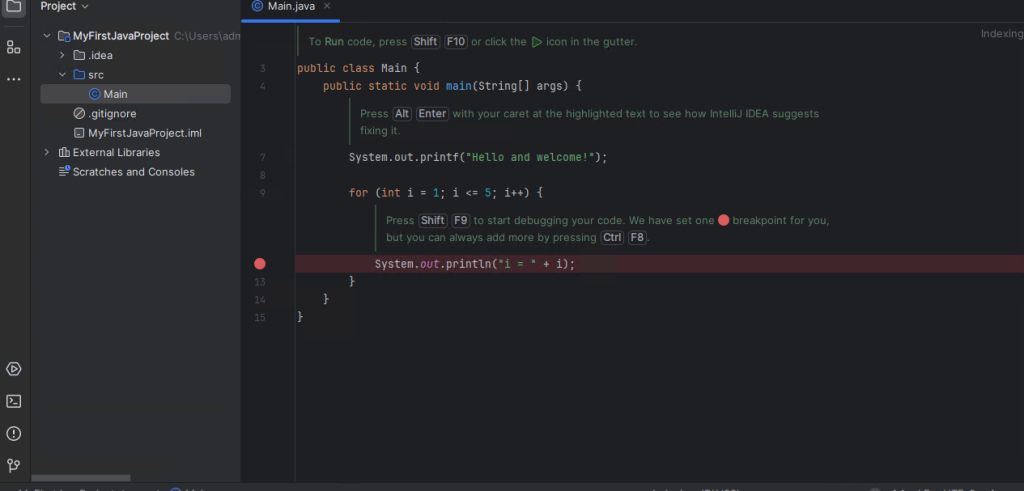
IntelliJ IDEA will provide options to start a new project or open an existing project. After creating the Java project the interface of IntelliJ looks like this:
If you encounter issues during installation or running IntelliJ IDEA consider the following:
Also, Read How to Install NetBeans on Windows.
Following are some important notes while installing Java IntelliJ IDEA Windows operating system:
By following the steps outlined in this article you should have successfully installed IntelliJ IDEA on your Windows system. Remember to choose the appropriate edition based on your development needs whether it is the free Community Edition or the Ultimate Edition. Once installed take advantage of IntelliJ IDEA’s powerful features by customizing the IDE to your preferences exploring available plugins and learning essential keyboard shortcuts to boost your productivity.
Installing IntelliJ IDEA can be a straightforward process task, especially for complex setups. Coupled with the flexibility and performance of Ultahost a fully managed dedicated server you can achieve a powerful and reliable workflow for your development needs.
IntelliJ IDEA is an integrated development environment (IDE) for writing code.
You can download IntelliJ IDEA from the JetBrains website.
Run the installer file you downloaded and follow the on-screen instructions.
IntelliJ IDEA offers both free and paid versions; the Community Edition is free.
Open IntelliJ IDEA from the Start menu and ensure it launches without errors.