
How to Install OpenSSL on Windows
OpenSSL is an open-source implementation of the SSL and...


Yarn is a popular package manager for JavaScript projects developed by Facebook. It offers several advantages over npm such as faster dependency installation better security and more reliable package management. While it is primarily associated with Node.js development Yarn can be used for various JavaScript based applications.
In this post, we will cover the process of installing Yarn on Windows operating system using different methods and configurations along with troubleshooting steps.
Following are four methods described below while installing yarn on Windows operating system:
The most common way to install Yarn is through npm which comes bundled with Node.js. If you have not already installed Node.js refer to our guide on how to install Node.js and NPM on Windows operating system.
After installing, open the start menu and type “Command Prompt”. To verify that npm is installed correctly, run the following command:
npm -v
If npm is installed you will see its version number.

After that, run the following command to install Yarn globally:
npm install -g yarn
This will download and install Yarn to your system’s global directory.

After the installation is complete verify it by running the following command:
yarn --version
This command should display the version of Yarn installed on your system.

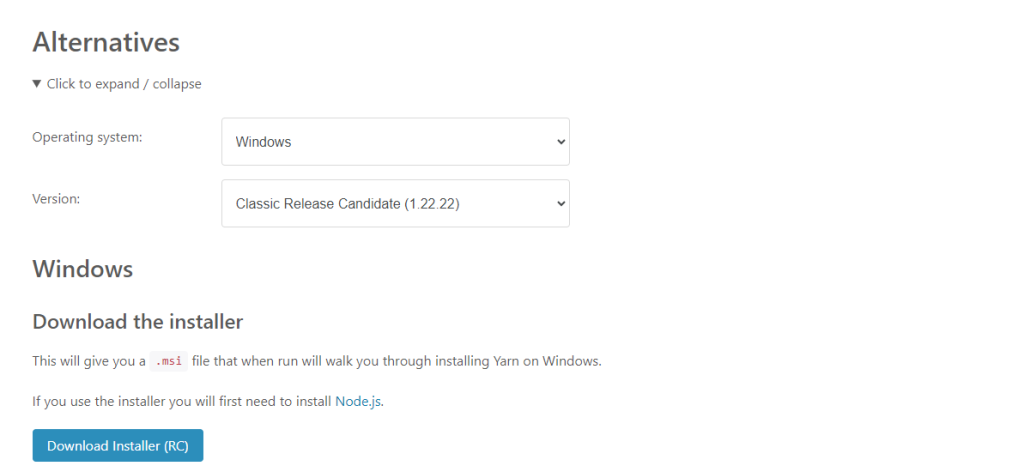
Another method to install Yarn is by using the MSI installer. This method is simple and user-friendly.
Go to the official Yarn website and download the MSI installer.
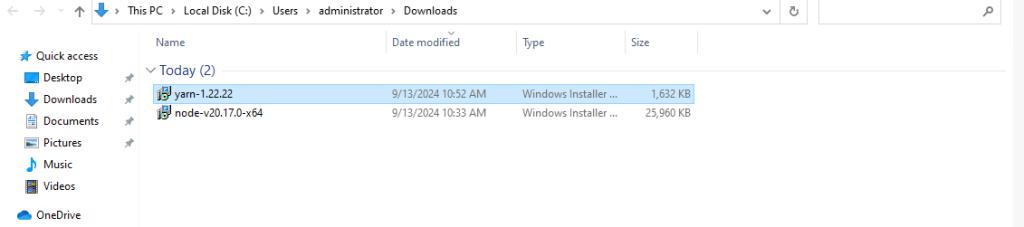
Double click the downloaded .msi file in your “Download” folder to launch the installer.
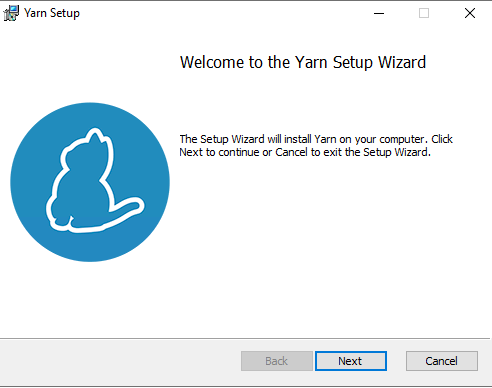
The installation setup wizard will appear, Click “Next” to continue.
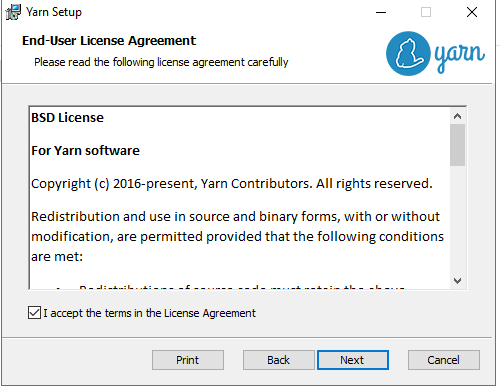
Accept the End user License agreement, Click “Next” to continue.
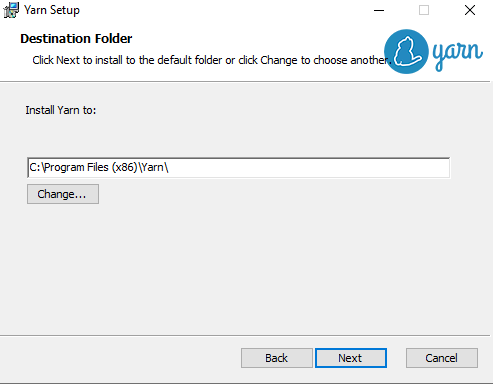
Set the directory path which is usually “Program Files (x86)” for installation.
After that, the installation started immediately. When the installation is complete verify by running the version command.
Chocolatey is a package manager for Windows that simplifies the installation of software. If you have Chocolatey installed on Windows you can use it to install Yarn.
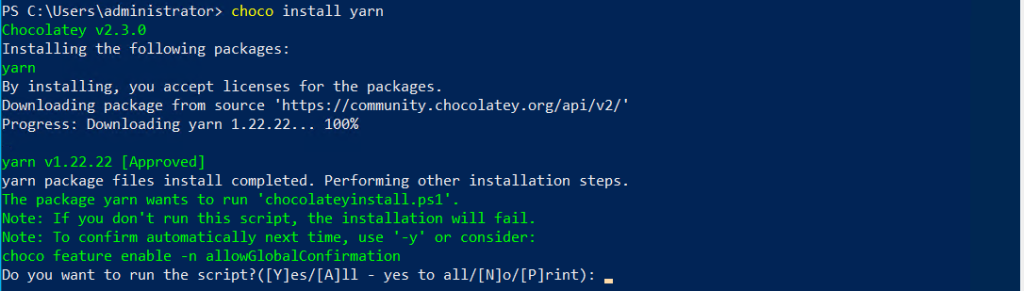
Open PowerShell as Administrator by pressing Win + X and select “Windows PowerShell (Admin)”. Run the following command to install Yarn:
choco install yarn
After the installation is complete verify it by running the version command.
Scoop is another package manager for Windows that can be used to install Yarn. Note that Scoop does not automatically install Node.js so you need to have Node.js installed beforehand.
Open PowerShell as Administrator by pressing Win + X and select “Windows PowerShell (Admin)”. If you have not installed Scoop run the following command:
Set-ExecutionPolicy RemoteSigned -Scope CurrentUser
iwr -useb get.scoop.sh | iex
Run the following command to install Yarn:
scoop install yarn
Install Yarn On Our NodeJS Hosting!
Unlock the full potential of your Node.js applications with Ultahost’s reliable hosting solutions. From seamless deployment to robust performance, we’ve got you covered.
After Yarn Windows installs you might want to configure it to suit your development environment. Here are some common configurations:
You can set the Yarn registry to a custom URL if needed:
yarn config set registry <registry_url>
Yarn supports offline mode which allows you to install packages without an internet connection:
yarn config set yarn-offline-mirror <path_to_mirror>
You can install packages globally using Yarn:
yarn global add <package_name>
Also, Read How to Install Yarn on Ubuntu.
Once Yarn is installed you can start using it to manage your JavaScript projects. Here are some basic commands:
1. Initialize a New Project: To create a new project navigate to your project directory and run:
yarn init
2. Add Dependencies: To add a new dependency to your project, run:
yarn add <package_name>
3. Remove Dependencies: To remove a dependency, run:
yarn remove <package_name>
4. Install All Dependencies: To install all dependencies listed in your package.json file, run:
yarn install
5. Upgrade Dependencies: To upgrade a dependency to the latest version, run:
yarn upgrade <package_name>
If you encounter issues while installing or using Yarn, here are some common troubleshooting steps:
Installing Yarn on Windows is a straightforward process and you have multiple methods to choose from. Whether you prefer using npm the MSI installer Chocolatey or Scoop, you can easily set up Yarn and start managing your JavaScript projects efficiently. With its speed reliability and security features, Yarn is a valuable tool for any developer working with JavaScript.
While installing Yarn on Windows is straightforward managing dependencies and ensuring compatibility across different server environments can be technical. Upgrading to Ultahost’s Windows VPS hosting plan empowers you with a robust solution that helps you to install the latest package managers and repositories simplifying Yarn installation and updates.
Yarn is a package manager for JavaScript that helps you manage project dependencies.
Yarn makes it easier to handle libraries and packages in JavaScript projects.
You can install Yarn via the installer from the official website or through npm.
Yes, Yarn requires Node.js to be installed on your system.
Yes, you can install Yarn globally using the command.
Run the version command in your terminal to check if it’s installed.
Try restarting your terminal or reinstalling Yarn to fix any issues.