
How to Reset the WP Admin Account Password Wi...
Softaculous is a tool in cPanel that makes it easy to i...


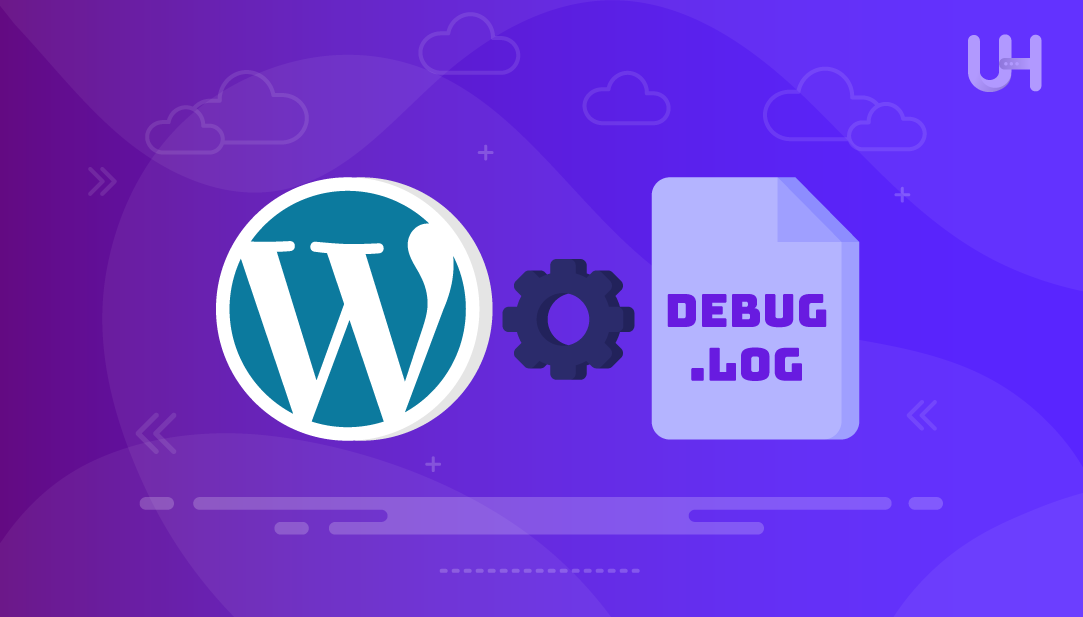
WordPress debugging helps us identify issues with our website. We can enable this feature using multiple methods, such as a plugin or cPanel. Enabling debug mode allows WordPress to show error messages, which can help us in diagnosing and fixing issues. When our website is live, we do not want visitors to see any WordPress error messages. These messages might expose sensitive details and create security risks or problems for our users.
However, sometimes enabling WordPress debugging becomes necessary to find and fix specific problems on our site. So, in this article, we will demonstrate multiple methods to enable WordPress debug log mode.
In WordPress, debug mode is an in-built feature that shows you what’s going wrong when your website is not working properly. Normally, WordPress hides error messages so visitors (and sometimes even you) don’t see these messages. When you turn on debug mode, these hidden messages appear, which help you find the problem.
The error can be caused by a plugin conflict, a small coding mistake, or a theme problem. Enabling the debug mode gives you the information you need to fix it, either by yourself or with the help of a developer.
You can enable WordPress debug mode to identify errors and warnings in our code. We can do this using different methods, like a WordPress plugin or cPanel.
Enable WordPress Debug Log With cPanel VPS!
Experience Ultahost’s cPanel hosting to easily enable the debug log mode on your website. Our cPanel hosting allows you to automate your site data securely and efficiently.
If WordPress debug mode is not working, using a plugin can simplify the process and reduce errors. It is an easy method for beginners or anyone who is not familiar with editing website files. In WordPress, WP Debugging is a free troubleshooting plugin that works immediately after installation. WP Debugging eliminates the need to manually edit any files on your website.
Install and Activate WP Debugging
First, we need to install and activate the WP Debugging plugin. To do this, navigate to your WordPress dashboard and install the WP Debugging plugin:

After installing WP Debugging, activate it by clicking the highlighted button:

Set WP_DEBUG to True
Once activated, go to Tools and then WP Debugging in your WordPress dashboard. Then, make sure the ‘Set WP_DEBUG to true’ option is turned on:

Check Errors and Fix Them
After enabling the “Set WP_DEBUG to true”, hover over “Debug Quick Look” and click on the “View File” option:

Clicking on the View File option will open the log file that contains all the error messages from your website. You can review these details to troubleshoot the actual problem. It tells you whether it’s a theme issue, plugin conflict, or something else. Once the problem is correctly identified, you can quickly fix it.
After checking and fixing the WordPress errors, make sure to turn off the debugging plugin to keep your site running smoothly and securely.
If you want to enable debug mode manually or the plugin does not fix the problem, you can use the cPanel. cPanel provides direct access to your website’s files, which allows you to make necessary changes and troubleshoot effectively.
Access File Manager
Log in to your cPanel account, go to the Files section, and open File Manager:

Edit wp-config.php File
Navigate to the public_html folder where your WordPress files are stored, locate the wp-config.php file, right-click on it, and choose Edit:

Enable WordPress Debug Mode
To turn on the basic WordPress debug mode, insert the code below just before the line that says:
define( 'WP_DEBUG', true );

You can also use these optional settings as per your needs. These settings ensure that the errors are silently logged to the file and they do not appear on the live website:
define( 'WP_DEBUG_LOG', true );
define( 'WP_DEBUG_DISPLAY', false );
Paste the copied code right before the line that says: /* That’s all, stop editing! Happy publishing. */
When you’re done debugging, you can turn it off by either changing the values to false or deleting the code you added.
This setup ensures that all errors are saved in the wp-content/debug.log file. If your WP debug log is not working, make sure that:
If you’ve set up everything appropriately but the WordPress debug log is still not working, try these steps:
We can disable WordPress debug mode by deactivating a WP Debugging plugin or by manually editing the wp-config.php file.
Log in to your WordPress dashboard, hover over Tools in the left menu, and click on WB Debugging. Now uncheck the “Set WP_DEBUG to true” option, and save changes to disable the WP debug log mode:

If you prefer to disable debug mode manually, you can do this through cPanel. To do this, first, log in to your cPanel account, scroll down to the Files section, and open File Manager:
In File Manager, navigate to public_html, and locate the wp-config.php file. Now, right-click on the wp-config.php file and select Edit. In this file, scroll down to find this line: “define( ‘WP_DEBUG’, true );”. Once found, change true to false, like this:
define( 'WP_DEBUG', false );

Finally, click Save Changes at the top of the page to disable the WordPress Debug log mode.
You can enable WordPress debug mode to identify and fix errors on your website. It enables us to find errors that may not be evident, such as plugin conflicts, coding errors, or theme-related issues. Debug mode is great for finding and fixing errors, but don’t forget to turn it off afterward. Leaving it on while your site is live could reveal sensitive info and open up security risks.
In this write-up, we covered various methods to enable WordPress debug mode, including using a plugin and cPanel. We also provided tips for troubleshooting when the debug log is not working, as well as steps for disabling the debug mode once the issue is resolved.
We hope this article has helped you enable the WordPress debug log mode. Consider Ultahost’s fast, user-friendly, and secure WordPress hosting to improve the security of your website. Ultahost provides features like enhanced protection against unauthorized access and unlimited bandwidth. All these features are optimized for superior website performance.
WordPress debug mode helps you identify and fix errors like plugin conflicts, theme errors, or PHP code problems by displaying error messages that are normally hidden.
No, it’s not recommended to keep debug mode enabled on a live site. It can display sensitive information that may cause security risks to your visitors and website.
You can use the free WP Debugging plugin to enable debug mode from your WordPress dashboard without manually editing your site’s files.
Check that the wp-content folder has the correct write permissions, ensure there are no typos in your wp-config.php file, and verify that your hosting environment allows PHP error logging.
You can either deactivate the WP Debugging plugin or manually set WP_DEBUG to false in the wp-config.php file using cPanel or FTP.
Yes, by setting WP_DEBUG_DISPLAY to false and WP_DEBUG_LOG to true, you can log errors without showing them on the front end of your website.
Debug mode may slightly affect performance, especially if a lot of errors are being logged. That is why it is recommended to use it temporarily during troubleshooting.