


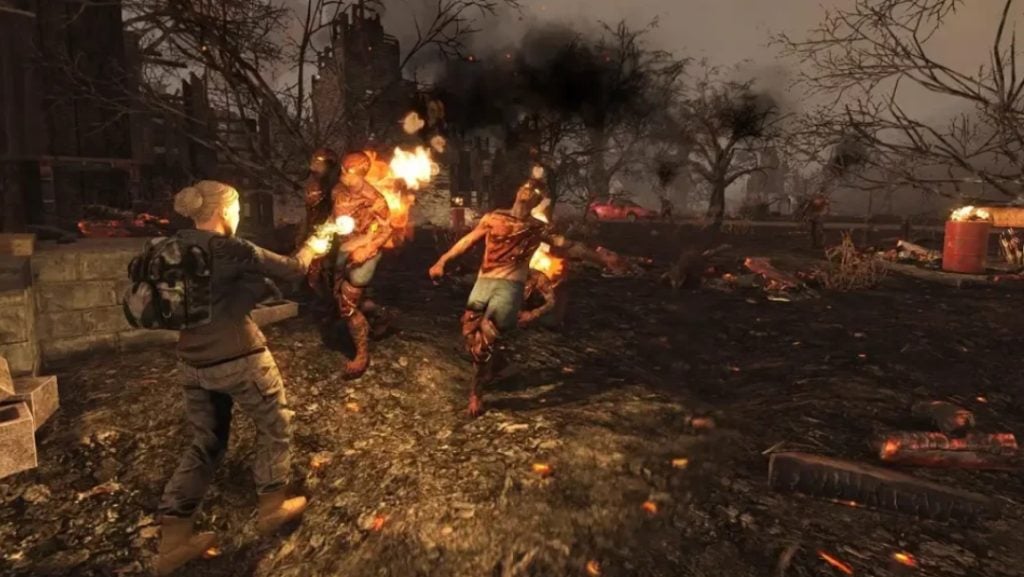
7 Days to Die takes place in a large world full of places to explore, things to find, and zombies trying to kill you. During the day, you search for supplies like food, water, and stuff to improve your shelter. At night, zombies come out in bigger groups, so you must protect yourself and strengthen your home.
You get to design your character with cool looks and useful abilities. You can also change the way the game looks and plays thanks to user made modifications, making your adventure unique and exciting. The developers keep adding new stuff to make sure everyone stays happy and engaged. It’s all about staying alive as long as you can while having fun exploring, fighting, and creating in this scary yet fascinating world.
Moreover, in the survival horror game 7 Days to Die, players must navigate through hordes of zombies while building top unique camps and managing resources. However, there’s a lesser known but crucial aspect of the game: the heat map. This guide explains what the heat map is, how it affects gameplay, and strategies to manage it effectively.
If you’re a fan of military simulation games, Counter-Strike 2 is a must try. This multiplayer game is ideal for deployment on gaming servers.
What is the Heatmap in 7 Days to Die?
The heatmap is a hidden mechanism tracking player activity within a given area. When the heat in a specific location reaches a certain threshold, a Screamer zombie appears. Neglecting to eliminate the Screamer promptly may result in more zombies swarming the player’s base.
Each generated map consists of multiple chunks, usually measuring 16×16 blocks. Every chunk has a unique heat level. Adding objects or performing actions in a block increments the local heat level. Standing still reduces the heat buildup. To view the current heat level of a block, activate debug mode via the console command or look out for indications of high heat, such as flickering lights or unusual sounds.
Zombie Scouts – The Screamers
Screamer zombies act as scouts for areas with elevated heat levels. Encountering a Screamer should alert survivors, as they can call additional zombies like dogs, spiders, and ferals. Quickly eliminating Screamers quietly and discreetly prevents further complications.
Mastering Heatmap in 7 Days to Die!
Elevate your gameplay with Ultahost’s Server Hosting. Enjoy low latency, smooth performance, and customizable settings. Dominate the apocalypse with our exclusive resources and expert support. Level up your gaming experience with unparalleled reliability and speed.
Heatmap Heat Values
Objects and actions contribute to the overall heat level based on assigned heat values, known as heat events. These events either persist or fade over time, depending on whether the source is passive (objects) or active (player actions). Passive sources maintain their heat contribution until destroyed or disassembled, whereas active ones gradually decrease if the player remains idle.
As an example, placing a Forge and two dew collectors in a single 16×16 block produces two heat events every half hour, contributing 6% and 4%, respectively. With enough accumulated heat, a Screamer eventually emerges. Keep track of tick frequency—one in-game hour equals 1,000 ticks by default—to predict potential Screamer appearances.
Here are some common blocks and their corresponding heat contributions:
| Block | Heat Strength | Tick Frequency | Lifetime | Maximum Heat Generated |
|---|---|---|---|---|
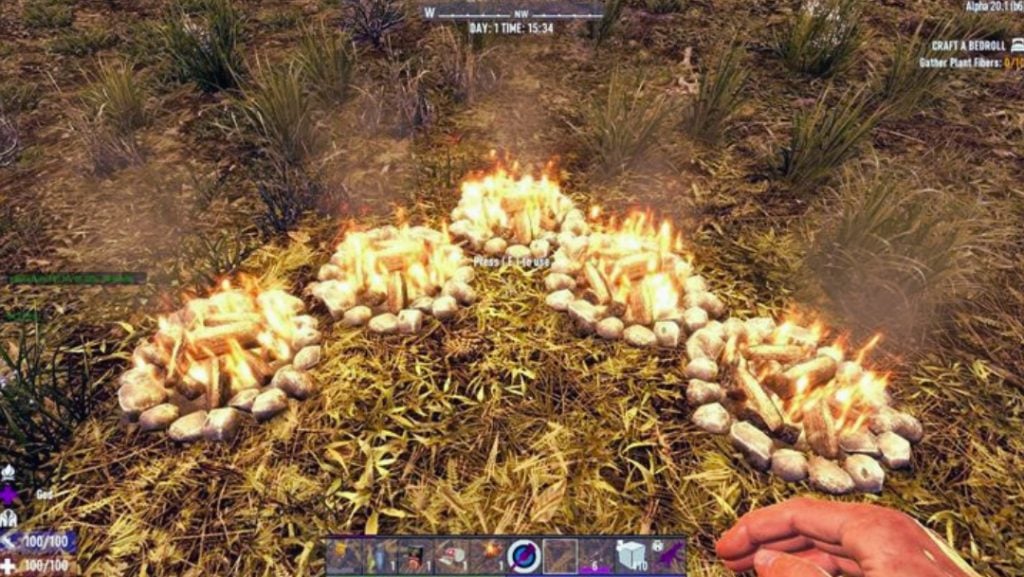
| Campfire | 5 | 1000 | 5000 | 25% |
| Forge | 6 | 1000 | 5000 | 30% |
| Dew Collector | 2 | 1000 | 5000 | 10% |
| Workbench | 5 | 1000 | 4000 | 20% |
| Cement Mixer | 5 | 1000 | 4000 | 20% |
| Chemistry Station | 5 | 1000 | 5000 | 25% |
| Torches | 1 | ~666* | 4000 | n/a |
| Candles | 0.5 | ~666* | 4000 | n/a |
| Burning barrels | 1 | ~666* | 4000 | n/a |
Heat Generating Actions and Heat Strengths
Below is a list of notable heat generating actions and their associated heat strengths:
| Heat Generating Action | Examples | Heat Strength | Lifetime |
|---|---|---|---|
| Starting Power Tools | Auger, Chainsaw | 1 | 90 |
| Most Silenced G1 Weapons | Silenced pistols, SMGs | 0.4 | 180 |
| G1 Weapons | Pistols, Desert Vultures, SMGs, M60s, Turrets | 0.65 | 180 |
| Most Silenced G2 Weapons | Various rifles except Hunting and AK47 | 0.65 | 180 |
| G2 Weapons | Various rifles, incl. AK47 and Tactical Assault Rifle | 0.9 | 180 |
| The 44 Magnum | 44 Magnum only | 0.75 | 180 |
| Full Shotguns | All shotguns excluding Sawed-Off | 1 | 180 |
| Silenced Pump Shotgun | Silenced Pump Shotgun only | 0.8 | 180 |
| Sawn-off Shotgun | Sawed-Off Shotgun only | 0.3 | 180 |
| Silenced Hunting Rifle | Silenced Hunting Rifle only | 0.6 | 180 |
| Silenced M60 | Silenced M60 only | 0.7 | 180 |
| Minor Turrets | Junk Turret | 0.25 | 180 |
| Rockets Launchers | M136 Rocket Launcher | 0.2 | 90 |
| Molotov Cocktail | Molotov Cocktail explosion | 0.2 | 90 |
| Environmental Block Breaks | Wood, Stone, Metal, Glass | 0.6 – 2.1 | 45 – 90 |
Remember that running, utilizing non-flame-based light sources, and operating generators without interruption do not produce heat values.
To excel in 7 Days to Die, mastering the heatmap mechanics significantly improves gameplay experience. By understanding the heat system, strategically place heat-generating structures, and timely eliminate Screamers, surviving becomes much easier against relentless hordes.
Strategies to Manage the Heatmap
Managing the heatmap involves balancing object placement, limiting excessive action performance, and monitoring noise generation. Here are some practical tips to control heat levels and avoid unwanted Screamer visits:
- Limit Object Concentration: Avoid clustering too many heat-emitting objects in close proximity, especially inside the main base. Space them apart across separate chunks to distribute heat efficiently. Consider dedicating specific zones for resource production, reducing the risk of rapid heat escalation near living quarters.
- Timed Utilization: Schedule periods of intense object usage during short durations rather than leaving them operational perpetually. Minimize continuous operation of workbenches, cement mixers, and chemistry stations whenever feasible. Remember that even though idling lowers heat emission, temporary shutdowns ensure lower long-term heat impact.
Prioritize Noise Reduction
Be cautious when using loud firearms, explosives, and machinery in proximity to the primary residence. Excessive racket attracts both zombies and potentially raises heat levels due to increased Screamer presence. Prefer quieter alternatives where applicable; opt for suppressed weaponry, and choose less disruptive methods for farming in 7d2d.
- Monitor Progression: Periodically assess personal progress regarding skill development, item collection, and objective completion. Focus on acquiring necessary equipment early in the game, mitigating the need for prolonged utilization of heat-intensive devices later on. Prioritizing essential tasks accelerates self-sufficiency and minimizes dependency on high-heat generating assets.
- Plan Defensively: Design defensive layouts accounting for inevitable Screamer encounters. Strategically position chokepoints, traps, and barriers to contain invading zombies while isolating critical infrastructure. Establish designated combat arenas away from vital facilities, allowing controlled engagement without endangering valuable resources.
By employing these management techniques, gamers optimize their chances of thriving in 7 Days to Die amidst challenging environments filled with relentless enemies and dynamic weather conditions. Mastery of the heatmap leads to improved survivability, enhanced strategic planning, and ultimately greater enjoyment throughout the gameplay experience.
Conclusion
Effective management of the 7 Days to Die heatmap enhances gameplay by minimizing Screamer-induced threats. Through careful planning, distributing heat-emitting objects, scheduled usage, reduced noise, monitored progress, and strategic defense design, players achieve better survivability and heightened immersion. Mastering the heatmap ensures enjoyable experiences in this engaging post-apocalyptic sandbox adventure.
If you enjoy the guide of 7 Days to Die then you’ll love to upgrade your gameplay with Ultahost’s Gaming hosting. Experience seamless hosting for your favorite games and elevate your gaming experience with reliable and high performance servers. Stay tuned for more survival tips and tricks, and keep on surviving.
What is the heatmap in 7 Days to Die?
The heatmap is a hidden mechanic tracking player activity; reaching a critical point summons a Screamer zombie.
How does the heatmap affect my gameplay?
High heat levels increase the chances of Screamers appearing, potentially attracting more zombies to your location.
How can I lower the heat level around my base?
Reduce the number of heat-emitting devices and stand idly near them to decay the accumulated heat faster.
Why did a Screamer suddenly appear during the daytime?
Some actions, like breaking environmental blocks or using firearms, generate heat even during daylight hours.
Can I disable the heatmap feature entirely?
No official option exists to turn off the heatmap, making management essential for optimal gameplay.


