


Your WordPress site is more than just content it’s a digital identity. And nothing shapes that identity faster than a well-chosen, beautifully installed theme. Whether you’re building a sleek portfolio, a dynamic business site, or a powerful eCommerce store, your theme is the first impression.
Installing a WordPress theme is easier than you might think regardless of the method you choose. Whether you’re uploading a file or selecting from the theme directory, the process is straightforward and beginner-friendly. Best of all, once your theme is in place, you’re all set to start building a stunning and fully functional website right away.
Key Takeaways
- Whether you’re a beginner or an experienced user, knowing all four ways to install a WordPress theme means you’ll never get stuck even if your dashboard or internet connection misbehaves.
- Using the built-in theme directory lets you install verified, free themes directly from your dashboard in seconds no downloads or uploads required.
- Purchased or custom themes usually come as ZIP files, and this method shows you how to upload them safely without breaking your site.
- When your dashboard fails or you’re troubleshooting a broken theme, using File Manager or an FTP client gives you direct file access to fix or replace themes manually.
- Installing a theme through cPanel is especially helpful when you’re managing multiple WordPress sites or working with complex hosting setups it’s fast, efficient, and powerful.
- Understanding your theme’s requirements (WordPress compatibility) ensures smooth installation and prevents theme conflicts or functionality errors.
- The right WordPress theme isn’t just about looks it affects your website’s performance, mobile responsiveness, and even search engine rankings.
- Instead of jumping between forums and YouTube tutorials, this guide gives you every reliable method in one place saving you time, effort, and future troubleshooting.
In this beginner-friendly guide, we’ll walk you through clear, step-by-step instructions for How to install WordPress themes. We’ll explore four different methods, allowing you to choose the one that best suits your workflow and comfort level.
Prerequisties: What You Need Before Installing a WordPress Theme
Before you jump into installing a WordPress theme, it’s important to ensure you have everything in place. Missing any of these essentials can lead to errors, failed uploads, or theme functionality issues. Here’s what you need:
A Self-Hosted WordPress Installation
Make sure you’re working with a self-hosted WordPress site (WordPress.org) rather than a free WordPress.com plan. Installing third-party themes or uploading a ZIP file is only possible on self-hosted WordPress or a WordPress.com Business plan or higher.
Administrator Access to WordPress Dashboard
You’ll need admin-level access to install, upload, or activate a new theme. Without these privileges, you won’t see the “Add New” option under Appearance > Themes, and you won’t be able to make critical changes.
A Reliable Hosting Plan
Your WordPress website should be hosted on a stable and secure hosting platform. Choose a provider that offers compatibility with WordPress, enough storage for themes and media, and easy access to tools like cPanel or FTP. UltaHost’s WordPress Hosting is a great option if you want speed, security, and one-click WordPress installs.
Elevate Your Website with WordPress Hosting
Take your website to the next level with Ultahost’s LiteSpeed WordPress Hosting plans and experience 5x faster loading times than competing services. Our WP hosting solutions are precisely built to maximize speed and performance.
A Theme File (if uploading manually)
If you’re using a premium or third-party theme, make sure you have the theme ZIP file ready on your computer. This ZIP file must include all the theme’s required files and not be nested inside other folders.
File Manager or FTP Client Access
For advanced users or those working on a theme manually (e.g., when uploading via cPanel or FTP), ensure you have:
- A basic understanding of WordPress directory structure.
- Access to your hosting panel (cPanel or similar).
- FTP credentials.
- An FTP client like FileZilla.
Basic WordPress Knowledge
While you don’t need to be a developer, having basic WordPress Themes knowledge will help. Familiarize yourself with:
- How to back up your website.
- The difference between themes and plugins.
- What happens when you switch themes.
Website Backup
Always back up your website before installing or changing themes. This prevents data loss in case the new theme conflicts with existing plugins or breaks your layout. You can use plugins like UpdraftPlus or tools from your hosting provider. You might need to know about WordPress Backup Plugins to Secure Your Website with Top Solutions.
Method 1: Installing a WordPress Theme via the Theme Directory
This is the easiest and most beginner-friendly method. WordPress has a built-in theme repository that lets you browse, preview, and install free themes directly from your admin dashboard. You don’t need to download any files or access hosting panels everything is done within WordPress itself.
Step 1: Log into Your WordPress Dashboard
To begin, go to your website’s login page, typically yourdomain.com/wp-admin. Enter your username and password, and hit Log In. Once you’re in the dashboard, you’ll see the left-hand admin menu where you can access all customization options.
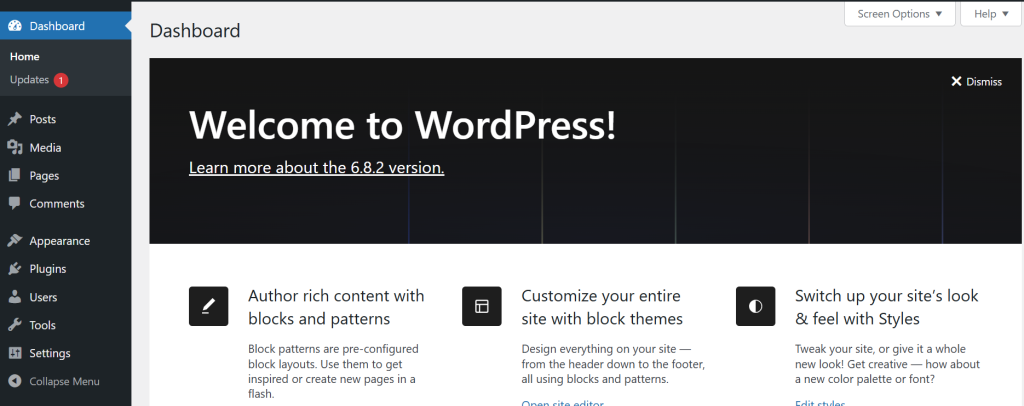
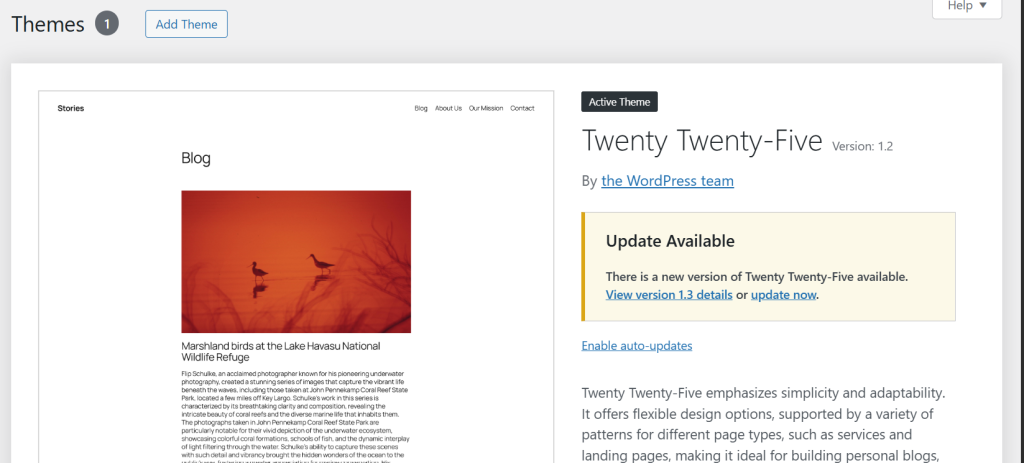
In the left-hand sidebar of your dashboard, hover over Appearance, then click on Themes. This will open a page displaying all the themes currently installed on your website, including the active one.
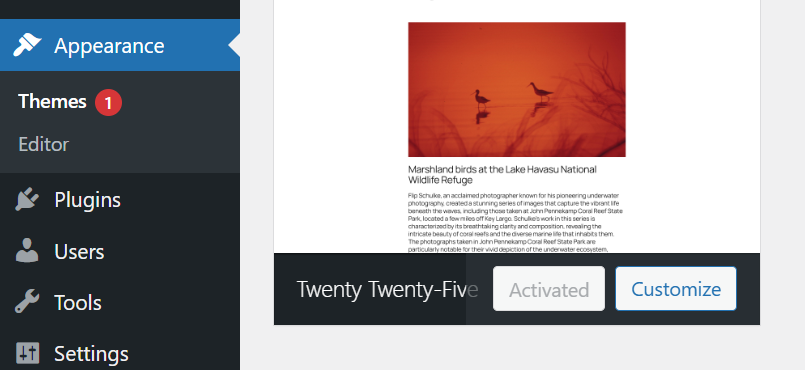
Step 3: Click on the “Add New” Button
At the top of the Themes page, click the “Add New” button. This will take you to the official WordPress theme directory, where you can search thousands of free themes.
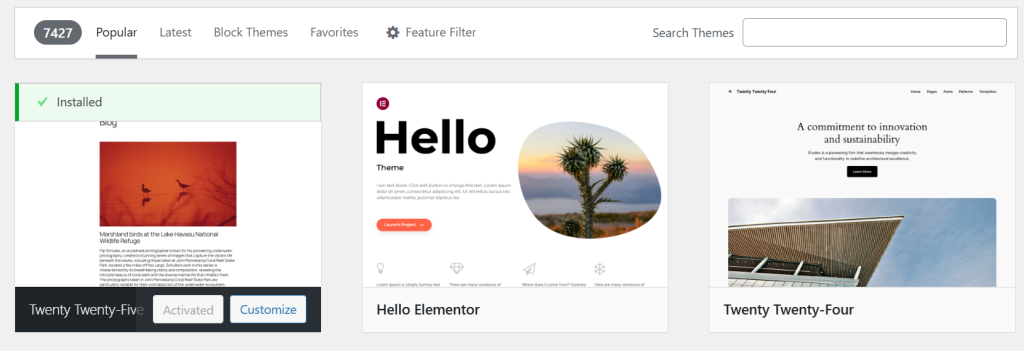
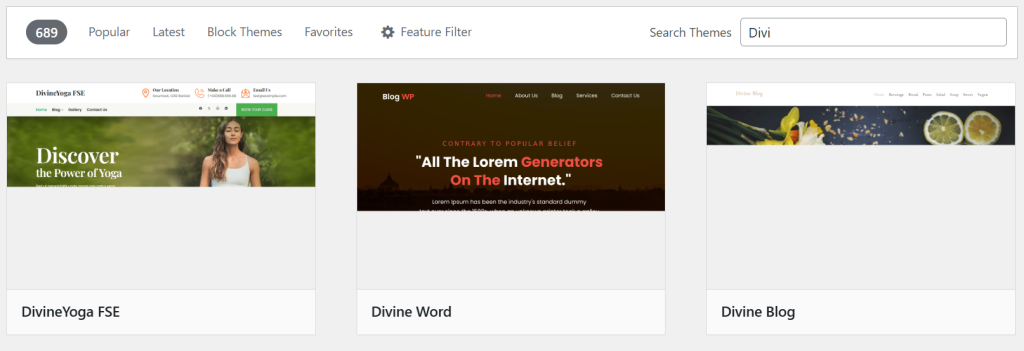
Step 4: Use the Search and Filter Tools
Use the search bar to type in keywords like portfolio, business, or blog to find relevant themes. You can also click on the Feature Filter to narrow results by layout, features, and subject. For example, if you want a grid layout and support for custom headers, you can filter accordingly.
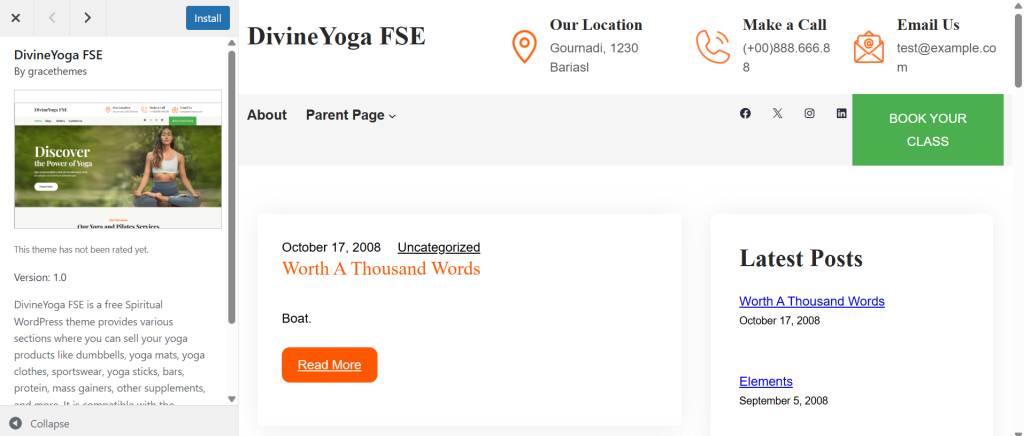
Step 5: Preview the Theme Before Installing
Before installing, it’s a good idea to preview how the theme will look on your site. Hover over a theme and click Preview. This opens a live demo using your current content, so you can decide if it fits your brand and layout preferences.
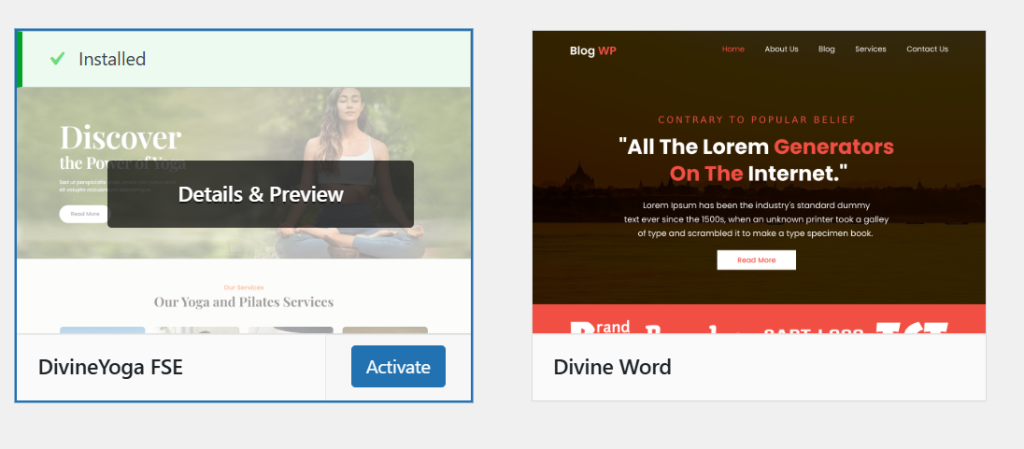
Step 6: Click ‘Install’ and Then ‘Activate’
Once you’ve found a theme you like, hover over it and click Install. WordPress will download and install the theme for you. Once installed, the Activate button will appear click it to apply the theme to your website immediately.
Method 2: Uploading a Theme ZIP File Manually
This method is useful when you’ve downloaded a premium or custom theme from a third-party provider like ThemeForest, TemplateMonster, or directly from a theme developer. These themes are usually provided in a .zip format that you can upload through the WordPress dashboard.
Step 1: Download the Theme ZIP File
After purchasing or downloading a theme, you’ll typically receive a .zip file. Make sure you don’t unzip it you’ll need to upload the compressed ZIP file as it is. If the file contains extra folders like documentation or licenses, locate the actual theme folder (usually named after the theme itself) and compress it back into a .zip if needed.
Step 2: Log into Your WordPress Dashboard
Navigate to your admin panel at yourdomain.com/wp-admin and log in with your credentials.
Step 3: Go to Appearance > Themes > Add New
In your dashboard’s left menu, hover over Appearance and click on Themes. On the Themes screen, click the “Add New” button at the top.
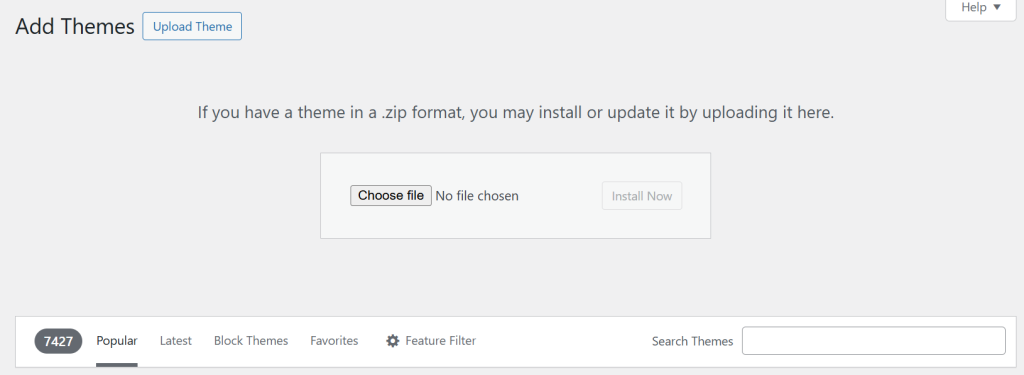
On the Add Themes page, you’ll notice an “Upload Theme” button next to the page title. Click it to open the upload form.
Step 5: Choose and Upload the ZIP File
Click “Choose File” and locate the theme ZIP file on your computer. Select it, then click “Install Now” to begin uploading the theme. WordPress will automatically extract and install the files.
Step 6: Activate the Theme
Once the installation is complete, you’ll see a message confirming the theme was installed successfully. Simply click the “Activate” link to apply the theme to your site.
Method 3: Installing a WordPress Theme Using File Manager or FTP Client
This method is especially useful when you face upload limits, server timeouts, or permissions issues while installing a theme through the dashboard. You can use cPanel’s File Manager or an FTP client like FileZilla to manually place the theme into your WordPress theme directory.
Step 1: Download and Unzip the Theme File
First, download the theme in ZIP format from your source (e.g., ThemeForest, TemplateMonster, or the developer’s site).
Now extract the ZIP file on your computer you should get a folder with the theme’s name, such as phlox, astra, or my-custom-theme. This is the folder you’ll upload.
Step 2: Open Your File Manager or FTP Client
- File Manager (cPanel):
- Log in to your hosting control panel (usually
yourdomain.com/cpanel). - Open File Manager and navigate to this path:
public_html/wp-content/themes/
- Log in to your hosting control panel (usually
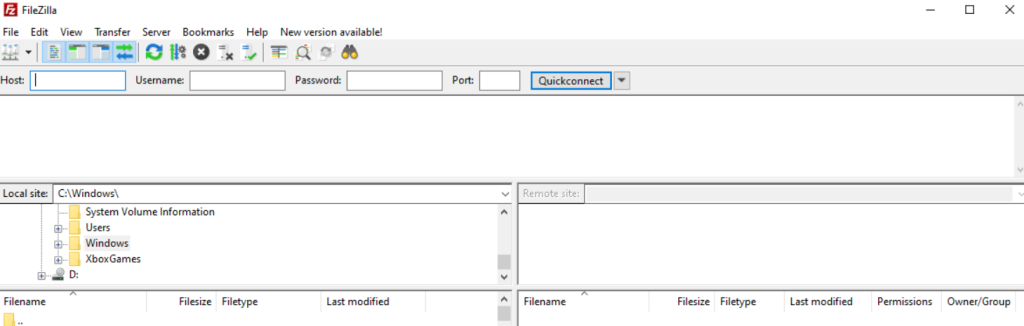
- FTP Client (e.g., FileZilla):
- Enter your domain, FTP username, and password into FileZilla.
- Connect and go to:
/public_html/wp-content/themes/
Step 3: Upload the Theme Folder
- If using File Manager:
- Click Upload from the top bar, select the ZIP file of your theme, and upload it.
- Once uploaded, right-click the file and Extract it. This will place the theme folder into the correct directory.
- Delete the ZIP file afterward to keep your server clean.
- If using FTP (FileZilla):
- On the left side (your local computer), find your extracted theme folder.
- Drag and drop that folder into the
/themes/directory on the right (your server).
Step 4: Activate the Theme in WordPress Dashboard
After uploading is complete, return to your WordPress admin dashboard. Go to: Appearance > Themes, and you’ll now see your newly uploaded theme listed there. Click Activate to make it live.
Method 4: Installing a WordPress Theme via cPanel
If you’re unable to access WordPress admin or want to manually upload a theme for more control, you can use cPanel’s File Manager to directly upload and extract the theme ZIP file into the WordPress themes directory. This method is quick, reliable, and especially helpful when dealing with large themes or limited dashboard access.
Step 1: Download and Prepare the Theme File
Download the theme you want to install from a trusted source. The file should be in .zip format. Do not extract the file on your computer you’ll extract it after uploading it in cPanel.
Step 2: Access cPanel File Manager
- Log in to your hosting account (preferably UltaHost’s cPanel Hosting ) and open cPanel.
- Scroll down to Files and click on File Manager.
- In the left-hand panel, go to:
public_html/wp-content/themes/
Step 3: Upload the ZIP File
- Once inside the
/themes/directory, click the Upload button from the top navigation. - Select your theme
.zipfile and wait for it to upload completely. - After the upload finishes, click Go Back to return to File Manager.
Step 4: Extract the ZIP File
- Locate the uploaded
.zipfile in the themes folder. - Right-click the file and select Extract.
- When prompted, confirm the extraction path (
/wp-content/themes/) and click Extract Files. - A new folder with your theme name will now appear in the directory.
Step 5: Activate the Theme from WordPress Admin
Now log into your WordPress dashboard and go to: Appearance > Themes, Your newly uploaded theme will now appear. Click Activate to apply it to your website.
Tips for Choosing the Right WordPress Theme
Picking the right theme is crucial because it affects your website’s performance, appearance, SEO, and user experience. Learn also about Free vs Premium WordPress Themes: Which One Is Best for Your Business.
Keep these tips in mind before installing a WordPress theme:
- Responsiveness: A good theme should look great on desktops, tablets, and smartphones. Always check the demo on different screen sizes or use developer tools to test responsiveness.
- Lightweight and Fast-Loading: Avoid overly bloated themes with unnecessary features that slow down your website. Speed is vital for SEO and user satisfaction.
- Regular Updates and Active Support: Choose a theme that is frequently updated and has responsive customer support. This ensures compatibility with the latest WordPress version and better security.
- Compatibility: Make sure the theme works seamlessly with popular tools like Elementor, WPBakery, WooCommerce, or Yoast SEO if you plan to use them.
- Good Ratings and Reviews: Read user reviews and check star ratings on the theme’s WordPress page or developer site to avoid buggy or unsupported themes.
- SEO-Friendly Theme: A well-coded theme helps search engines index your content properly. Look for themes built with clean, optimized HTML5 and Schema markup.
- Niche and Brand Identity: Whether you’re building a blog, portfolio, or eCommerce store, your theme should align with your niche and visually reflect your brand.
- Functionality: Some themes come with built-in functionality (like custom post types) that should ideally be handled by plugins. Avoid these to ensure future flexibility.
A quick overview to our guide WordPress tips and tricks to improve your website today.
Conclusion
Installing a WordPress theme may seem like a simple task, but choosing the right method and the right theme makes all the difference in how your website performs and how professional it looks.
Whether you prefer the built-in theme directory for ease, uploading a ZIP file for premium themes, using File Manager for manual control, or managing it through cPanel for deeper access each method gives you full control over your website’s look and feel. This guide helped you to how to install a wordpress theme by all four methods.
Remember, your theme is the foundation of your website’s user experience and brand identity. Don’t rush this step. Take time to choose a theme that’s clean, responsive, well-coded, and designed to support your long-term website goals. Once you’ve installed and activated the right theme using your preferred method, you’re all set to build an engaging, high-performing WordPress site.
Are you looking for a reliable web host for your blog website? Choose Ultahost’s Blog Hosting solutions to cultivate your online presence. Enjoy unmatched performance, pre-installed WordPress, and 24/7 security, starting at just $2.87 per month.
FAQ
Can I change my WordPress theme without losing content?
Yes, you can change your theme without losing your posts, pages, and media files. However, some theme specific settings, widgets, and shortcodes might not transfer correctly. Always back up your site before switching themes.
What’s the difference between free and premium WordPress themes?
Free themes are available in the WordPress theme directory and offer basic features with limited support. Premium themes usually come with advanced features, customization options, updates, and dedicated support but at a cost.
Can I upload a theme directly from my WordPress dashboard?
Yes. You can upload a theme in ZIP format via Appearance > Themes > Add New > Upload Theme. This method is commonly used for installing premium themes purchased from third-party sources.
Why can’t I install a theme on WordPress.com?
On WordPress.com’s free plan, you can only use pre-installed themes. To install custom themes (including from ZIP files), you need a WordPress.com Business or higher plan or switch to self-hosted WordPress.org, where you have full control.
What should I do if my WordPress theme installation fails?
First, check if the ZIP file is valid and doesn’t exceed upload limits. If installing via File Manager or FTP, ensure folder permissions are correct. Also, verify that the theme files are inside the main folder and not nested in multiple directories.
How many themes can I install on WordPress?
You can install as many themes as you like, but only one can be active at a time. It’s a good practice to delete unused themes to improve performance and security.
Is it safe to download themes from third-party websites?
Only download themes from reputable sources like ThemeForest, Elegant Themes, or the official developer’s site. Avoid nulled themes, as they may contain malicious code or security vulnerabilities.


