
How to Install Graphical Uncomplicated Firewa...
Ubuntu provides a pre-installed firewall configuration ...


Apache ZooKeeper Ubuntu is an open-source server that enables highly reliable distributed coordination. Designed to manage and orchestrate complex distributed systems, ZooKeeper provides a centralized service for maintaining configuration information, naming, and providing distributed synchronization, and group services.
For Ubuntu users, integrating ZooKeeper can significantly enhance the management of distributed applications, ensuring high availability and consistency across nodes. By implementing ZooKeeper, developers and system administrators can benefit from its robust fault tolerance, simple API, and the ability to handle partial network failures gracefully.
This tool is particularly beneficial in environments where coordination between multiple services is critical, like in cloud computing setups, big data processing, or when deploying microservices architecture, thereby optimizing system performance and reliability on Ubuntu systems.
Here’s a guide on installing ZooKeeper on Ubuntu, with explanations, updated commands, and additional useful information:
Ensure you have sudo privileges on your Ubuntu system.
Step 1: Install Java
ZooKeeper runs on Java. First, check if Java is installed:
java --version
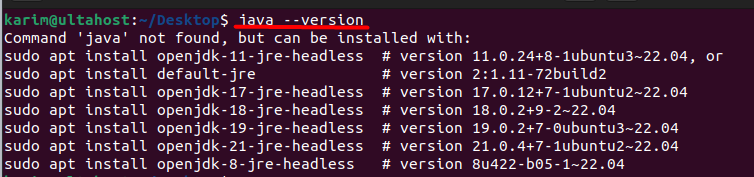
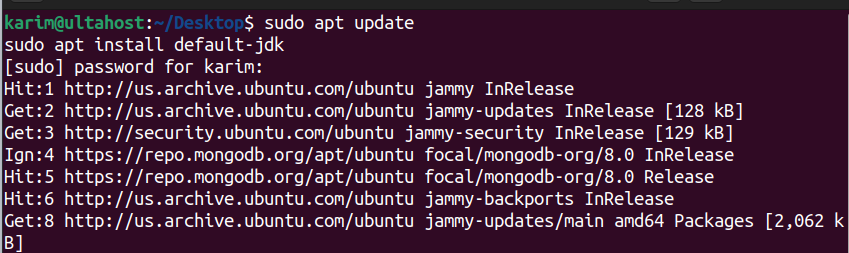
If Java isn’t installed or you need a specific version, install OpenJDK Ubuntu on your system:
sudo apt update
sudo apt install default-jdk
Step 2: Create a Dedicated User for ZooKeeper
For security and management reasons, create a new user:
sudo adduser --system --group --home /opt/zookeeper zookeeper

The `–system` flag creates a system user without a home directory by default, but we specify `–home` to create one at `/opt/zookeeper`. This user will own and run ZooKeeper.
Unleash the power of Ubuntu VPS
Experience the reliability of the world’s top Linux distribution with the flexibility of a virtual server. Enjoy lightning-fast speeds and low latency.
Step 3: Set Up the ZooKeeper Data Directory
Create and set permissions for the data directory:
sudo mkdir -p /var/lib/zookeeper
sudo chown zookeeper:zookeeper /var/lib/zookeeper

ZooKeeper needs a directory to store its data. `/var/lib/zookeeper` is a common location for data storage.
Step 4: Download and Install ZooKeeper
Navigate to the download directory:
cd /opt

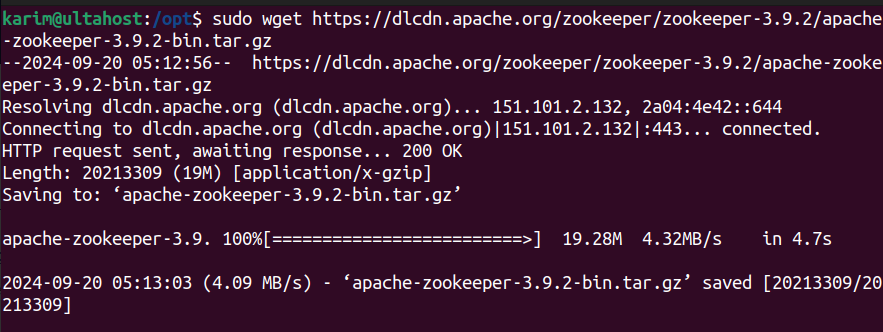
Download ZooKeeper using `wget`. Check the Apache ZooKeeper site for the latest stable version
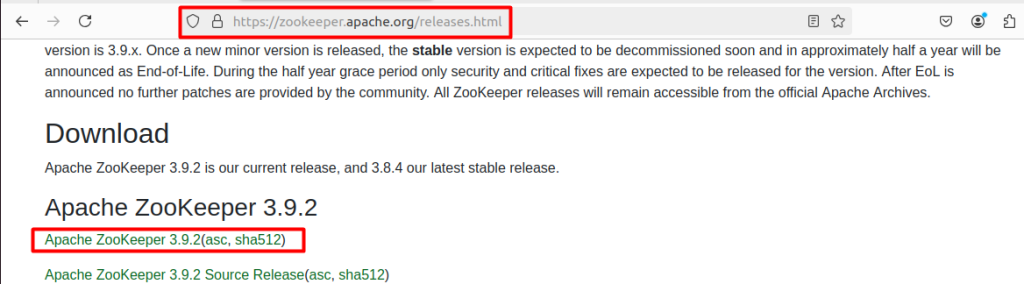
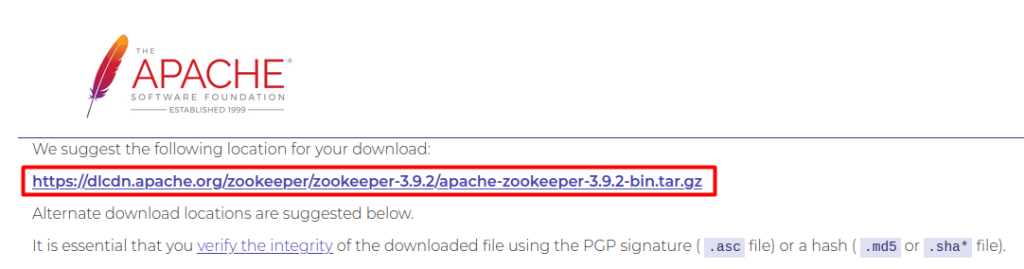
sudo wget
https://dlcdn.apache.org/zookeeper/zookeeper-3.9.2/apache-zookeeper-3.9.2-bin.tar.gz
Extract the downloaded tarball:
sudo tar -xzf apache-zookeeper-*.tar.gz -C /opt

Rename for simplicity:
sudo mv /opt/apache-zookeeper-* /opt/zookeeper

Change ownership to the ZooKeeper user:
sudo chown -R zookeeper:zookeeper /opt/zookeeper

Step 5: Configure ZooKeeper
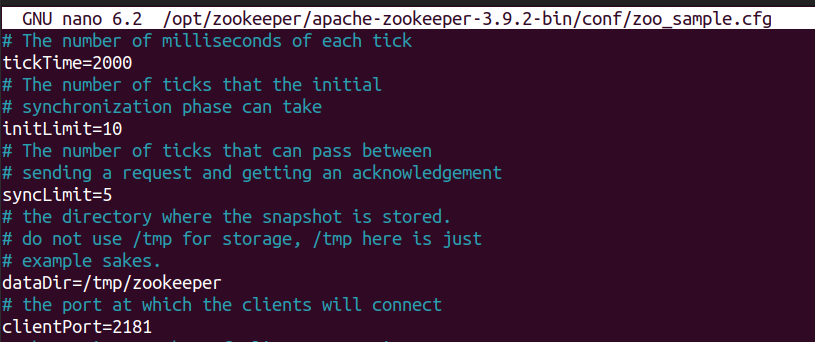
Create a configuration file:
sudo nano /opt/zookeeper/apache-zookeeper-3.9,2-bin/conf/zoo_sample.cfg
Add or modify the following basic configuration:
properties
tickTime=2000
dataDir=/var/lib/zookeeper
clientPort=2181
initLimit=10
syncLimit=5
Step 6: System Service Setup
Create a systemd service file for ZooKeeper:
sudo nano /etc/systemd/system/zookeeper.service
Paste this content:
ini
[Unit]
Description=Apache ZooKeeper Service
After=network.target

[Service]
User=zookeeper
ExecStart=/opt/zookeeper/bin/zkServer.sh start /opt/zookeeper/conf/zoo.cfg
ExecStop=/opt/zookeeper/bin/zkServer.sh stop
Restart=on-failure

[Install]
WantedBy=multi-user.target

This service file allows ZooKeeper to be managed by systemd, enabling automatic start on boot and easy management.
Read also How to Install Apache on Ubuntu.
Reload systemd to recognize the new service:
sudo systemctl daemon-reload

Start and enable ZooKeeper:
sudo systemctl start zookeeper
sudo systemctl enable zookeeper

To check the status of Apache Zookeeper:
sudo systemctl status zookeeper
Step 7: Connect to ZooKeeper
To connect to the ZooKeeper server:
/opt/zookeeper/bin/zkCli.sh -server 127.0.0.1:2181

By leveraging these features and benefits, Ubuntu users can significantly enhance the robustness, scalability, and manageability of their distributed systems, making Apache ZooKeeper an invaluable tool in modern computing environments.
In this guide, we’ve walked through the detailed process of installing Apache ZooKeeper on an Ubuntu system. We started by ensuring Java was installed, as it’s a prerequisite for running ZooKeeper. We then created a dedicated user for security purposes, set up the necessary directories, and downloaded and configured ZooKeeper for operation. By creating a systemd service, we’ve ensured that ZooKeeper can be managed effectively, starting automatically with the system and recovering from failures.
The steps outlined not only facilitate a smooth installation but also prepare your Ubuntu environment for running distributed applications with enhanced coordination and reliability. With ZooKeeper now installed, you’re equipped to handle the complexities of distributed systems, ensuring data consistency and service availability. Whether for development or production, this setup lays a solid foundation for leveraging ZooKeeper’s capabilities in managing your distributed applications efficiently.
Whether you’re a seasoned developer or new to Linux, having a setup tailored to your needs is essential. Ultahost provides a robust and reliable platform. with Linux VPS hosting providing dedicated resources to ensure the speed and stability necessary for efficient task handling.
Java (Zookeeper requires Java 8 or higher), Memory(At least 1 GB of RAM is recommended), and disk space (A minimum of 10 MB of free disk space is needed).
You can install OpenJDK with the following commands:
It’s common to place Zookeeper in the /opt directory:
sudo mv apache-zookeeper-3.8.0-bin /opt/zookeeper
You can start Zookeeper using the provided script:
/opt/zookeeper/bin/zkServer.sh start
To stop the Zookeeper service, run:
/opt/zookeeper/bin/zkServer.sh stop
The logs are typically located in the logs directory.
Refer to the official documentation on the Apache Zookeeper website.