
How to Install FFmpeg on Windows 10
FFmpeg, a powerful open-source software, has revolution...


Shoutcast software is a suite used for streaming media primarily audio over the internet. It utilizes its proprietary protocol and allows users to create or tune in to internet radio stations. The software is available in free and paid versions with additional features that help you broadcast your voice and music to the world.
This guide will walk you through the install ShoutCast Windows machine, enabling you to create your own internet radio station.
Before we begin it is important to understand that ShoutCast consists of two main parts:
Following are the software requirements described below:
The following methods are described below when installing ShoutCast on Windows:
Install Winamp
First, you need to install WinAmp on Windows because the DSP is the plugin of WinAmp.
Install ShoutCast Server
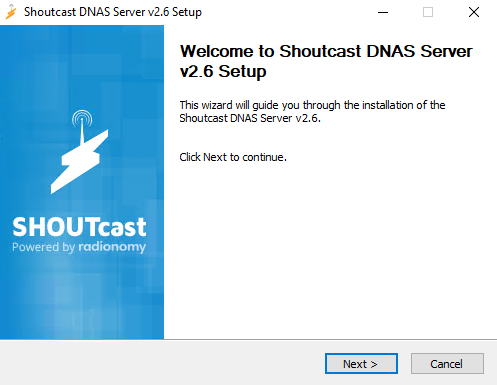
To install ShoutCast server on Windows 10 visit this website. Then double-click the downloaded ShoutCast server installer.
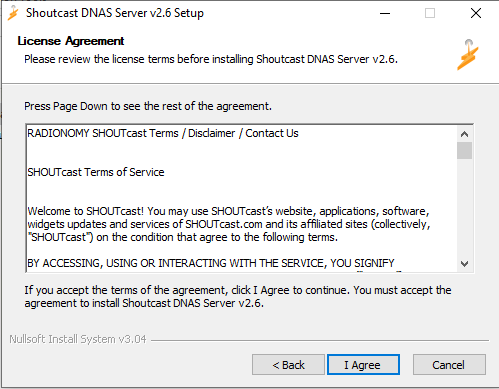
Agree to the license agreement and proceed with the installation.
During installation, you can choose additional features. It is recommended to select the “Documentation” option for access to helpful guides.
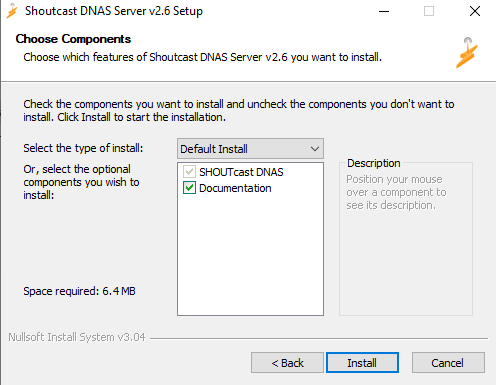
Choose a suitable installation directory and click “Install”.
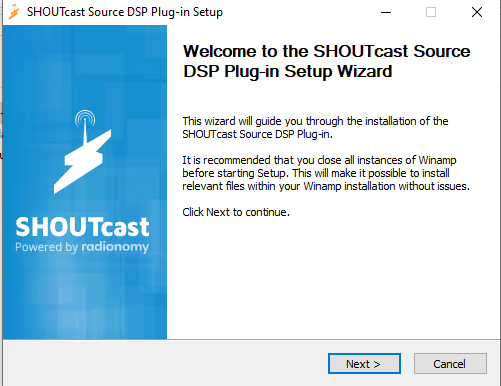
Install ShoutCast Source DSP
Head to the official website for ShoutCast Source DSP then download the installer. Double-click the installer and follow the on-screen instructions same as the ShoutCast server.
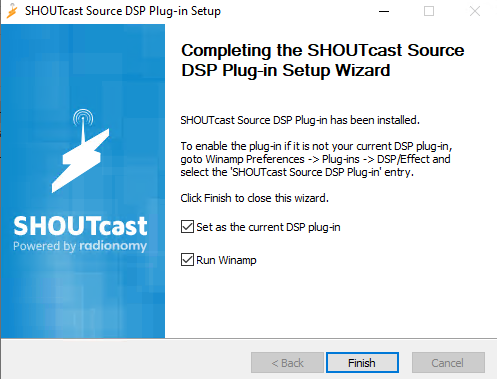
Select “Full Install” for a complete setup and click “Install”. Ensure the options to “Install Winamp DSP” and “Copy files to Winamp DSP directory” are checked before clicking “Finish”.
Explore ShoutCast on Our Cheap Radio Hosting!
Get cheap radio hosting for your online station. High-quality streaming on ShoutCast servers. Start your journey today with a professional radio hosting service.
Following are described below on how to configure SHOUTcast server and DSP configuration:
Open the ShoutCast server installation directory then Locate the file “sc_serv.ini” and open it with a text editor.
Edit the following settings:
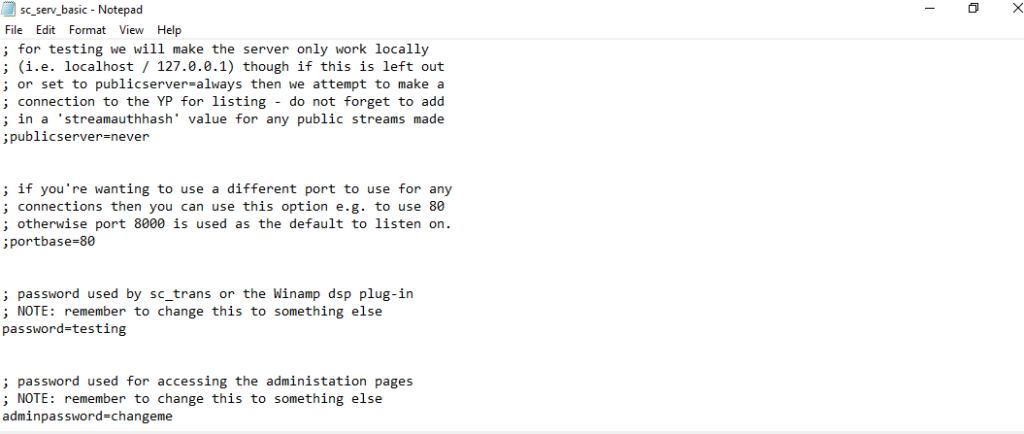
Save the “sc_serv.ini” file after making your edits.
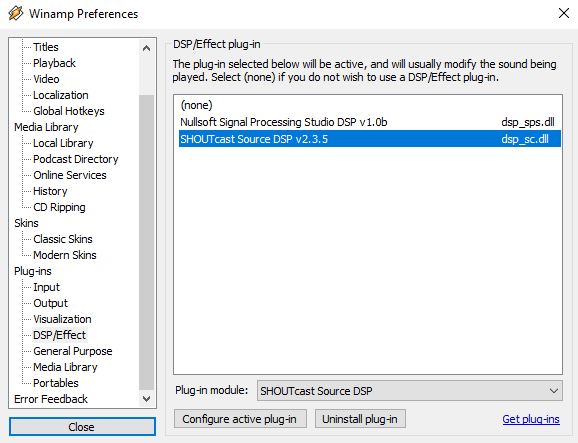
Open Winamp and go to “Options” then “Preferences” then “Plugins” then “DSP/Effect”. In the list, select “Nullsoft SHOUTcast Source DSP” and click “Configure active plug-in”.
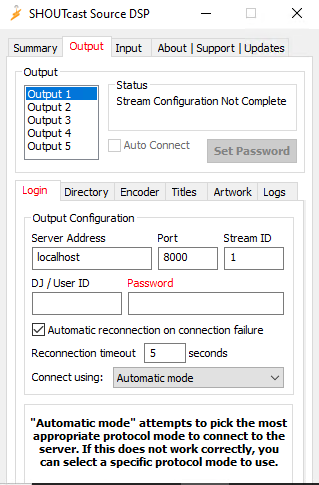
Under the “Output” tab:
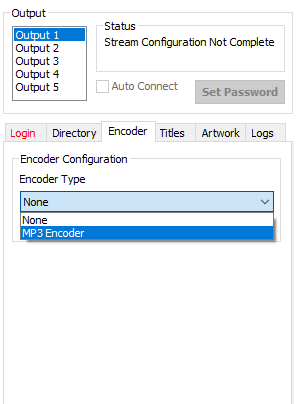
Under the “Encoder” tab, choose the desired audio format and bitrate for your stream. Click “OK” to save your settings.
Read also How to Install Ansible on Windows.
Open the ShoutCast server installation directory and locate the “sc_serv.exe” file. Right-click on “sc_serv.exe” and select “Run as administrator.” This ensures the server has the necessary permissions to operate.
1. Open Winamp and create a playlist with the audio content you want to stream.
2. In Winamp go to “Options” settings then “Preferences” then “Plugins” then “DSP/Effect”.
3. Ensure “Nullsoft SHOUTcast Source DSP” is selected as the active plugin. Click “Configure active plug-in” and navigate to the “Output” tab.
4. Verify the server address, port, and password details. Click “Start” in the Winamp window to begin playback. You should see the audio levels moving in the ShoutCast Source DSP plugin window.
Once you have configured and tested your ShoutCast setup you are ready to share your voice. Here are some notes:
By following these steps and exploring the features of ShoutCast, you can create and optimize your own internet radio hosting station and share your valuable information with a global audience. Remember creating a successful station takes time so keep broadcasting.
Installing ShoutCast on Windows can be an easy process when it comes to the configuration can be complex ensuring reliable streaming. Upgrading to an Ultahost Windows 10 VPS offers a robust and user-friendly solution that helps to eliminate compatibility issues and simplifies the installation process. Our VPS resources provide the processing power and bandwidth needed to handle demanding audio streams efficiently.
ShoutCast is software that lets you stream audio online.
Visit the ShoutCast website or the above-described links and download the Windows installer.
Yes, you only need the WinAmp installer for Windows.
Yes, ShoutCast has a free version available for download.
Yes, you can stream your music using ShoutCast once it’s installed.