
How to Install TYPO3 on Windows 10
TYPO3 is a powerful, open-source content management sys...


In modern PHP development, managing external libraries and dependencies efficiently is crucial for building robust and scalable applications. Manually downloading, updating, and configuring these dependencies can be time-consuming and error-prone, especially within a Windows environment. Composer, an open-source dependency manager for PHP, addresses this challenge by automating the process of finding, installing, and updating project dependencies specifically for Windows systems.
Composer simplifies dependency management by allowing developers to declare the libraries their project needs, while it handles the rest. It ensures that the correct versions of dependencies and their sub-dependencies are installed, preventing compatibility issues. Additionally, Composer promotes project organization by maintaining a clear structure for dependencies and autoloading, streamlining development workflows, and enhancing code maintainability across different platforms, including Windows.
In this article, you will get detailed information on install Composer Windows system.
Before diving into the Composer install Windows, it’s essential to ensure your system meets the necessary requirements and has PHP properly set up.
Composer runs on Windows 7, 8, 10, and 11. While there are no strict hardware limitations, ensure your system has sufficient resources for development tasks. Generally, having at least 4GB of RAM and adequate free disk space is recommended for a smooth experience.
Composer is a dependency manager for PHP, so having PHP installed on your system is a fundamental requirement.
To verify if PHP is already installed on your Windows or not, you can execute the below command:
php -v

If PHP is installed, it will display the installed version information. It is also possible that PHP is installed but you didn’t enter its path inside the environment variable. Read this guide, To learn more about installing PHP on Windows or how you can place its path inside the environment variable.
So when you properly follow the steps then this should be the output you should expect:

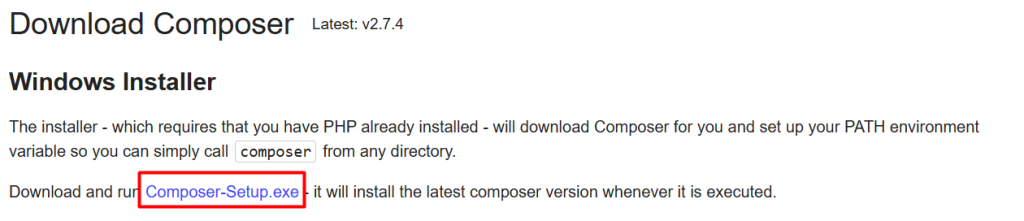
Download Composer
After successfully installing and enabling PHP, you should now proceed to install Composer on Windows. For this, you need to first go to its official website and download Composer Windows executable file:
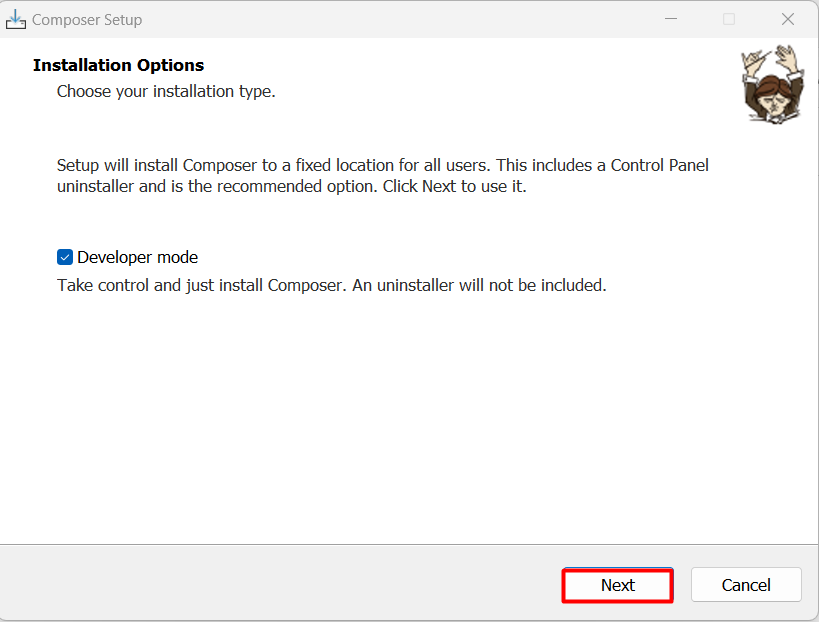
Choose Standard or Developer Mode
When installing Composer for Windows using the installer, you’ll encounter a choice between two installation types:
Standard Installation: This is the recommended installation type for most users. It installs Composer with the default settings, which are suitable for most use cases. With a standard installation, Composer will be installed in a way that allows you to use it for managing dependencies for your PHP projects.
Developer Installation: This installation type is intended for developers who need more control over the Composer installation. It allows you to customize the installation settings, such as the installation path, the PHP executable to use, and other advanced options.
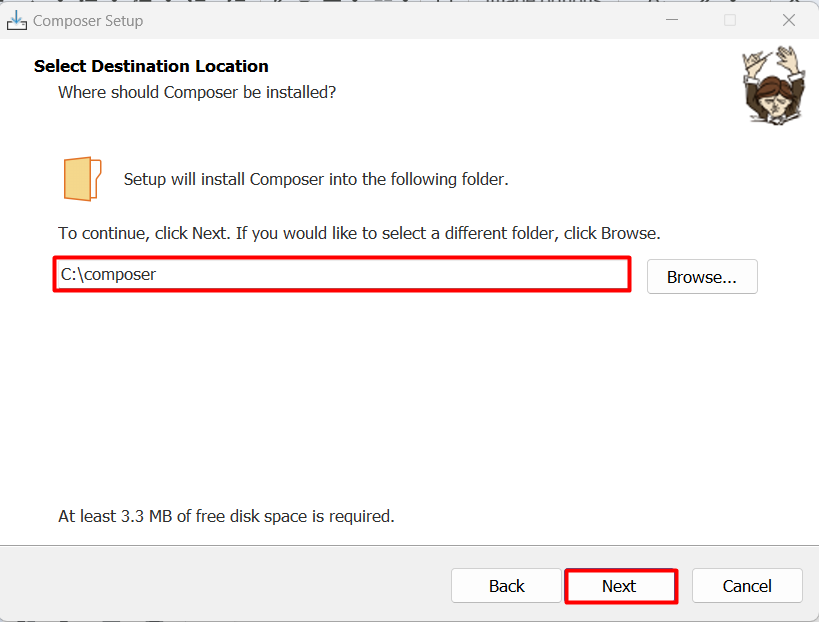
Provide Composer Installation Path
Now you need to provide the path where you want to install composer:
Choose PHP Executable
Next, you need to select the command line PHP executable that Composer will use. This is important because the Composer needs to interact with PHP to perform tasks like installing dependencies and running scripts.
Composer needs to know which PHP executable to use to execute its commands. This ensures that Composer can correctly interpret and execute PHP code and that the correct version of PHP is used for your projects.
The path will be displayed automatically as the installer attempts to locate your PHP installation by checking common installation directories and the system’s PATH environment variable.
In case you are using multiple PHP versions, then you need to provide the desired path in this case:

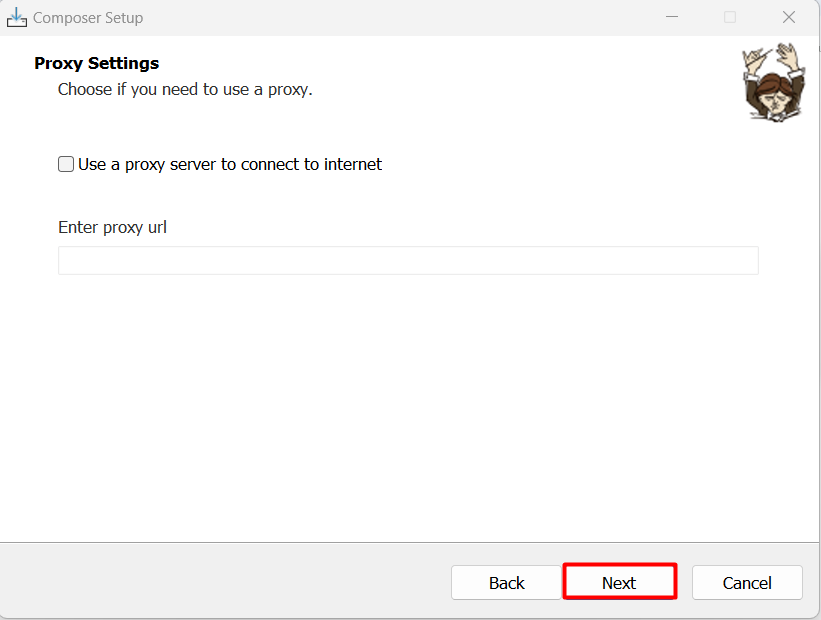
Provide Proxy Settings or Skip it
The Composer installer provides an option to configure proxy settings, which is essential for users whose internet connections route through a proxy server. A proxy server acts as an intermediary between your computer and the internet, controlling and often filtering network traffic.
If your network or organization uses a proxy server to access the internet, you’ll need to enter the proxy settings to allow Composer to download dependencies and packages. This is especially important if you’re behind a corporate firewall or have restricted internet access.
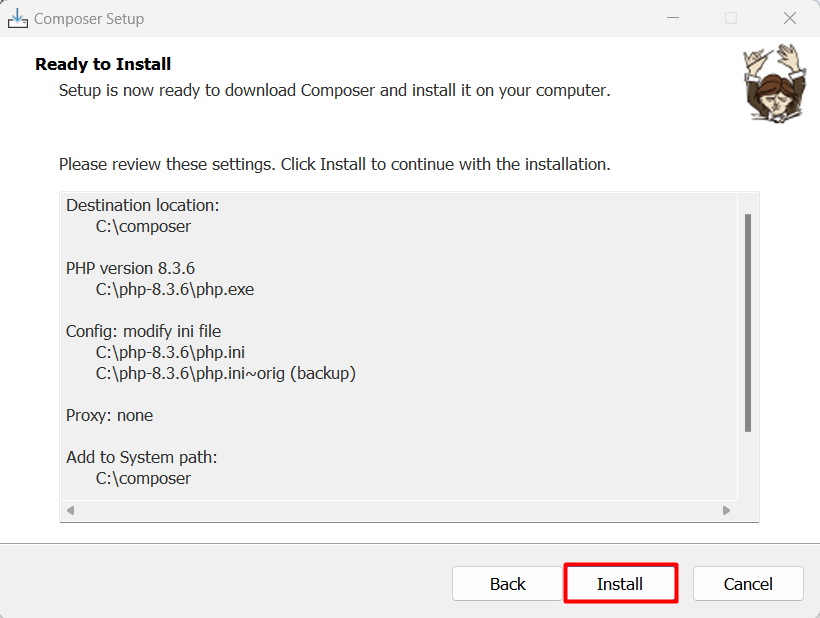
Verify the Installation
In this step, the installer is displaying a summary of the settings you’ve chosen so far. Carefully examine each setting to confirm it aligns with your choices and environment. If you spot any discrepancies, use the “Back” button to navigate to the relevant step and make corrections. Once you’re satisfied with the configuration, proceed with the installation.
Install Composer on Our Windows 10 VPS!
With Ultahost, Hosting Windows VPS has never been easier or faster. Enjoy ultra-fast SSD NVME speeds with no dropouts and slowdowns.
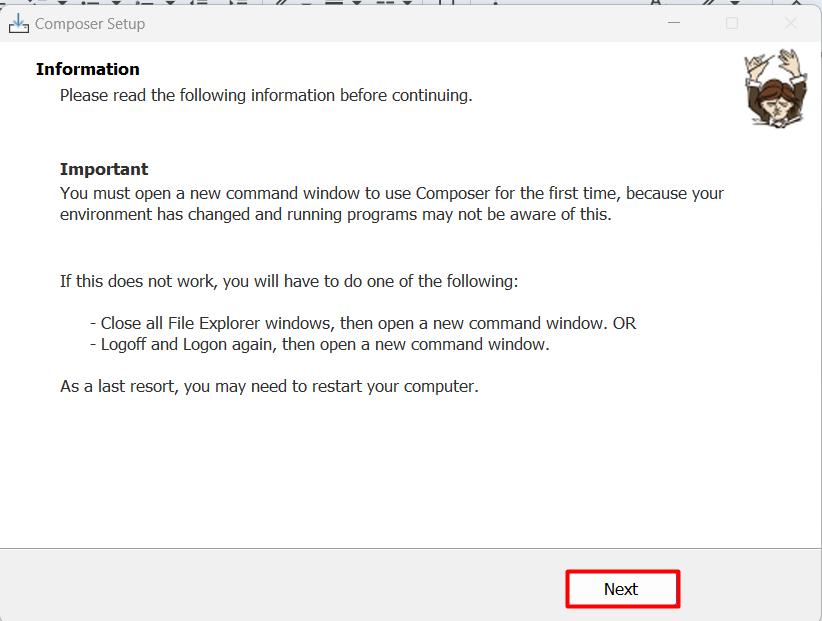
Understanding Environment Changes
Congratulations! You’ve successfully installed Composer on your Windows system. The installer is providing you with a crucial piece of information. When you installed Composer, it updated your system’s environment variables to include the Composer executable. However, this change only takes effect in new command windows or terminal sessions. Any existing command windows or running programs may not be aware of this change.
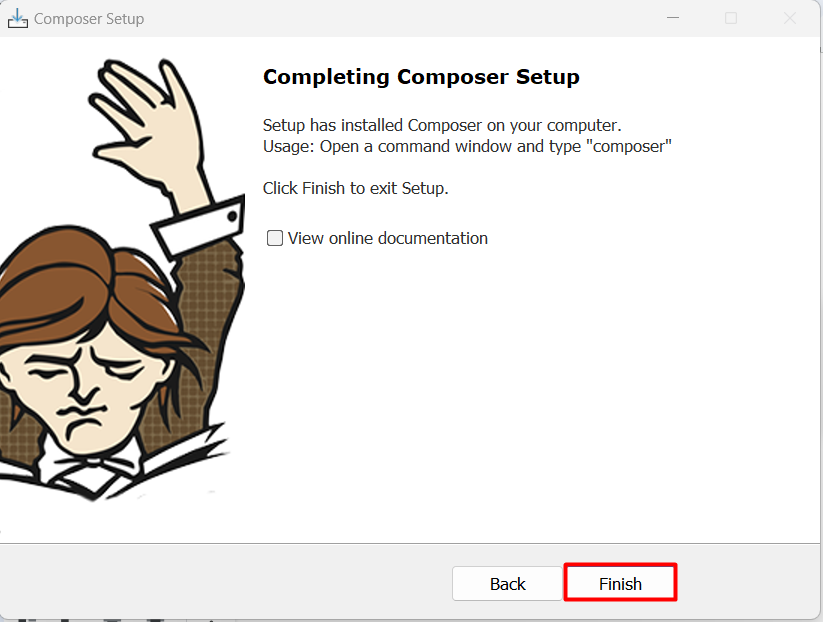
After acknowledging it, you can now close the installation process by clicking on the Finish button:
Now to verify this, you need to close any opened terminal and then reopen it to execute the below command:
composer -v
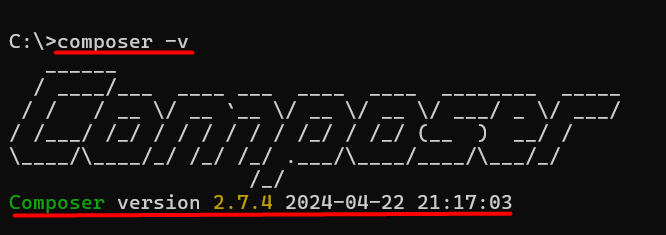
The output displays the composer version which shows it has been installed successfully.
Read also How to Install Composer on Ubuntu 22.04.
Installing Composer on Windows is a straightforward process that requires minimal effort. By following the steps outlined in this article, you can easily set up Composer on your Windows system and start managing your PHP project dependencies with ease. From ensuring PHP is installed and configured correctly to choosing the right installation type and providing proxy settings, we’ve covered all the essential steps to get you started with Composer.
With Composer installed you can now take advantage of its powerful dependency management features to streamline your development workflow and build robust, scalable applications. Remember to update your environment variables by opening a new command window or terminal session to ensure Composer is ready to use.
While installing Composer on Windows is possible it can be introduce compatibility challenges down the line. Upgrading to an Ultahost cheap Windows VPS server provides a more robust and cost-effective solution that offers a full Windows desktop environment allowing you to install Composer with ease and ensuring it integrates seamlessly with your development workflow.
Composer is a dependency manager for PHP. It simplifies the process of managing PHP libraries required for your projects.
You can install Composer on Windows by following these steps:
No, Composer includes its own PHP runtime, so you don’t need to have PHP installed separately on your system.
Yes, Composer installs globally by default on Windows. You can use it from any directory in your Command Prompt or PowerShell.
No, Composer does not have a graphical installer for Windows. However, the command-line installer is straightforward and easy to use.