Migrate a WordPress site from localhost to Ub...
Migrating your WordPress site from a local development ...
RTMP stands for Real-Time Messaging Protocol and is a widely used protocol for delivering audio video and data over the internet. NGINX is a high-performance web server that can also function as an efficient RTMP server when combined with the appropriate module.
In this post, we will cover the process of setup NGINX RTMP on Ubuntu operating system. Furthermore, we will explore additional configurations and provide troubleshooting steps.
Before we begin setup the Linux RTMP server make sure you have the following requirements:
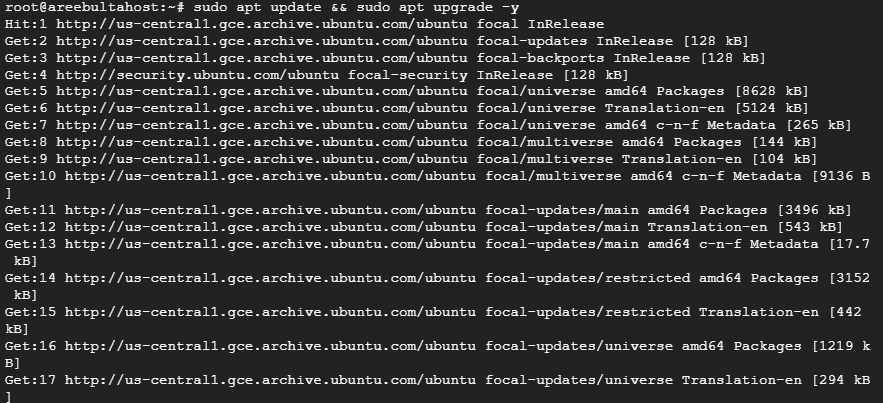
Always begin by updating and upgrading your Ubuntu system to ensure you have the latest packages. Type the following command:
sudo apt update && sudo apt upgrade -y

Now after that, you need to install NGINX on Ubuntu or you can run it along with the RTMP module. Run the following command:
sudo apt install nginx libnginx-mod-rtmp -y

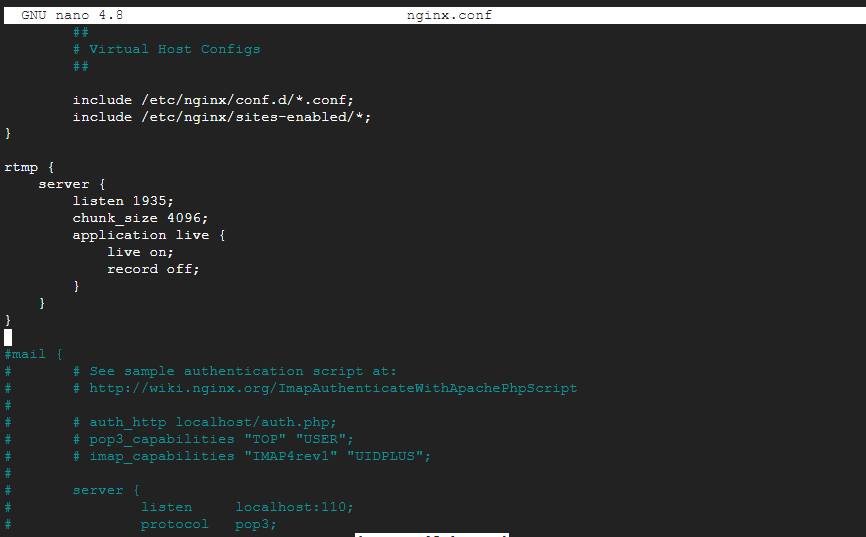
After downloading locate the NGINX configuration file for your RTMP server. For example, navigate the /etc/nginx/nginx.conf directory:
sudo nano /etc/nginx/nginx.conf
Paste the following configuration into the nginx.conf file after the HTTP block replacing placeholders with your desired settings:
rtmp {
    server {
        listen 1935;
        chunk_size 4096;
        application live {
            live on;
            record off;
        }
    }
}

Explanation of configuration options:
Now check for any syntax errors in your NGINX configuration by typing the following command:
sudo nginx -t
Next, restart the NGINX RTMP server to apply the changes and run the following:
sudo systemctl restart nginx
Setting NGINX RTMP on Our Ubuntu VPS!
Combine the power of the world’s most trusted Linux distro with the flexibility of a VPS. Experience lightning-fast performance.
Also, you can check the NGINX active status by typing the following command:
sudo systemctl status nginx

To check if your RTMP server is running, use a tool like netstat command:
sudo netstat -tulnp | grep nginx
You should see a line indicating that NGINX is listening on port 1935. Now you can access your RTMP server in third-party software like Open Broadcaster Software short for OBS by setting up the RTMP URL and stream key which is rtmp://<your-ipaddress>/live/<stream_key> then start streaming.
Following are additional configurations after installing RTMP NGINX on the Ubuntu operating system:
record on; in the application block. You can also specify a path for recording files using the record_path directive.hls module.rtmpstat or custom scripts to monitor your RTMP server’s performance.Also, Read How to Set Up an Nginx Reverse Proxy.
If you encounter issues while installing the RTMP NGINX on Ubuntu consider the following:
By following these steps, you have successfully set up an RTMP server using NGINX on your Ubuntu server. This provides a foundation for building a live streaming platform or integrating RTMP into your applications. Remember to explore additional configuration options and troubleshooting techniques to advance your setup according to your specific requirements.
Experience top-notch security and performance with Ultahost’s VPS hosting for streaming. Safeguard your server while maximizing speed and efficiency for your Nginx proxy setup. Choose Ultahost for unparalleled reliability and peace of mind.
RTMP (Real-Time Messaging Protocol) is a protocol used for streaming audio, video, and data over the internet.
NGINX is a web server that can also be used as a reverse proxy, load balancer, and streaming server.
NGINX is lightweight, highly customizable, and supports RTMP for efficient live streaming.
You need an Ubuntu server, basic command-line knowledge, and NGINX with the RTMP module installed.
You can install NGINX with the RTMP module by compiling it from the source or using a pre-built package.
Edit the NGINX configuration file to include the RTMP module settings for streaming.
Yes, NGINX RTMP can be configured to stream to multiple platforms simultaneously, like YouTube and Twitch.