How to use Weglot Plugin on WordPress
Weglot is a powerful translation Plugin that helps you ...
WordPress a powerful content management system offers a user friendly interface for uploading media files. However, when it comes to bulk uploading a large number of files the default method can be time consuming and inefficient. In such cases, File Transfer Protocol can be a more efficient approach.
Bulk uploading files via FTP is a powerful way to streamline this process. In this article, we will discuss the process of bulk uploading files to your WordPress media library using FTP.
Using FTP to upload files in bulk offers several advantages:
Before we dive into the steps ensure you have the following:
Following are the steps described below for FTP bulk file upload on WordPress:
Download and Install an FTP Client. You can install WinSCP on Windows to transfer files securely. Alternatively, you can also install FileZilla which is a popular choice.
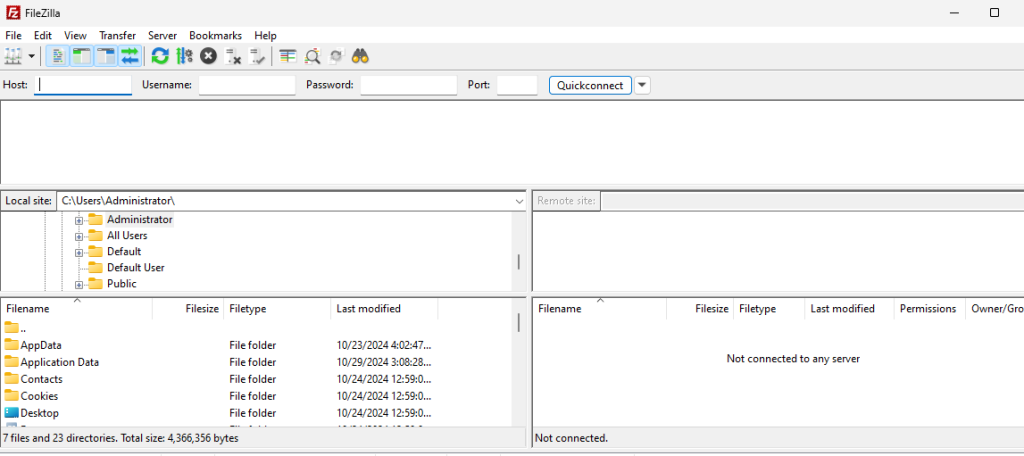
Open your FTP client and enter your host for example ftp.yourwebsite.com, username, password, and port number which is usually 21.
Click ‘Connect’ or ‘Quickconnect’ to establish a connection with your server.
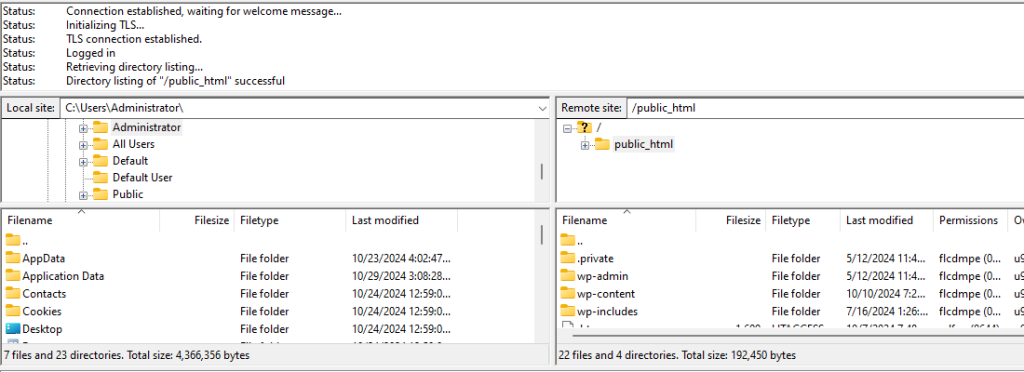
Locate the WordPress Uploads Directory which is found in wp-content/uploads. This is where WordPress stores all media files.
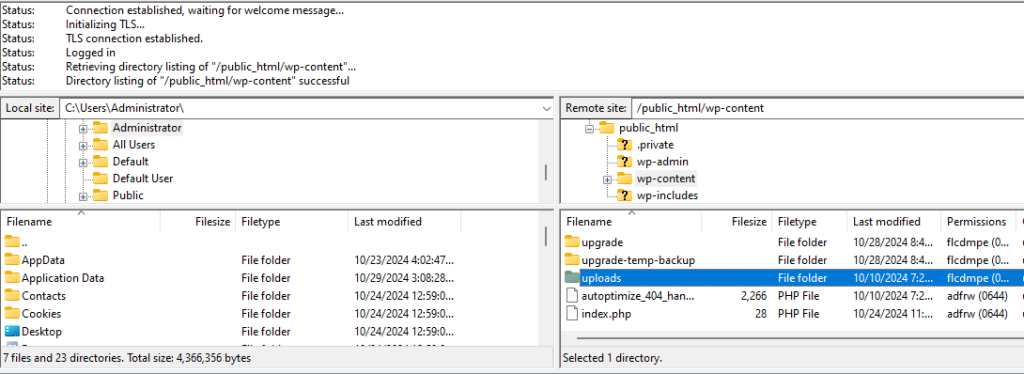
If you want to organize your uploads, create a new folder within the uploads directory.
Choose the files you want to upload from your local machine. Drag the selected files from your local directory to the desired folder in your WordPress uploads directory on the FTP client.
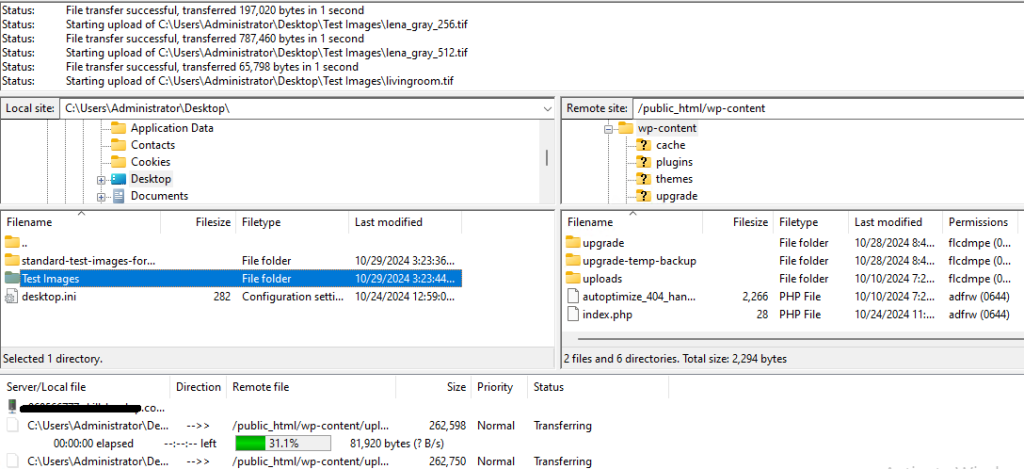
Ensure all files are transferred successfully.
Once the files are uploaded to the server you need to register them in the WordPress media library. Log into your WordPress admin panel.
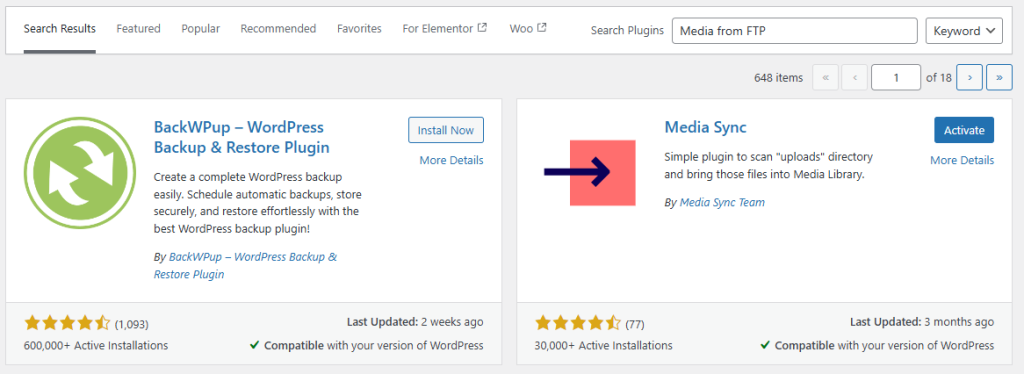
Navigate to “Plugins” then click “Add New”. Search for the “Media Sync” plugin. Install and activate the plugin.
Navigate to “Media” then Media Sync. Here, you will see a list of the files you uploaded via FTP.
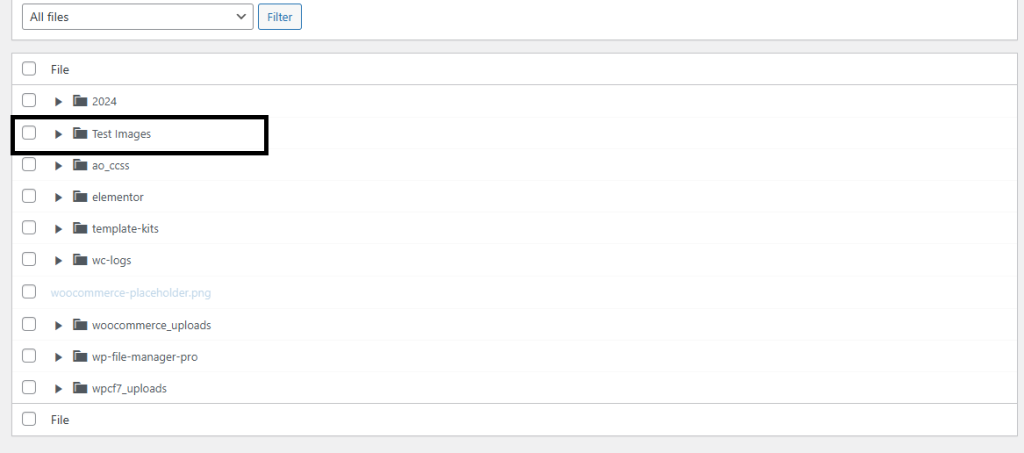
Select the files you want to register and click ‘Scan Files’. The files will now appear in your WordPress media library.
Embrace FTP with Our Cheap WordPress Hosting!
Unleash the power of WordPress with high-performance hosting plans. Equip with FTP and experience the power of secure, efficient file transfers.
Following are some troubleshooting issues during bulk upload files WordPress using FTP:
Check file permissions by making sure your uploads directory has the correct permissions 755 for folders and 644 for files. Some servers impose limits on file sizes. Adjust these settings in your php.ini or .htaccess file if needed.
Verify credentials by checking your FTP details. Ensure your firewall is not blocking the FTP connection.
Sometimes media files are not displayed in the library. Use the ‘Media Sync’ plugin to rescan and register the uploaded files.
Following are some best practices while upload multiple files media library via FTP:
Bulk uploading files to your WordPress media library via FTP is a simple process that can greatly enhance your site’s efficiency. By following this guide, you can quickly and easily transfer large quantities of files keeping your media library well organized and accessible.
Establishing an FTP server empowers you to seamlessly exchange files between your local device and the remote server. Ultahost comes with reliable and affordable VPS hosting plans. We offer a wide variety of plans to suit your needs all at quality prices which include VPS full root access with SSD NVMe drive supported.
FTP (File Transfer Protocol) lets you transfer files between your computer and your WordPress website.
FTP makes it easier to upload many large files at once to your WordPress Media Library.
Yes, using FTP you can bulk upload files and then make them available in the Media Library.
You need an FTP client like FileZilla to connect to your WordPress site.
Upload files to the /wp-content/uploads/ folder via FTP to add them to your library.
No, you may need a plugin or code to register files in the Media Library after the FTP upload.
Yes, it’s safe if you use secure FTP and follow WordPress security practices.