
How to Install Linux Bash on Windows 10
The computing world keeps changing, and now, many Windo...


The world of Android app development is booming, and Android Studio is your gateway to creating innovative apps that reach millions of users. Whether you dream of building the next viral game or a productivity tool that simplifies everyday tasks, Android Studio empowers you to turn those ideas into reality. This official integrated development environment (IDE) offers everything you need to design, code, test, and deploy your Android apps.
If you’re a beginner eager to dive into Android app development on your Windows PC, this comprehensive guide is for you. We’ll walk you through each step of the Android Studio installation process, from downloading the software to configuring your development environment. By the end, you’ll have a fully functional Android Studio setup, ready to embark on your app development journey.
Before you start installing Android Studio requirements, it’s crucial to make sure your system meets the minimum requirements for smooth performance. Here’s what you’ll need:
Hardware
Operating System: Microsoft® Windows® 11/10 (64-bit)
Software
Java Development Kit (JDK): Android Studio requires a JDK to function properly. You can download the latest version of OpenJDK from the official website or install the AdoptOpenJDK distribution.
For the most up-to-date and detailed system requirements, refer to the official Android Studio documentation on the Android Developers website.
While these are the minimum requirements, for optimal performance, especially if you plan to use the Android Emulator, it’s recommended to have a more powerful system with the following:
By ensuring your system meets these requirements, you’ll set yourself up for a smoother installation process and a more enjoyable Android development experience.
Unlock Seamless Performance with Windows 10 VPS
Experience the epitome of digital performance with our Windows 10 VPS, delivering unparalleled efficiency and power. Uncover the pinnacle of technological excellence today!
Step 1: Downloading Android Studio for Windows
Now that you’ve confirmed your system meets the minimum requirements, it’s time to download and install Android Studio like you install Bluestacks Android on your Windows. This can be done by launching the Android Studio official website:
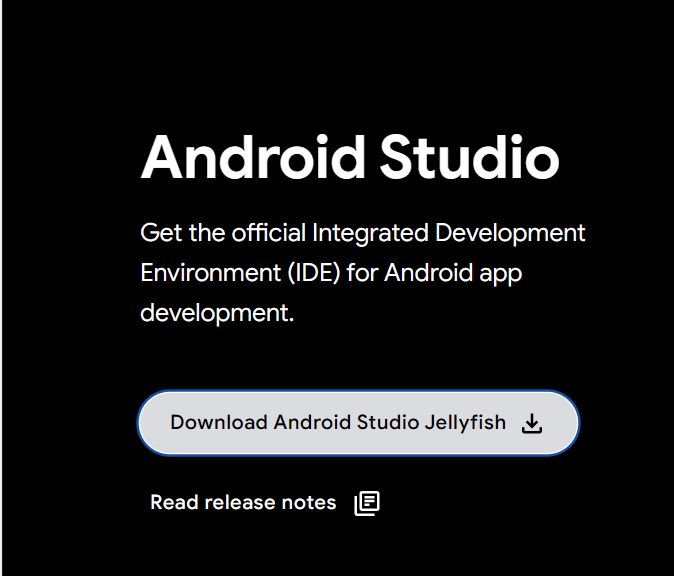
Here, you’ll find the latest stable release of Android Studio for Windows.
Note: For your security, it’s crucial to download Android Studio only from the official Android Developers website. Downloading from unofficial sources may expose your system to potential security risks, such as malware or viruses.
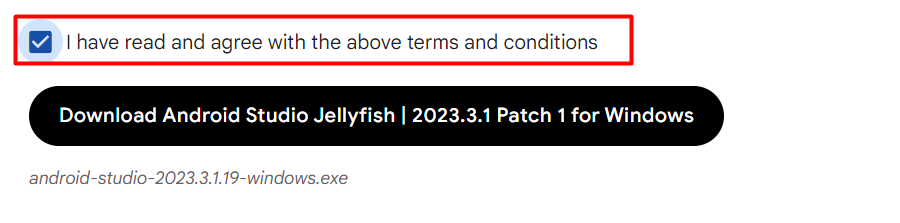
Before you can download Android Studio, you’ll be presented with a Terms and Conditions page. This is a standard step in the download process, where you’re required to acknowledge and agree to the licensing terms and conditions set by Google, the developer of Android Studio.
To proceed with the download, carefully read through the terms and conditions, then check the box to indicate your acceptance. This will enable the Download button, allowing you to download the Android Studio installation package.
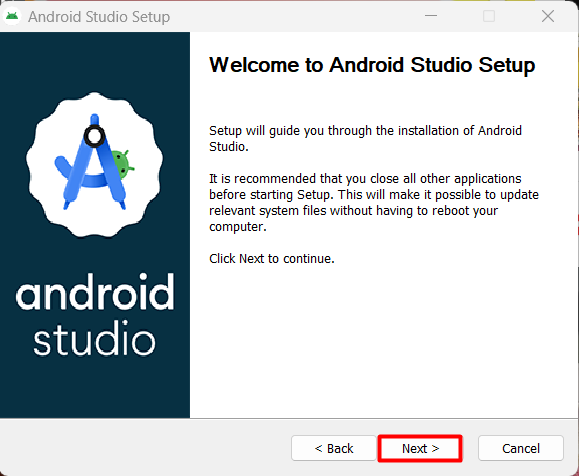
Step 2: Start the Installer
Once the download is complete, locate the Android Studio installer file in your default downloads folder or wherever you choose to save it. Double-click the installer to begin the installation process.
Step 2: Choose Components
The first step in the installation wizard is to Choose Components. By default, the only component selected is the Android Virtual Device, which is required for running and testing your Android apps on an emulator:

In this step, you’ll see a brief description of the Android Virtual Device component and the required disk space, which is approximately 3.6 GB.
For a standard Android development environment, it’s recommended to install the Android Virtual Device component. This will allow you to create and manage virtual devices, which are essential for testing and debugging your Android apps.
Step 3: Choose the Installation Location
In this step, you’ll be asked to specify the installation location for Android Studio. This is where the Android Studio IDE will be installed on your system. The installation wizard will suggest a default installation location and you can either choose that or specify a different location on your system:
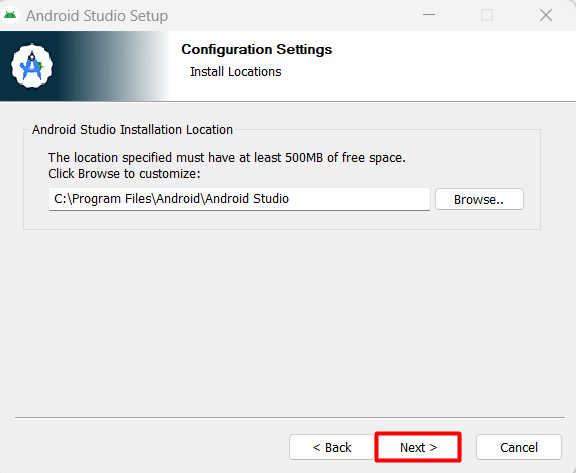
Make sure the selected location has enough disk space available, as mentioned earlier (approximately 3.6 GB).
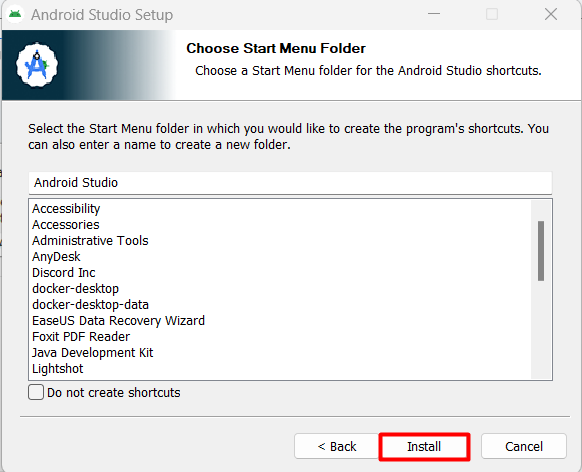
Step 4: Choose the Start Menu Folder and Install
In this step, you’ll be asked to specify the Start Menu Folder where you want to create shortcuts for Android Studio. The Start Menu Folder is where you’ll find the Android Studio shortcuts in your Windows Start Menu.
Below the Start Menu Folder input field, you’ll see a checkbox labeled Do not create shortcuts. If you check this box, the installer will not create any shortcuts for Android Studio in your Start Menu or on your desktop.
Once you’ve specified the Start Menu Folder and made your selection regarding shortcuts, click the Install button to begin the installation process. The installer will now copy the necessary files and configure Android Studio on your system:
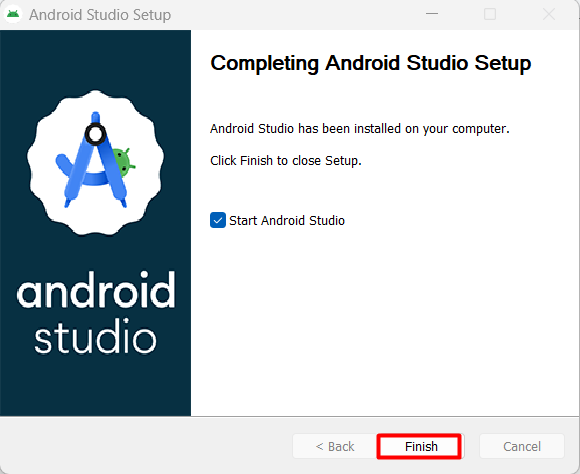
Step 5: Complete the Installation
You’ve reached the final step of the installation process! In this step, you’ll have the opportunity to launch Android Studio immediately after installation, and then complete the installation process.
At the bottom of the window, you’ll see a checkbox labeled Start Android Studio. If you check this box, Android Studio will launch automatically once the installation is complete:
Step 6: Import Android Studio Settings
After clicking the Finish button, a new window appears, asking you to Import Android Studio settings. This step allows you to customize your Android Studio experience by importing settings from a previous installation or skipping the import process altogether.
If you choose not to import settings, you’ll need to set up Android Studio from scratch. While this may take some time, it ensures that you have a clean and customized installation tailored to your specific needs:
Learn about How to Install Visual Studio Code on Windows

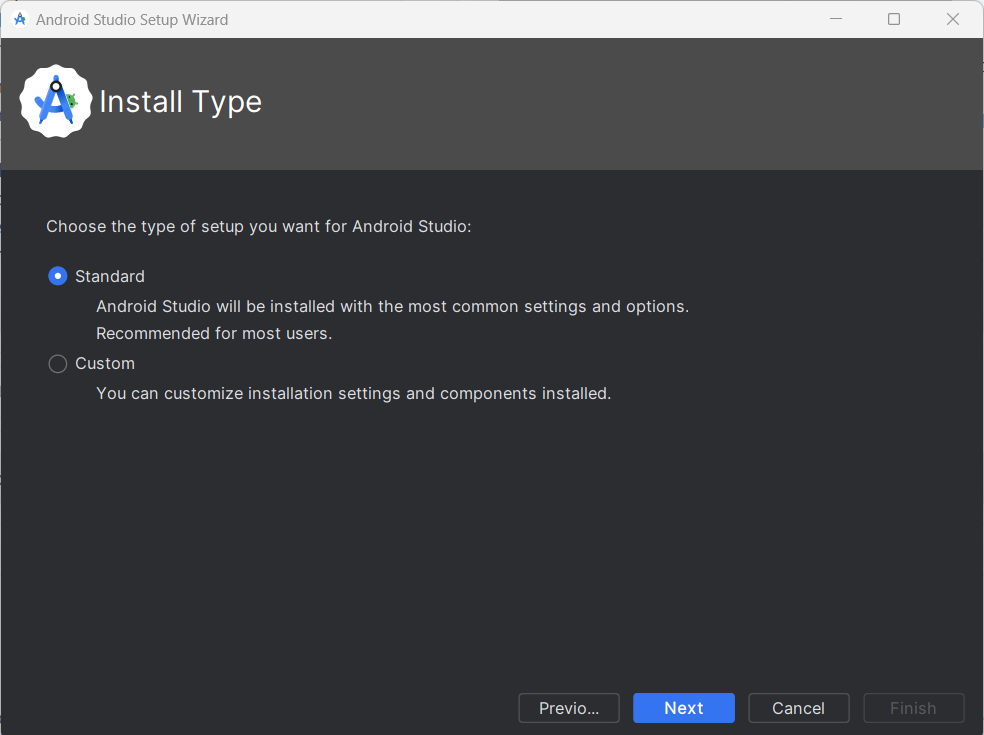
Step 7: Choose Settings
In this screen, you’ll see two different settings options. The first option is Standard Settings which sets up Android Studio with a default configuration that includes the most commonly used settings and plugins. This is a good choice if you’re new to Android Studio or want a straightforward setup process.
The second option is Custom Settings which allows you to customize your Android Studio installation by selecting specific settings and plugins that meet your specific needs. This is a good choice if you have specific requirements or prefer a more tailored setup.
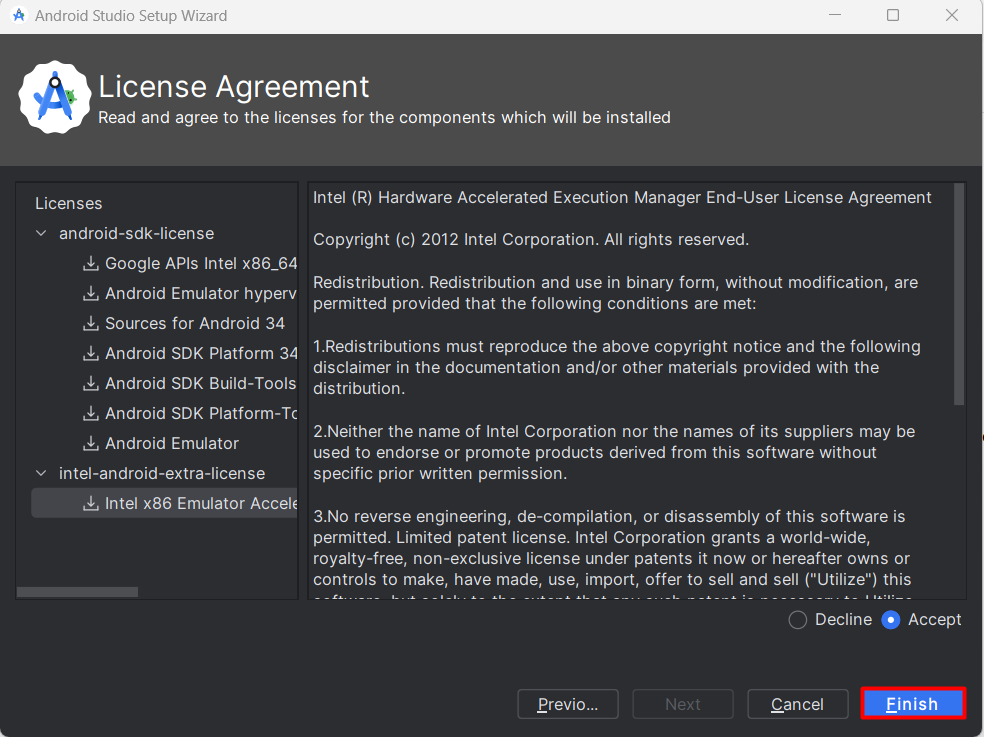
Step 8: Accept License Agreement
Before you can complete the installation process, you’ll need to agree to the Android Studio License Agreement. This agreement outlines the terms and conditions of using Android Studio, including intellectual property rights, warranties, and limitations of liability.
Take a moment to read through the license agreement carefully. It’s essential to understand the terms and conditions of using Android Studio, especially if you plan to use it for commercial purposes.
At the bottom of the screen, you’ll see a Finish button which will only be enabled if you accept the license agreement. Once you click Finish, the installation process will be complete, and Android Studio will be ready for use.
In this comprehensive guide, we walked you through the step-by-step process of installing Android Studio on a Windows PC. From downloading the installation package to configuring the IDE, we covered every aspect of the installation process in detail.
By following the instructions outlined in this article, you should now have a fully functional Android Studio installation on your Windows PC, ready to help you build and develop innovative Android apps. By the end of this article, you should have a clear understanding of how to install Android Studio Windows PC and be ready to start building your first Android app.
Download the installer from the official Android Studio website, run it, and follow the setup wizard. Make sure your system meets the requirements: Windows 7/8/10, 4 GB RAM (8 GB recommended), and sufficient disk space. After installation, start developing Android apps. For additional resources, consider Ultahost VDS hosting for its dedicated resources, scalability, control, and enhanced security.
The computing world keeps changing, and now, many Windo...
The ping command is a basic utility used for testing co...
Windows Sandbox is a lightweight virtualization tool bu...
Arduino is an open-source electronics platform that has...
Visual Studio is a comprehensive integrated development...