
How to Install Logwatch on Ubuntu
As a Ubuntu user, managing system logs can be a dauntin...


NGINX, which is known for its great performance, scalability, and flexibility, has grown as a popular alternative for powering websites and applications. Its capacity to manage heavy traffic loads, serve static material quickly, and function as a configurable reverse proxy established its place as a key component of modern online infrastructure.
Ubuntu a popular and user-friendly Linux distribution provides an ideal environment for deploying NGINX. In this post, we will cover the process of install NGINX on Ubuntu 22.04 from basic installation, firewall configuration, testing, and essential management tasks.
Before starting NGINX install Ubuntu ensure you have the following:
Following are steps described below to install NGINX on Linux based Ubuntu 22.04 operating system:
It is important to have an up-to-date system before installing any new software. Open your terminal and run the following commands:
sudo apt update && sudo apt upgrade -y

These commands will refresh the package lists and install any available updates.
NGINX is readily available in the Ubuntu repositories. Install it using the following command:
sudo apt install nginx
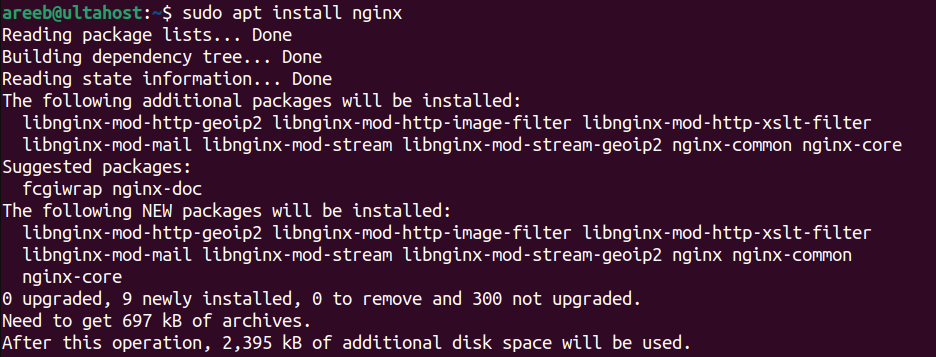
This will install NGINX and its dependencies on your Ubuntu system.
If you have install UFW on Ubuntu system you will need to allow HTTP and HTTPS traffic:
sudo ufw allow 'Nginx Full'
This command opens the necessary ports for NGINX.
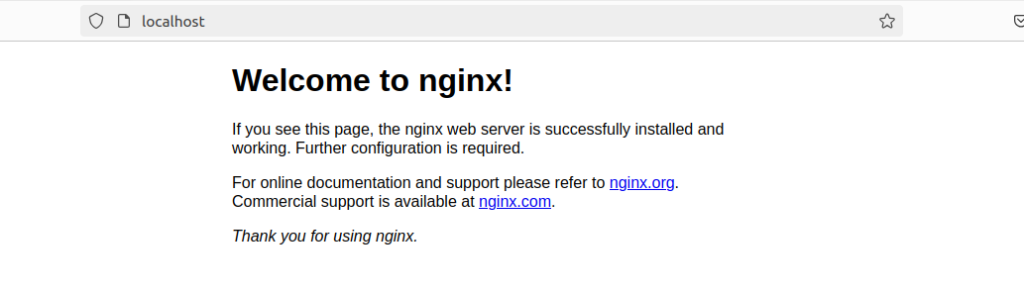
To check if NGINX is running and accessible, open a web browser and navigate to your server’s IP address. You should see the default NGINX welcome page.
To start, stop, restart, or reload NGINX, use one of the following commands:
sudo systemctl start nginx
Install NGINX on Our Ubuntu Server!
Combine the power of the world’s most trusted Linux distro with the flexibility of a VPS. Experience lightning-fast performance.
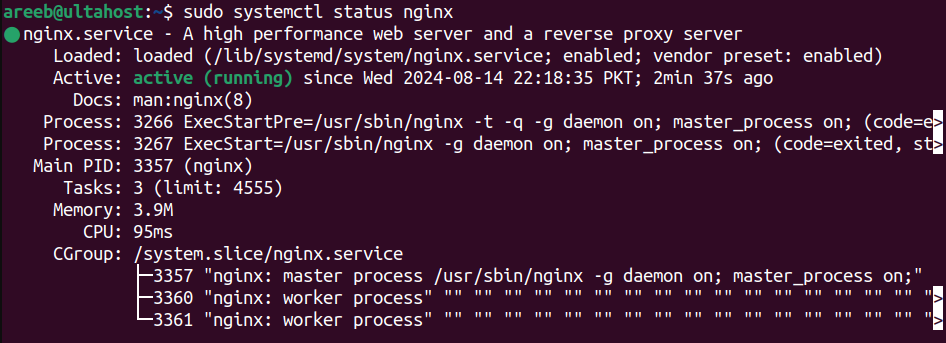
To check your NGINX status type the following command:
sudo systemctl status nginx
To host multiple websites on a single server you will need to create server blocks. These configurations define how NGINX should handle requests for different domains.
1. To create directories for your websites use the following command:
sudo mkdir -p /var/www/example1 /var/www/example2
Replace example1 and example2 with your desired domain names which is useful to manage multiple sites.
2. To assign ownership and permissions use the following command:
sudo chown -R $USER:$USER /var/www
3. Create basic HTML files in the respective directories to test your configuration.
4. You can also create files in the server block in the /etc/nginx/sites-available directory for each website. For example:
sudo nano /etc/nginx/sites-available/example1
Paste the following configuration replacing placeholders with your domain, document root, and other settings:
server {
    listen 80;
    server_name example1.com;

    root /var/www/example1;
    index index.html index.htm;

    location / {
        try_files $uri $uri/ /index.html;
    }
}
5. Create a symbolic link in Linux to the configuration file in the /etc/nginx/sites-enabled directory:
sudo ln -s /etc/nginx/sites-available/example1 /etc/nginx/sites-enabled/
6. To test and restart NGINX use the following command:
sudo nginx -t && sudo systemctl restart nginx
Following are important NGINX files and directories described below:
NGINX offers extensive configuration options to increase performance and security. Some common configurations include:
By successfully installing and configuring NGINX on Ubuntu 22.04 you have a solid foundation for a high-performance and scalable web infrastructure. NGINX’s versatility as a web server reverse proxy and load balancer empowers you to optimize website delivery enhance security and improve overall user experience.
Ultimately, the best web server for you depends on your unique project requirements. Try our free VPS hosting that is reliable to you with scalability that adapts your resources to meet your growing needs. Explore Ultahost VPS plans and find the perfect fit.
NGINX is a web server that can also be used as a reverse proxy, load balancer, and more.
You can install NGINX using the command: sudo apt install nginx.
Yes, after installing NGINX, you will need to configure it to suit your needs.
Use the command sudo systemctl start nginx to start NGINX.
You can check by visiting your server’s IP address in a web browser or using systemctl status nginx.
Yes, NGINX can be configured as a reverse proxy to forward client requests to other servers.
You can remove NGINX using the command: sudo apt remove nginx.