
How to Install phpPgAdmin on Windows 10
phpPgAdmin is a free, web-based interface for managing ...


Open Broadcaster Software (OBS) is a free open-source application primarily used for video recording and live streaming. It is a versatile tool that allows users to capture and mix various audio and video sources apply effects and output the resulting composition to a stream or file.
In this article, we will cover how to install OBS Windows operating system. We will further look into the post installation set up and how to add sources to start your live streaming.
Before diving into the OBS installation ensure your system meets the minimum requirements:
Open your web browser and visit the official OBS website. Choose your operating system by clicking the “Windows” icon.
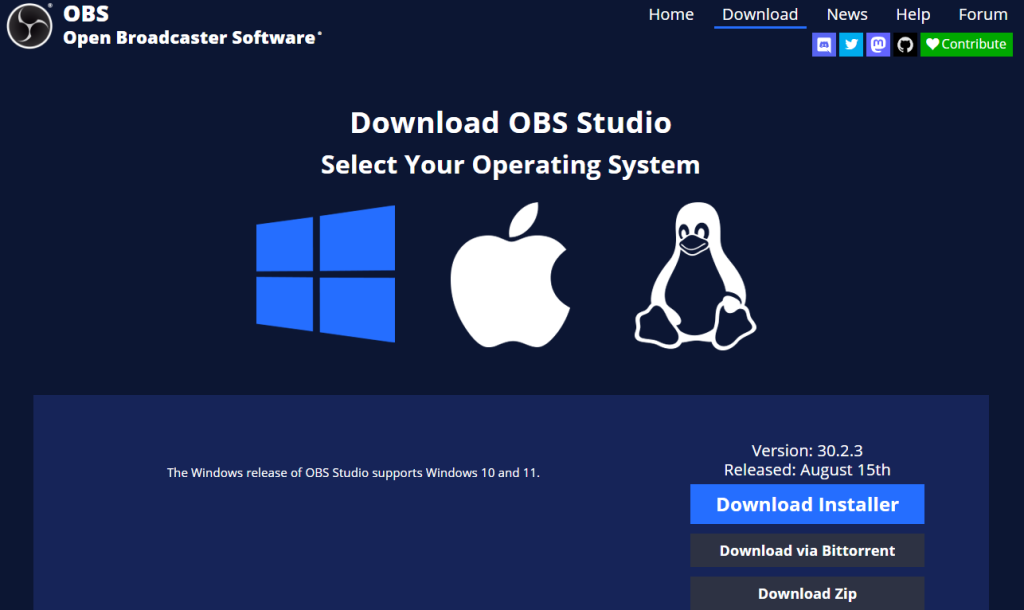
Choose your download OBS Windows option you will typically have three options:
The following are two methods to install OBS Studio Windows operating system:
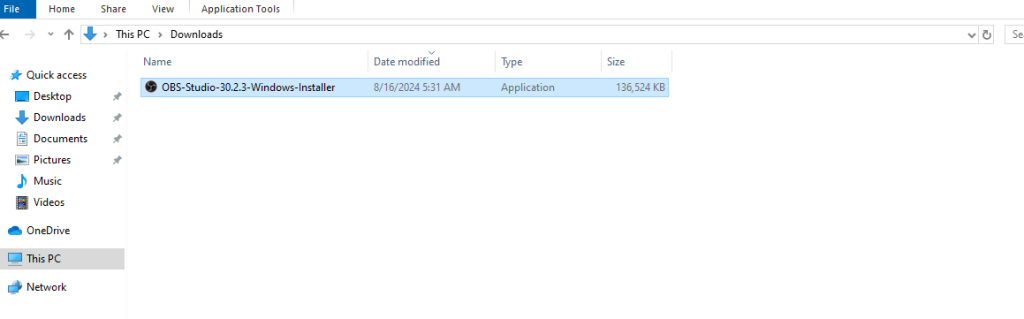
1. Double-click the downloaded .exe file to start the installation process.
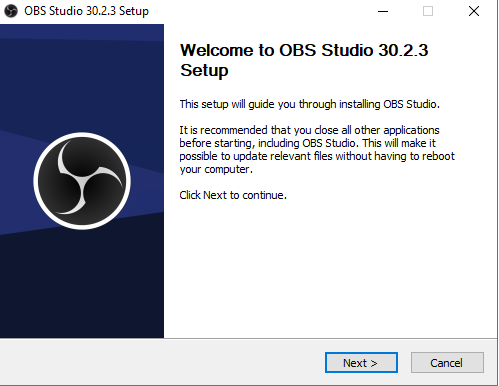
2. Click “Next” to proceed through the installation wizard.
3. You can choose the default installation location or select a custom one.
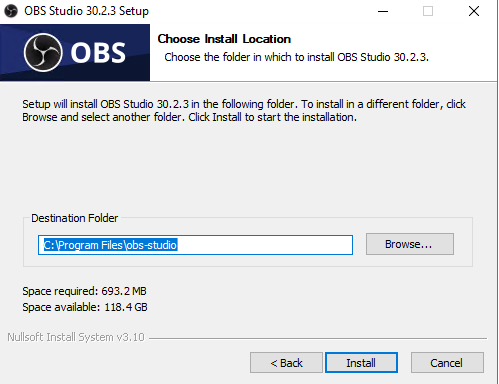
4. Click “Install” to begin the installation process.
1. Extract the downloaded zip file to your desired location.
2. Locate the OBS executable usually obs64.exe and double-click it to start the application.
3. Now you can follow the same instructions as mentioned above in the installer file.
Install OBS on Our Cheap Windows VPS!
With Ultahost, Hosting Windows VPS has never been easier or faster. Enjoy ultra-fast SSD NVME speeds with no dropouts and slowdowns.
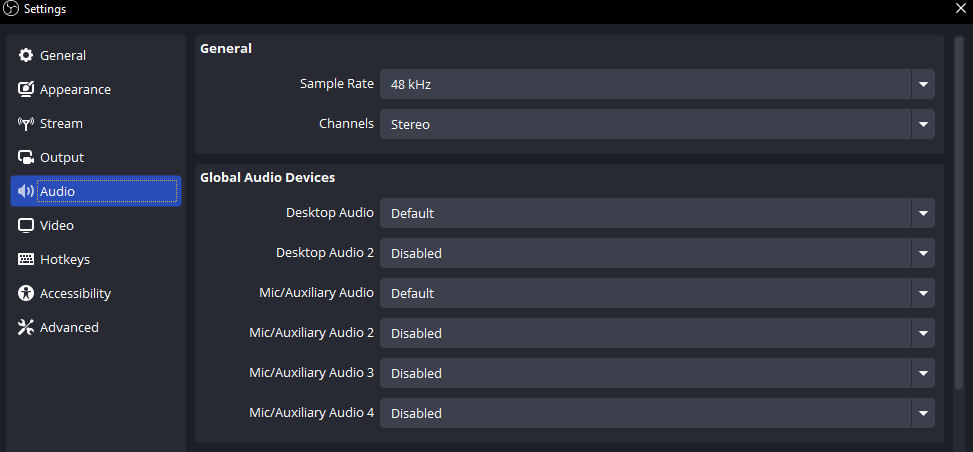
Once OBS is installed you will need to configure some basic settings:
Audio Settings
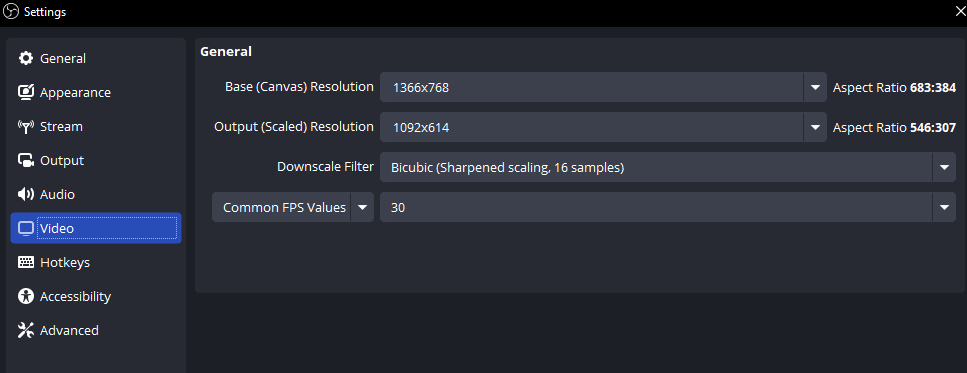
Video Settings
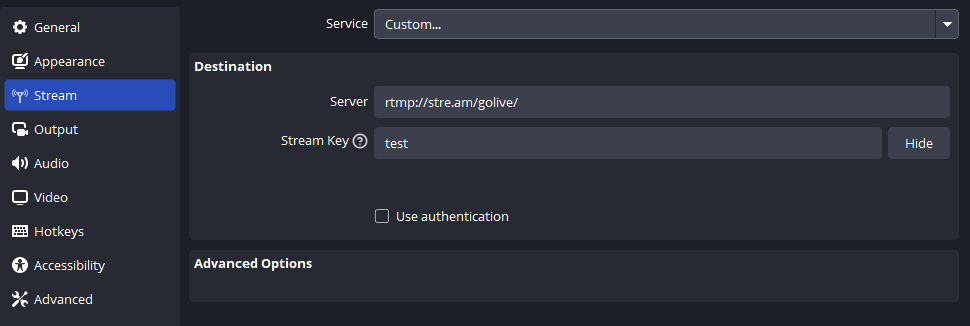
Streaming Settings
Now you have to setup RTMP NGINX on Ubuntu to create your own custom live streaming server. After that click the “+” icon and navigate the “Stream” option. Set “Custom” insert your RTMP URL and create a stream key like “test” apply and save changes.
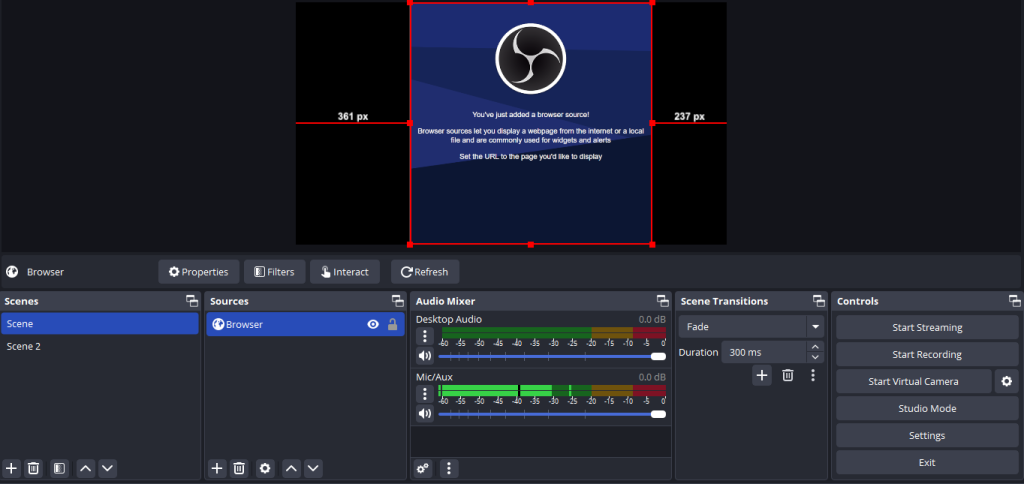
Sources are the elements you want to capture and display in your OBS scene. Common sources include:
Creating Sources and Scenes
Scenes are collections of sources that you can switch between. To create a scene:
Learn about How to Install ShoutCast on Windows.
Start Stream or Recording
Once you have configured your sources and scenes you can start streaming or recording:
Following are important notes after installing Open Broadcaster Software Studio on the Windows operating system:
Open Broadcaster Software (OBS) is a powerful and versatile tool that can be easily installed and configured on Windows systems. By following the steps outlined in this guide, you should be able to successfully set up OBS and begin capturing, mixing, and outputting your audio and video content.
Get the best VPS stream hosting for your online station. You can set high quality live streaming server. Start your journey today with a professional Ultahost hosting service. In a matter of minutes launch your own stream with professional grade software and hardware.
OBS Studio requires a 64-bit version of Windows 10 or 11 and a compatible GPU.
You can download the latest version of OBS Studio from the official OBS website.
After downloading the installer from the website run it and follow the above instructions to complete the installation.
Yes, OBS Studio is fully compatible with both Windows 10 and Windows 11.
Ensure your system meets the requirements run the installer as an administrator and check for any antivirus interference.
Yes, OBS Studio is open-source and completely free to use.
You can update OBS Studio by downloading the latest version from the website and running the installer to overwrite the existing installation.