
How to Install PuTTY in Windows
PuTTY is a free and open-source terminal emulator that ...


Nmap, or Network Mapper, is a free and open-source security auditing and network exploration application popular among system administrators, network security professionals, and ethical hackers. Nmap can also do more complex functions, including as vulnerability scanning. Nmap can be downloaded for a variety of operating systems, including Windows, macOS, and Linux.
This article will go over the prerequisites for installing Nmap Windows before demonstrating how to install the Nmap Windows operating system using several techniques in depth.
Before installing Nmap make sure you meet the following requirements:
Nmap comes pre-installed in the Kali operating system. If you have installed Kali Linux then Nmap is installed by default. If you are using Ubuntu you can refer to our guide on how to install Nmap on Ubuntu. This article will help you with Nmap download for the Windows system which will handle essential tasks:
Let’s discuss the steps on how to install Nmap for Windows.
Step 1: Downloading Nmap for Windows
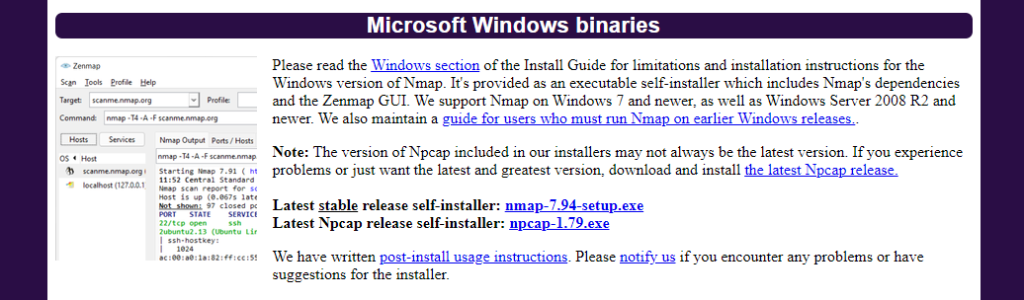
The first step is to download the official version. To do so, navigate to the Nmap download page for Windows by opening your web browser. Scroll down to the section titled ‘Microsoft Windows binaries’. Click on the latest stable release link to download the self-installer.
Step 2: Running the Installer
Once the download is complete, follow these steps for Nmap download Windows:
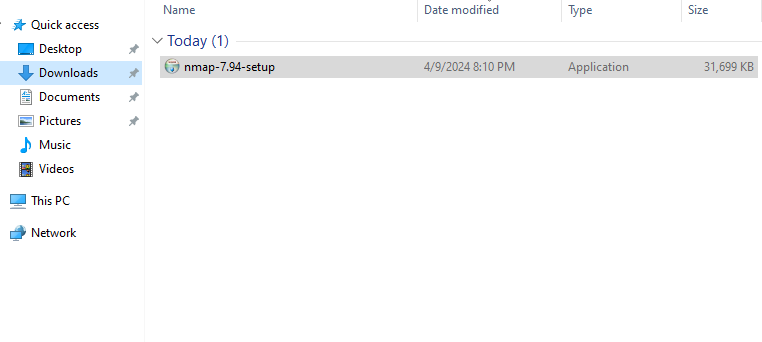
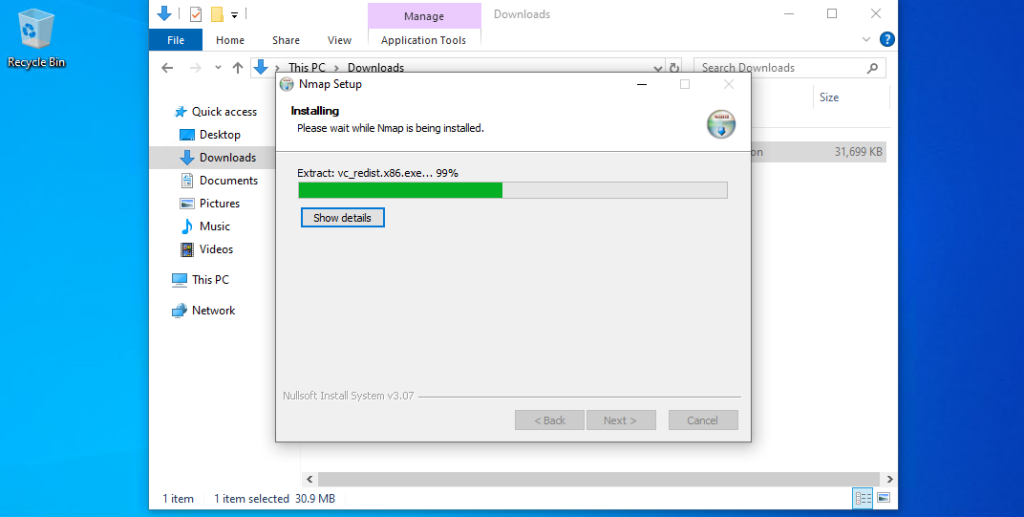
1. Locate the downloaded file typically in your Downloads folder. Double-click on the Nmap installer for example nmap-x-x-setup.exe.
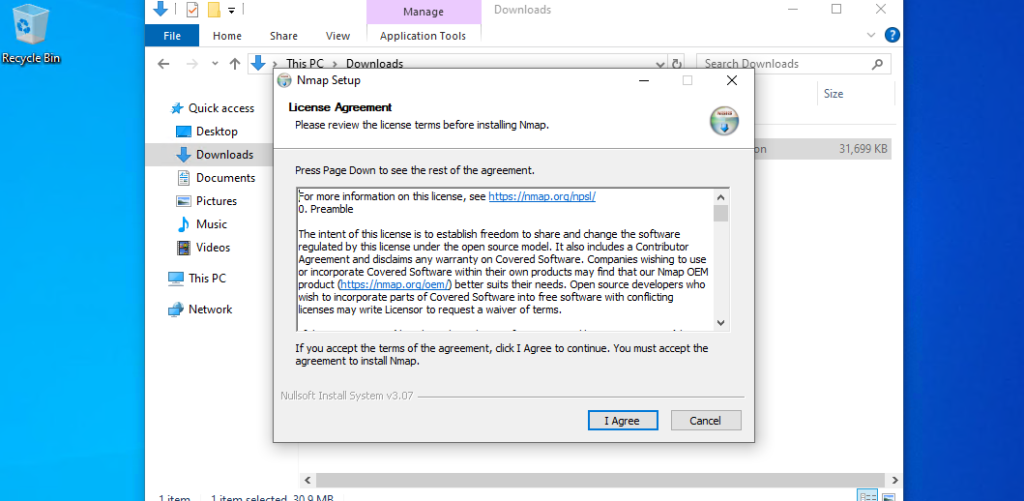
2. If prompted by User Account Control (UAC), click ‘Yes’ to allow the installation. A Window will open by the Setup Wizard. Click ‘Next’ to proceed. Agree the End-User License Agreement after reading it.
Step 3: Choosing Components
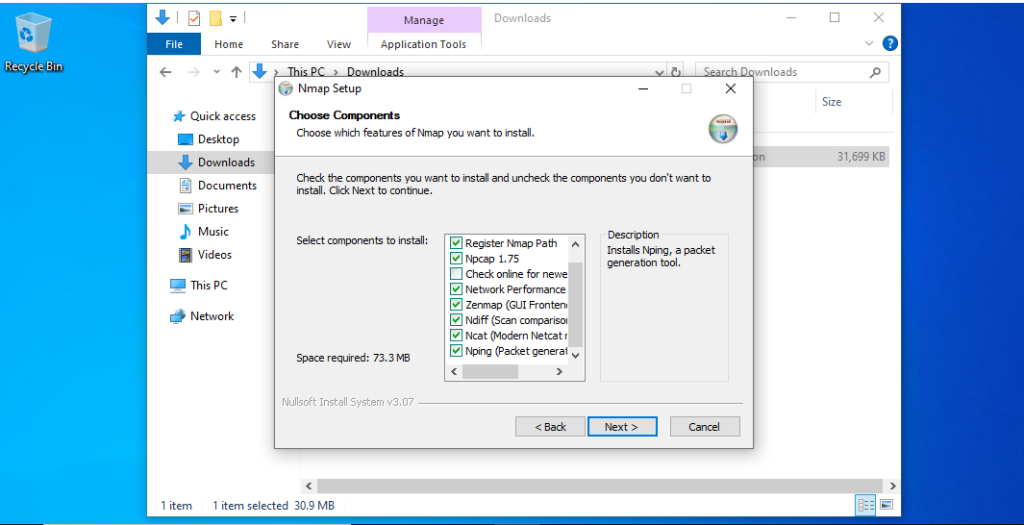
The installer will then ask which components of Nmap should be installed. It includes:
Select all the components as per your requirement and click ‘Next’.
Install Nmap on Our Cheap Windows VPS!
Experience the unparalleled ease and speed of hosting Windows VPS with Ultahost. Enjoy blazing-fast SSD NVME speeds without any interruptions at a low cost.
Step 4: Selecting Installation Location
You can stick with the default directory or click ‘Browse’ to select a custom location. After selecting your preferred directory, click ‘Next’.

Step 5: Configuring Additional Tasks (Optional)
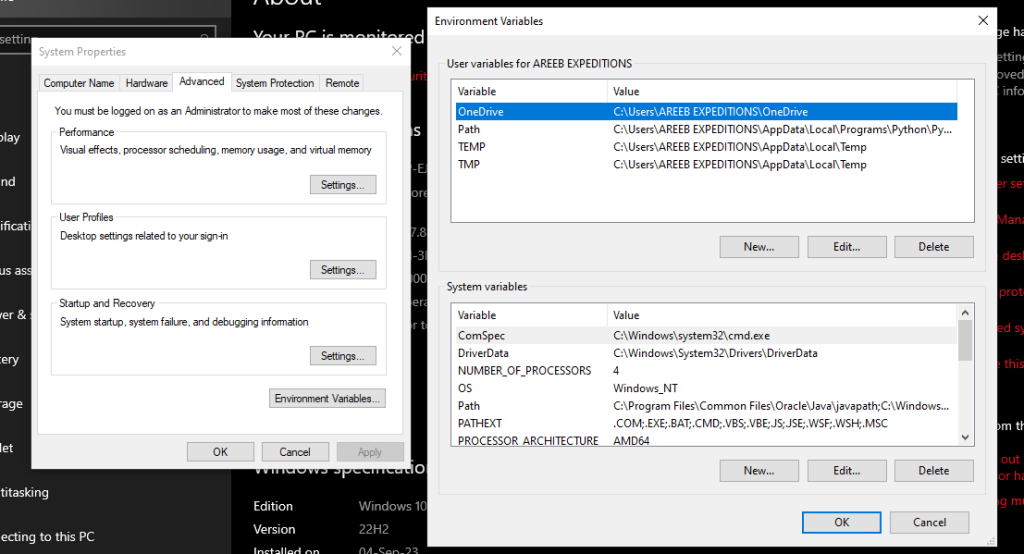
Install Nmap as a Windows system path which is recommended so it can be run from any command line. Search for System Properties in the Start menu. In the System Properties window, click on Environment Variables. Under System Variables, find and select the Path variable, then click on Edit.
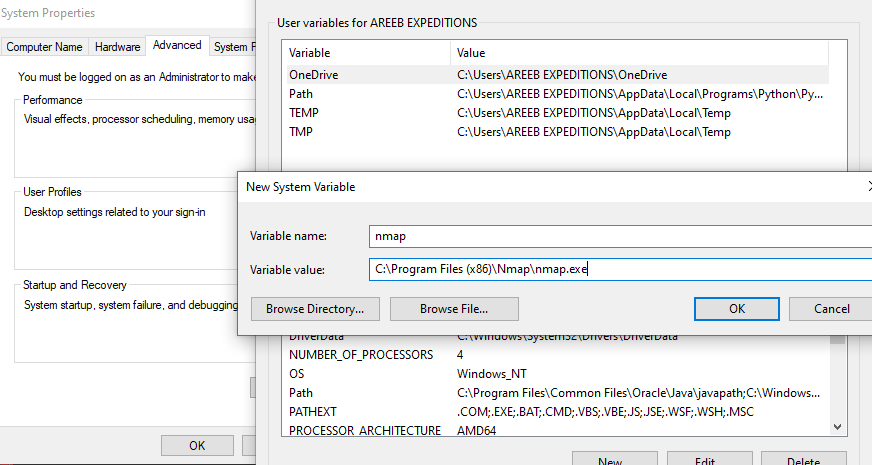
Click on New and add the path to your Nmap installation.
Step 6: Finalize Installation and Verifying Installation
Review your choices and click ‘Install’ to begin copying files onto your computer. A completion screen will appear indicating a successful installation. Click ‘Finish’.
Open Command Prompt by typing cmd in your search bar and hitting Enter. Type the following command to run Nmap on Windows:
nmap --version
If installation was successful it should display version information.

Always adhere to network privacy and security boundaries. Only scan networks where you have explicit permission. Nmap potential extends far beyond this guide. Refer to this guide Nmap cheat sheet essential commands and options for in-depth exploration of:
By following these steps and considering the ethical implications, you’ve empowered yourself with Nmap, a valuable tool for understanding and securing your network landscape. Use Nmap for ethical purposes, promoting a secure and responsible digital environment.
Nmap is commonly used in scanning networks, you can install Nmap on our server. Ultahost VPS hosting offers you an easy-to-manage, reliable, and economical hosting plan for businesses of all sizes. Get started today and enjoy the freedom and flexibility of a VPS!
Nmap is a powerful network scanning tool used for security auditing and network exploration. Installing it on Windows enables you to assess your network’s security and discover connected devices.
You can install Nmap on Windows by downloading the installer from the official Nmap website and following the installation instructions.
No, there are no specific prerequisites for installing Nmap on Windows. You just need to ensure that your Windows system meets the minimum requirements specified by the Nmap installer.
Yes, once installed, you can use Nmap commands directly from the Command Prompt or PowerShell.