
How to Install VLC Media Player on Windows
VLC Media Player or simply VLC has become ass...


PuTTY is a free and open-source terminal emulator that enables users to connect to remote computers and devices over a network. On Windows OS, PuTTY is a popular alternative to the built-in terminal, offering a more comprehensive and feature-rich experience. It allows users to establish secure connections to remote servers and devices using the Secure Shell (SSH) protocol, as well as connect to serial devices and transfer files using the Secure File Transfer Protocol (SFTP).
PuTTY’s benefits on Windows OS include enhanced security, improved terminal experience, and remote system management. It provides a customizable interface, allowing users to tailor the application to their specific needs and preferences. Additionally, PuTTY’s command-line interface and scripting capabilities enable automation and integration with other tools and scripts.
In this detailed guide, You will learn how you can install PuTTY Windows and what you can do with it.
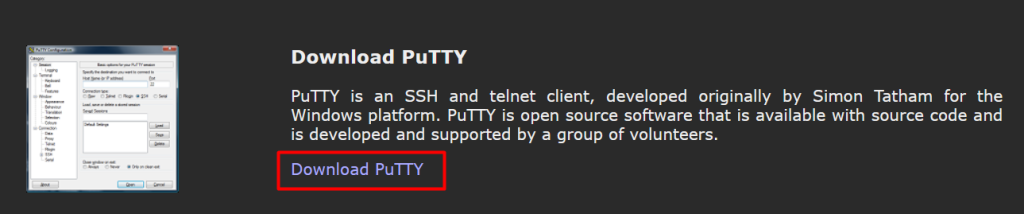
To download PuTTY Windows, you need to open your browser and visit the official PuTTY website. This website is maintained by the developers of PuTTY and provides the latest versions of the software for various platforms, including Windows.
When you navigate to the official page, you will see the “Download Putty Option”. Click on that to proceed further:
After clicking, it will navigate you to a different page where all the versions of PuTTY for different operating systems can be found:
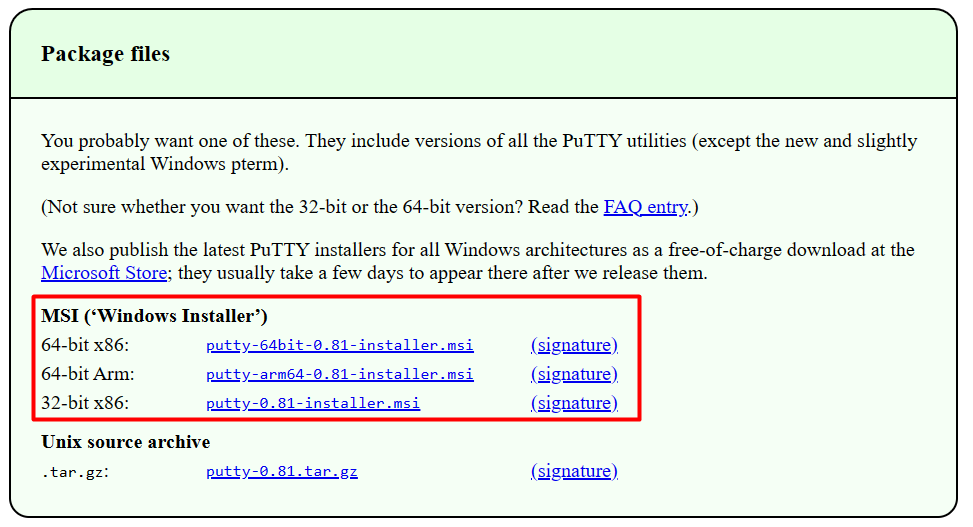
You can see there are two different types of installers available. One is x86 and the other one is Arm. The x86 version is for Intel and AMD processors while Arm is for mobile devices and embedded systems.
So, for Windows, you need to download the x86 version.
After downloading it you need to navigate to the drive where it downloaded. The downloaded PuTTY for Windows comes with .msi format. The .msi extension stands for “Microsoft Installer,” which is a Windows Installer package file used for installing software applications on Windows operating systems.
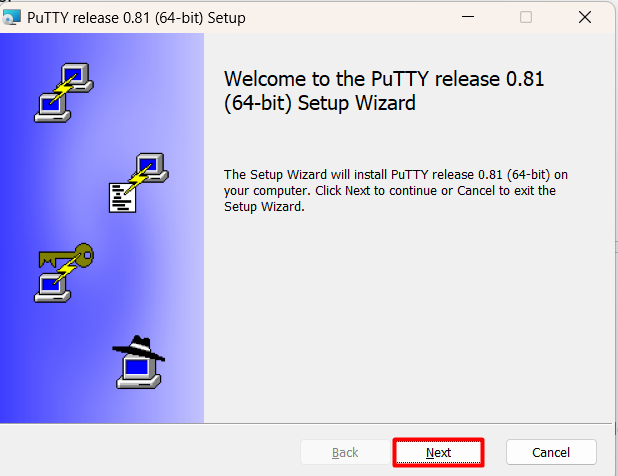
After that, you need to go to the downloaded folder and launch the setup file to initiate the installation process.
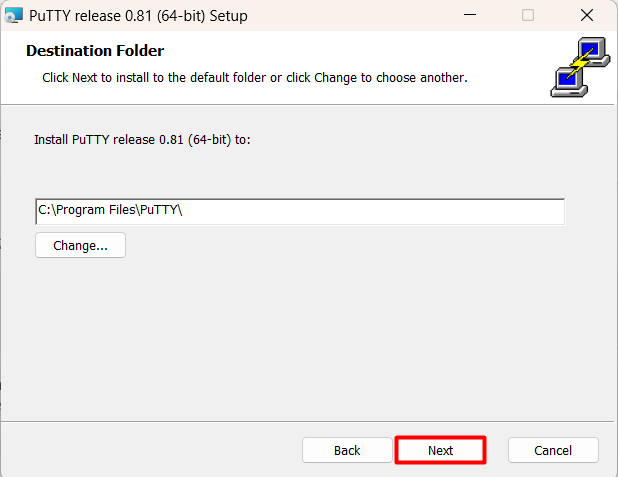
After that, you need to provide the desired path where you want to install it and then click on the Next button to proceed further:
Now, here you can customize the installation process by choosing different settings. When you are ready then click on the Install button:
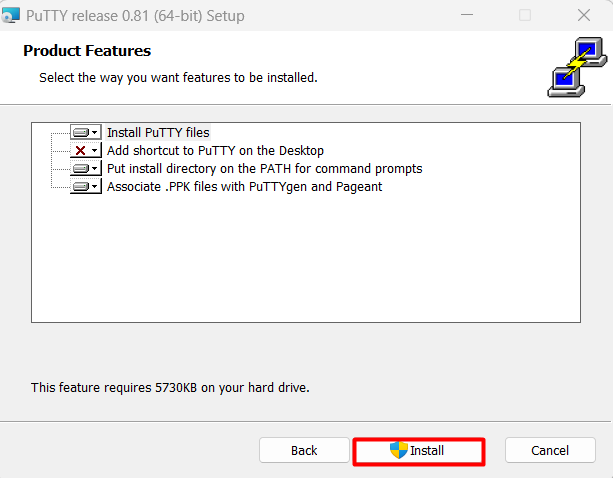
This will take some time to install all the relevant files and after that, the installation will complete that you can close by clicking on the Finish button:

Install PuTTY on Our Affordable Windows VPS!
With Ultahost, Hosting Windows VPS has never been easier or faster. Enjoy ultra-fast SSD NVME speeds with no dropouts and slowdowns at a low cost.
Following are the steps described below for connect to server with PuTTY:
Step 1: Launch PuTTY
After installing PuTTY, locate the program in your Start menu search for it, and launch the application.
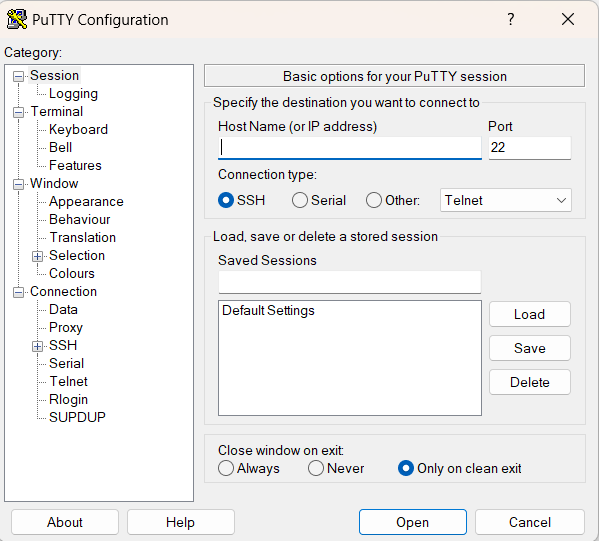
Step 2: Session Configuration
In the PuTTY Configuration window, you’ll see several categories on the left-hand side. The first category you’ll want to configure is “Session”.
Read also How to Fix the SSH Connection Refused Error.
Step 3: Host Name (or IP address)
In the “Host Name (or IP address)” field, enter the hostname or IP address of the remote server or system you want to connect to.
Step 4: Connection Type
Under the “Connection type” section, select the appropriate connection type. The most common options are:
Step 5: Port Number
If you’re using a non-standard port for the selected connection type, you can specify the port number in the “Port” field. Mainly the default SSH port is 22 in replace of telnet and FTP ports.
Step 6: Saving Sessions
If you plan to connect to the same remote system frequently, you can save the session settings by entering a name in the “Saved Sessions” field and clicking the “Save” button.
Step 7: Additional Configuration
Depending on your requirements, you may need to configure additional settings in PuTTY. Here are some common options:
Step 8: Loading Saved Sessions
If you have previously saved a session, you can load it by selecting the session name from the “Saved Sessions” list and clicking the “Load” button.
Step 9: Open Connection
Once you’ve configured the desired settings, click the “Open” button to establish the connection to the remote system.
After following these steps, PuTTY will attempt to connect to the specified remote system using the configured settings. If the connection is successful, you’ll be presented with a terminal window where you can interact with the remote system.
PuTTY is a powerful and secure terminal emulator that offers a robust solution for connecting to remote systems on Windows. Its open-source nature and comprehensive feature set, including support for SSH, SFTP, and serial connections, make it a popular choice for system administrators and developers.
The guide walks through the process of downloading and installing PuTTY on Windows, as well as configuring essential settings like session parameters, connection types, and authentication methods. Additionally, it highlights the ability to customize the application’s appearance and behavior, save frequently used sessions, and leverage advanced features like SSH tunneling. With its user-friendly interface and powerful capabilities, PuTTY streamlines remote system management and provides an enhanced terminal experience on the Windows platform.
While PuTTY provides a free SSH client for Windows, it’s simply one for securely connecting to your server. For a more robust and user-friendly experience, consider Ultahost’s SSH VPS server plans which offer root access and full control over your server security.
PuTTY is a free and open-source terminal emulator, serial console, and network file transfer application. It supports several network protocols, including SSH, Telnet, SCP, and more.
Yes, you typically need administrative privileges to install software on Windows. If you don’t have administrative rights on your computer, you may need to contact your system administrator for assistance.
Yes, PuTTY is compatible with most versions of Windows, including Windows 10, Windows 8, Windows 7, Windows Vista, and Windows XP.
Yes, you can uninstall PuTTY like any other software on Windows. Simply go to the Control Panel, navigate to “Programs” or “Programs and Features,” find PuTTY in the list of installed programs, and select “Uninstall.”
Yes, there are several alternatives to PuTTY for Windows, including SecureCRT, KiTTY, mRemoteNG, and Windows PowerShell (which includes SSH functionality in recent versions).
VLC Media Player or simply VLC has become ass...
Installing Microsoft Office on Windows is a straightfor...
Unlike some languages with complex symbols and punctuat...
Notepad++ is a powerful free text editor widely used by...

In 2026, remote server access will be more difficult to...