
How to Install uTorrent on Windows 10
uTorrent is a popular, free, and widely-used BitTorrent...


ReactJS is a JavaScript library for building dynamic user interfaces. Its component-based architecture promotes reusability and scalability, making it advantageous for Windows development. React’s virtual DOM ensures efficient UI updates, enhancing performance.
With built-in state management, it simplifies handling complex interactions. Its extensive ecosystem and community support provide resources for faster development and problem-solving.
Utilizing ReactJS for Windows provides efficient, maintainable applications with smoother user experiences, making it a compelling choice for modern UI development. This guide will provide you an in-depth details on how you can install ReactJS on Windows.
Following are the steps described below to install ReactJS Windows operating system.
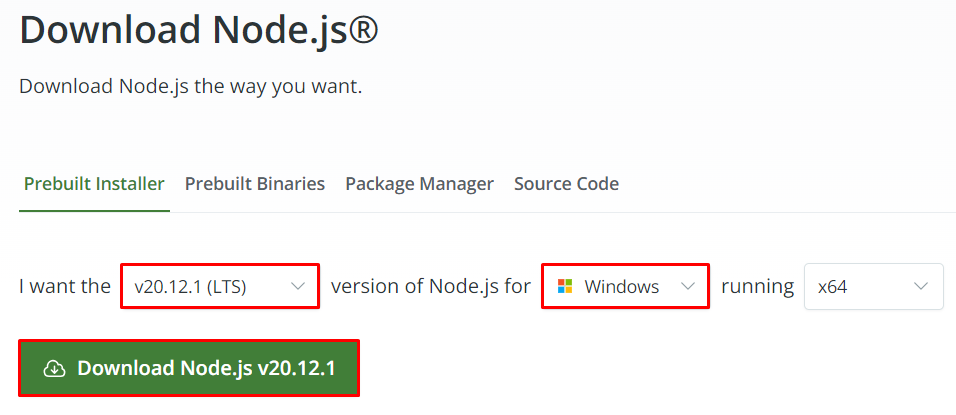
Step 1: Download Node.js
Download ReactJS for Windows Node.js is crucial for development, and provides a runtime environment for executing JavaScript beyond browsers. Bundled with npm, Node.js facilitates easy package management, crucial for React projects’ dependencies.
Essential tools like create-react-app rely on Node.js, streamlining development. Node.js enables running a local development server, allowing real-time testing of React apps. Without Node.js, leveraging such tools and managing dependencies would be cumbersome.
Its integration with React enhances development efficiency, making it indispensable for ReactJS on Windows.
So, you can download Node.js by visiting its official website, choosing the latest version, and Windows as an operating system.
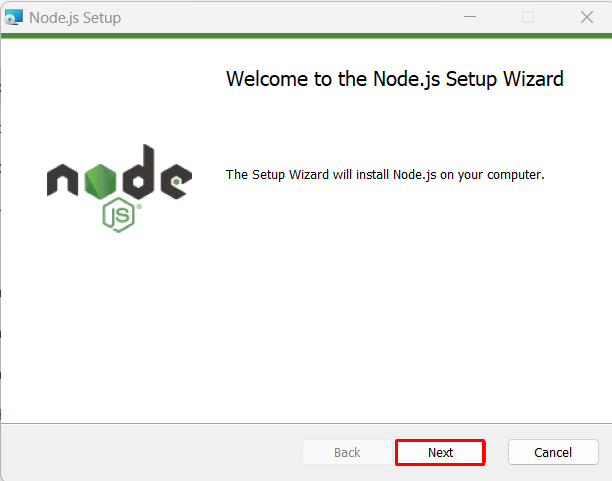
Step 2: Install Node.js
After downloading Node.js, you need to execute the file to initiate the installation process.
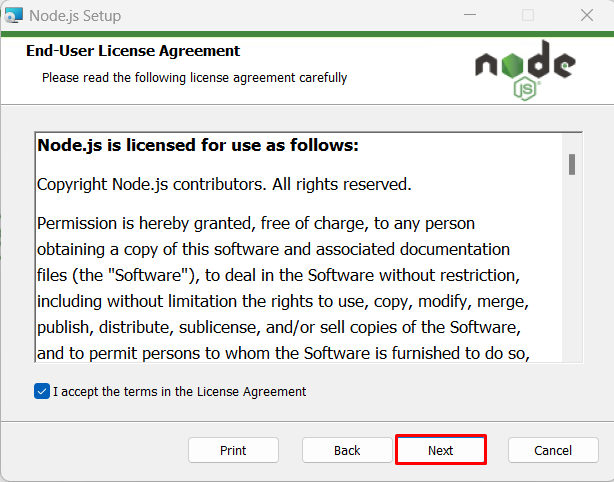
Next, you need to accept the agreement to continue the installation process.
After that, you need to make sure that both Node.js and NPM have been checked for installation.
NPM, bundled with Node.js, simplifies JavaScript package management by offering a CLI for installing, managing, and sharing dependencies. It streamlines tasks like package search, installation, and publication, enhancing efficiency in Node.js projects.
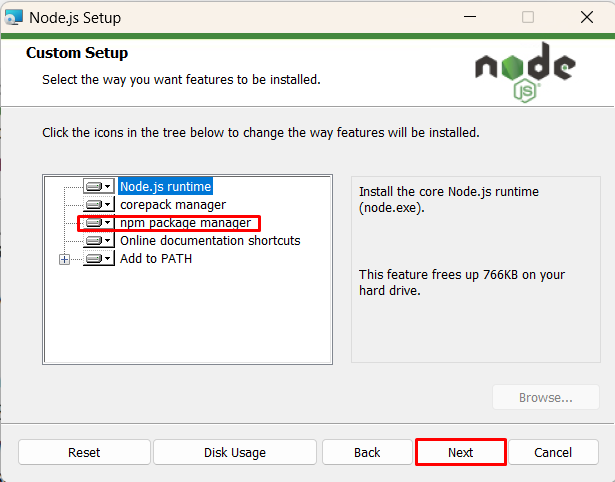
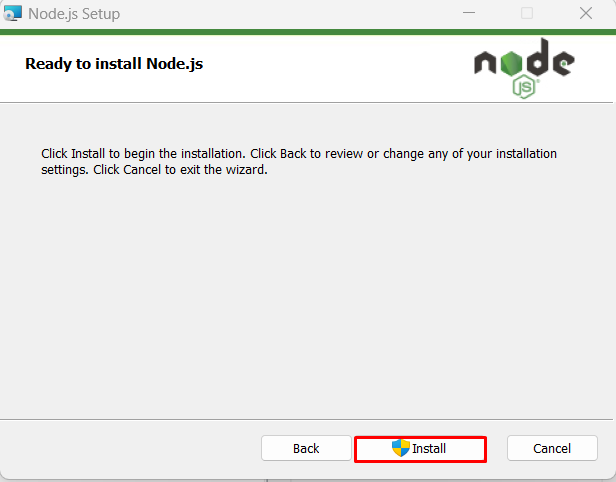
After verifying the selection of both Node.js and NPM, you can click on the next button to proceed further. Now click on the Install button to start the installation process.
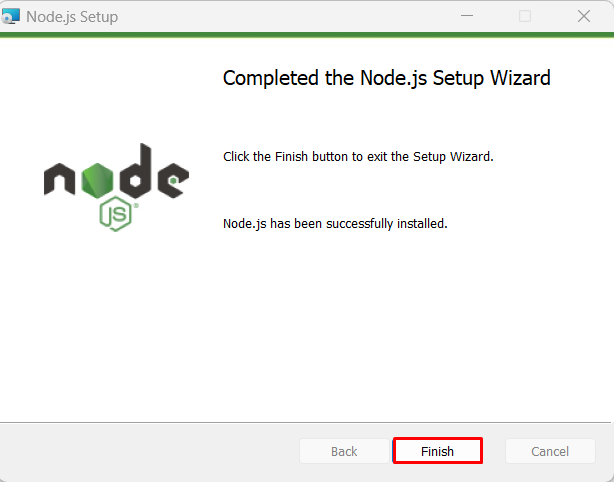
After some time the installation will be completed and you can click on the finish button to close the install Node.js window.
Step 3: Verifying the Installation of Node.js and NPM
To verify the successful installation, you can execute the below command:
node -v
npm -v
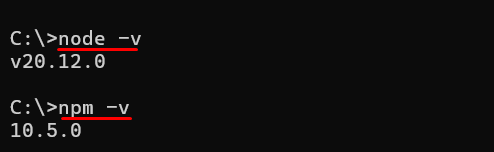
When you run node -v, and npm -v in your command prompt, it instructs Node.js and NPM to output its version number. The -v flag is a shorthand for “version”.
Install React JS on Our Cheap Windows VPS!
Experience the unparalleled ease and speed of hosting Windows VPS with Ultahost. Enjoy blazing-fast SSD NVME speeds without any interruptions at a low cost.
Step 4: Installing ReactJS Application
After following the previous steps you can install the ReactJS application by executing the below command:
npm install -g create-react-app
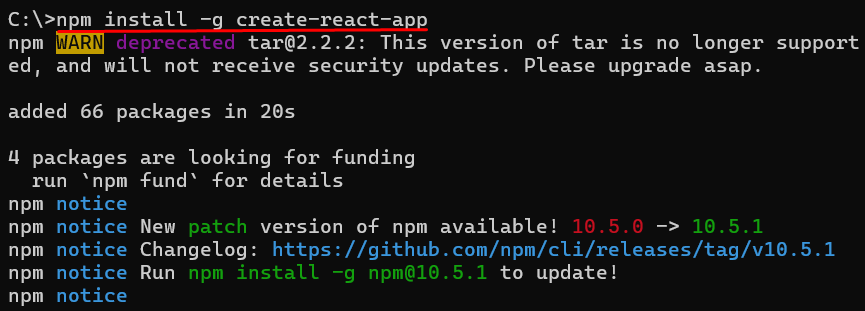
When you run this command, NPM will download the create-react-app package from its registry and install it globally on your system. Once you set up React development environment, you can use the create-react-app command to create new React projects from anywhere in your file system.
Step 5: Creating a New React Application
Now you can create a new React application by executing the below command:
npx create-react-app my-app
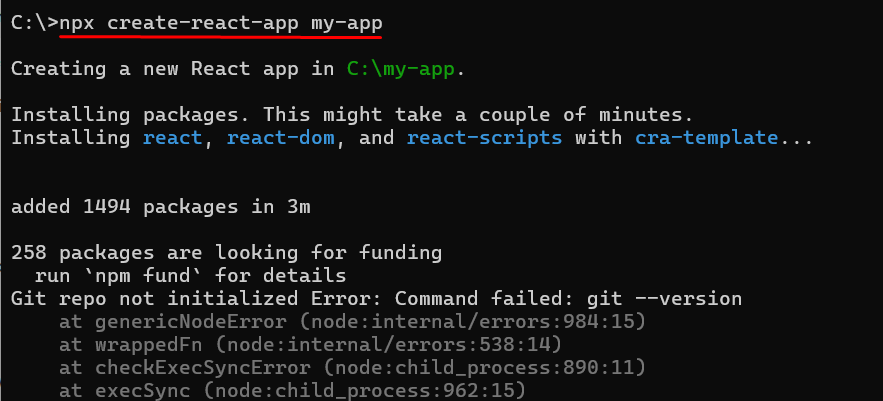
When you execute the command using npx, it triggers the create-react-app package to generate a new React application in a directory named “my-app”. This command initializes the project with all essential files and dependencies, primed for React development.
Npx, a command-line tool, executes npm packages without global installation. It first checks local availability; if absent, it downloads the latest version from the npm registry. “my-app” denotes the directory for the new React application, adaptable to your preferred name.
This streamlined process accelerates React project setup without cluttering your system with unnecessary installations.
Step 6: Starting React Application
Now you can start your application by first navigating to the project directory which is my-app in this case. After going there, you can start your React application by executing the below commands:
cd my-app
npm start
When you run “npm start”, it will start the development server, compile your React code, and open your default web browser to view the React application. You can then begin developing your React application, and any changes you make to your code will be automatically reflected in the browser thanks to hot reloading, which is enabled by default in the development environment.
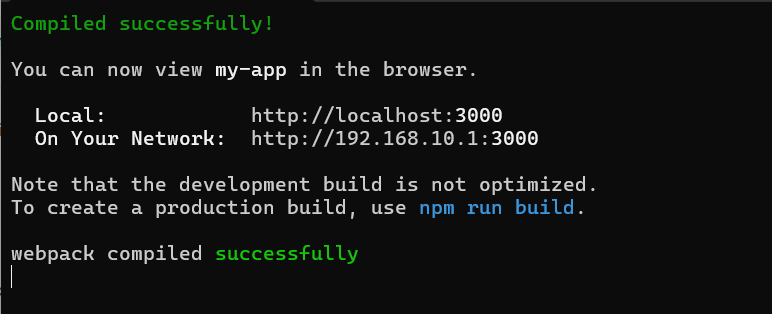
After executing the above commands you can see the message “Compiled Successfully” indicates that your React code was compiled without any errors.
Learn about How to Install Laravel on Windows.
Let’s discuss the output in further detail:
You can now view my-app in the browser: This message lets you know that your React application is now accessible through a web browser.
Local: This is the URL you can use to access your React application on your local machine. In this case, it’s http://localhost:3000.
On Your Network: This is the URL you can use to access your React application from other devices connected to the same network. In this case, it’s http://192.168.10.1:3000.
Note that the development build is not optimized: This is a reminder that the version of your React application currently running is optimized for development purposes. For production deployment, you would want to create a production build using npm run build.
To create a production build, use npm run build: This message suggests running npm run build to create a production-ready build of your React application.
Overall, your React application is now up and running locally, and you can start developing and testing it in your web browser. You can leave the development server running as you work on your project.
Installing ReactJS on Windows involves several essential steps. Firstly, downloading and installing Node.js provides the necessary environment for React development. Verifying the installation ensures Node.js and npm are correctly set up. Installing the create-react-app package globally allows for easy creation of new React projects.
Finally, starting the React application with npm start initiates the development server for testing and development. With these steps completed, developers can efficiently build and test React applications on their Windows systems, fostering smoother development experiences.
Setting up a development environment for ReactJS on Windows can involve multiple tools and configurations. For a smoother and more performant experience, consider Ultahost’s NVMe VPS hosting plans. These plans leverage NVMe storage technology for blazing-fast read/write speeds. This translates to an ideal environment for building modern web applications
ReactJS is a popular JavaScript library for building user interfaces, particularly for single-page applications.
You can install ReactJS using Node Package Manager (npm), which comes with Node.js. First, you need to install Node.js on your system.
You can download the Windows installer for Node.js from the official website, then run the installer and follow the installation instructions.
create-react-app is a command-line tool that sets up a new React project with a default directory structure and configuration.