How to Fix an Internal Error has occurred in ...
Remote Desktop Protocol (RDP) has changed how we contro...
VLC Media Player or simply VLC has become associated with multimedia playback on computers. This free and open-source program is well-known for its flexibility as it can easily handle a wide range of audio and video formats. If you are a Windows user looking for a reliable media player VLC is an excellent option.
This guide will walk you through how to install VLC media player Windows process ensuring you can enjoy your favorite media files in no time.
VLC has numerous significant benefits over other media players:
Now that you know about VLC’s benefits let’s get it installed on your Windows machine. Here’s a detailed breakdown of the process to download VLC for Windows:
Step 1: Downloading the Installer
Open your favorite web browser and navigate to the official VLC download page. The website will prominently display a large orange button labeled “Download VLC.” Click on this button. You can free download VLC player on your system.
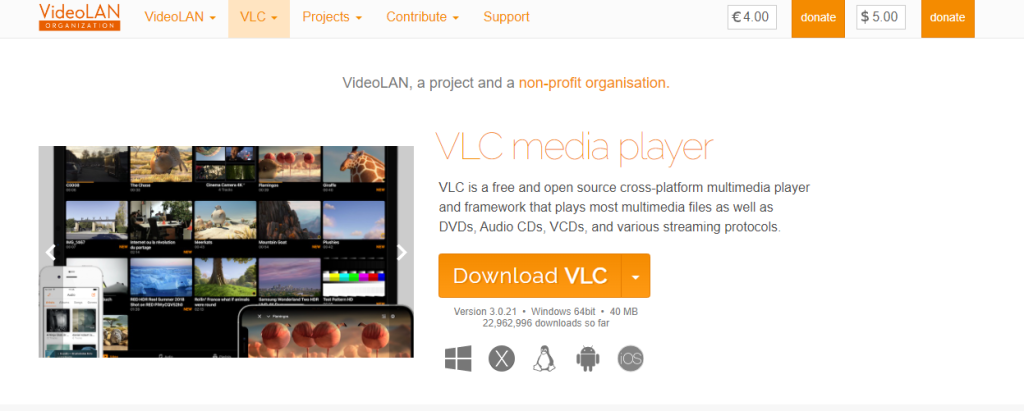
You might be presented with a choice between different versions of VLC. In most cases, the default option usually the latest stable version is the best choice.
Step 2: Running the Installer
Once the download is complete locate the downloaded file. It will likely be in your “Downloads” folder and be named something like vlc-x.x.x-win64.exe represents the version number. Double-click the downloaded file to launch the VLC installer.
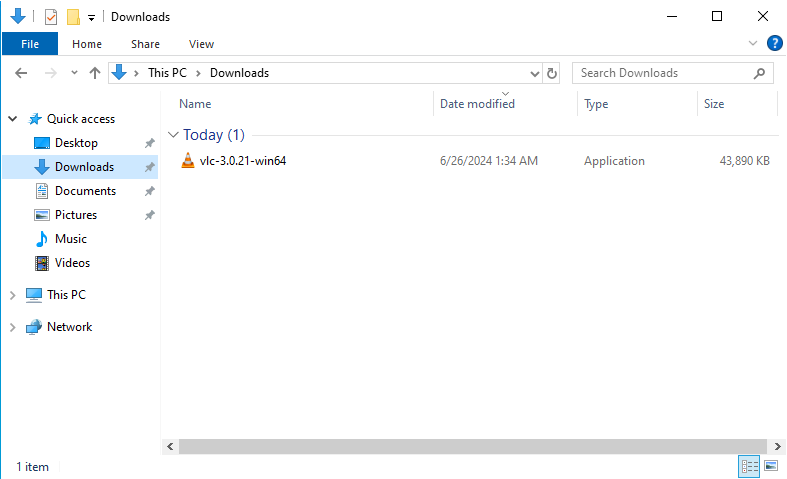
Step 3: Installation Wizard
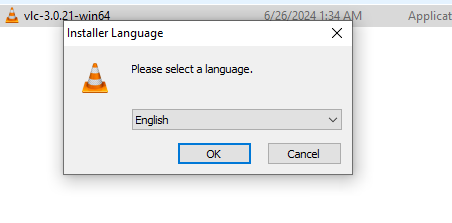
The VLC installer will launch a window to guide you through the setup process. This is referred to as a “wizard”. The first screen might ask you to choose your preferred installation language. Select your language and click “OK”.
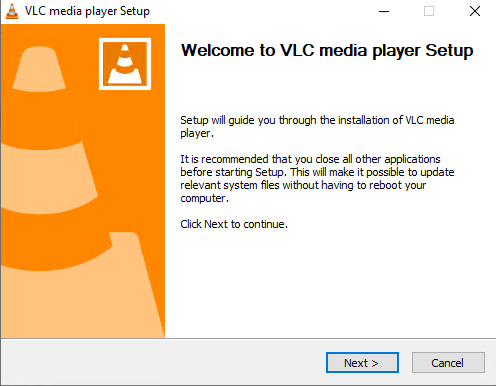
You will then encounter the “Welcome” screen for the VLC setup wizard. Click “Next” to proceed.
Step 4: License Agreement
The next screen will display the VLC license agreement. Click the “Next” option.
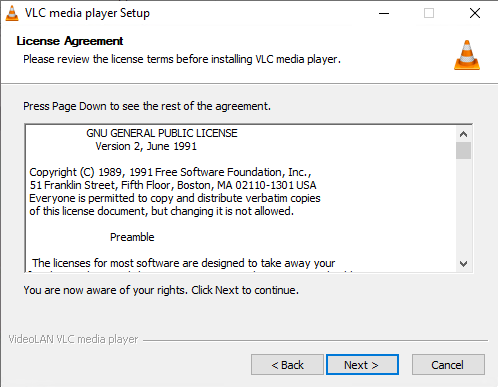
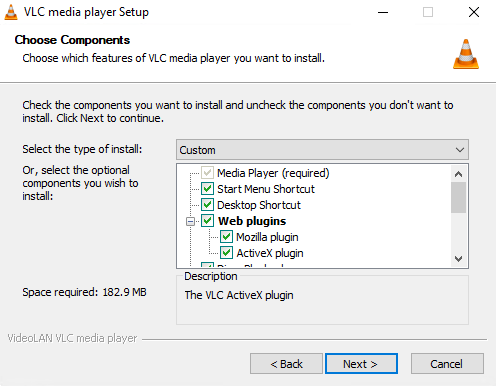
Step 5: Choosing Components
This screen allows you to choose which components you want to install as part of VLC. By default, all components are selected. Unless you have specific reasons to exclude something, it’s recommended to leave the settings unchanged and click “Next”.
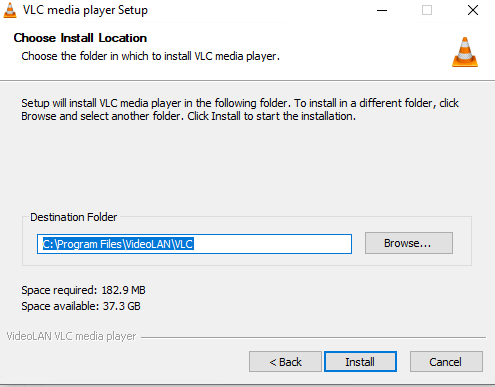
Step 6: Choosing Installation Location
In this step, you can specify where you want VLC to be installed on your computer. By default, the installer suggests the standard program files directory. If you have a preferred location for your applications, you can change it here. Otherwise, click “Next” to continue with the default.
Install VLC Media Player on Our Windows 10 VPS!
With Ultahost, hosting a Windows VPS has never been simpler or faster. Enjoy ultra-fast SSD NVMe speeds with no dropouts or slowdowns.
Step 7: Start Menu Folder
For the older version, the screen lets you choose which folder in the Start Menu you want to create a shortcut for VLC. Again, the default settings are usually sufficient unless you have specific preferences.
Step 8: Additional Options
The installer might offer some additional options such as associating VLC with specific file types or setting it as your default media player. You can choose based on your preferences or leave the defaults.
Step 9: Ready to Install
The final screen provides a summary of your chosen installation settings. Review them to ensure everything is correct. If you need to make any changes, click the “Back” button. Once satisfied click “Install” to begin the installation process.
Step 10: Installation Progress
The installer will copy the necessary files to your computer. A progress bar will indicate the installation’s status. This might take a few minutes depending on your computer’s speed.
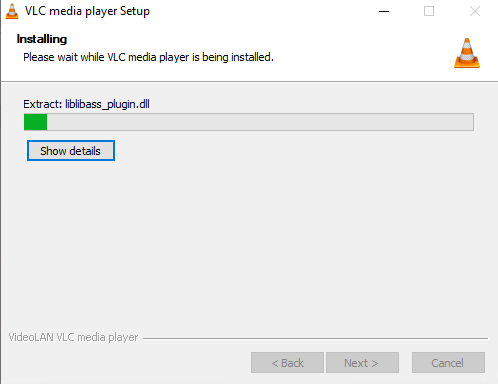
Step 11: Installation Complete
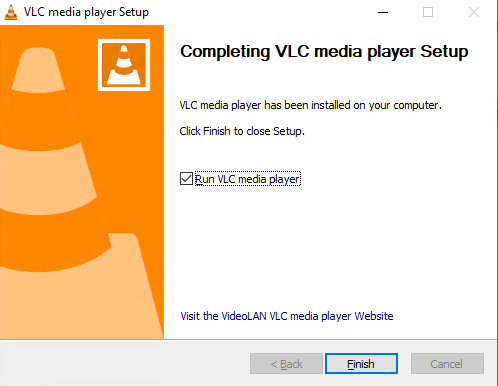
Once the installation is complete the installer will display a final screen. You will display the “Run VLC Media Player” option. Check the option and click “Finish”. This will start VLC and allow you to begin using it.
Learn about How to Install ShoutCast on Windows.
Now you have successfully installed VLC for Windows 10. Here’s a quick guide on how to use a media player on this system:
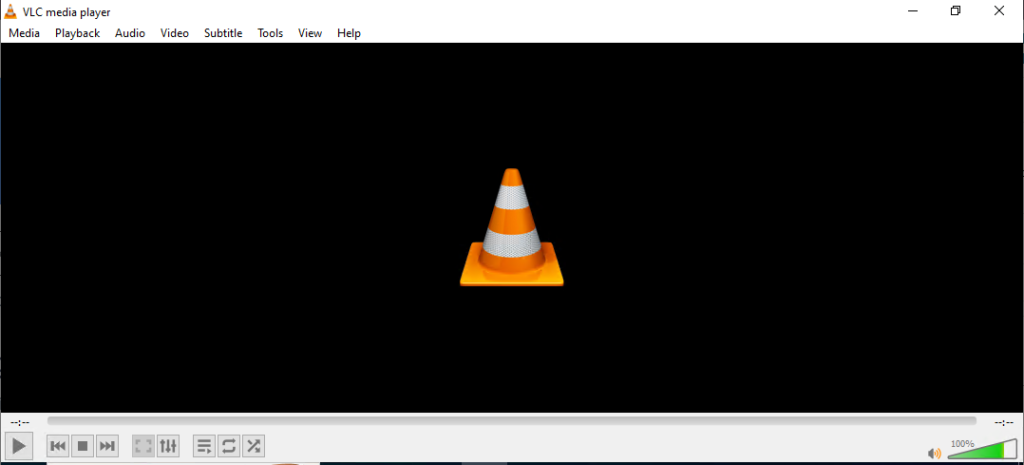
1. VLC can play a wide variety of media files. You can either drag and drop a file into the VLC window or use the “Open File” option from the Media menu.
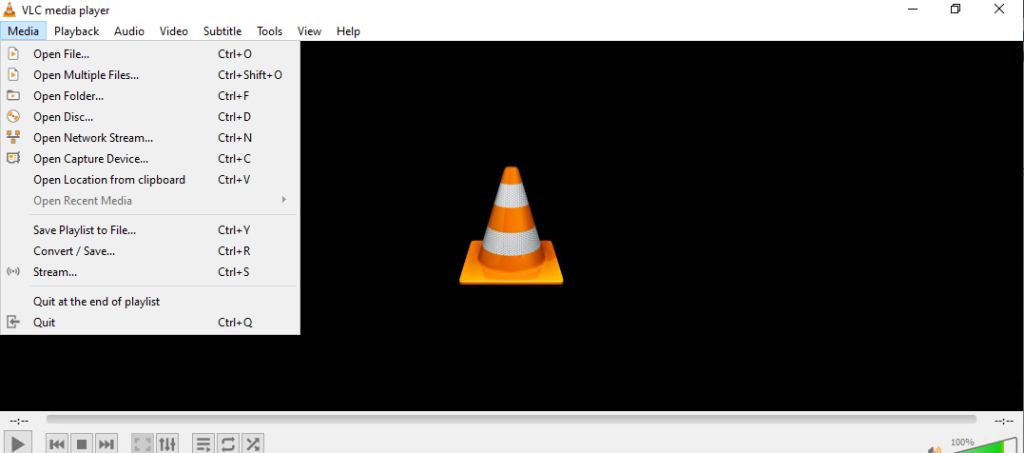
2. VLC features standard playback controls like play, pause, stop, rewind, and fast forward. You can also adjust the volume and toggle fullscreen mode.
3. VLC offers many advanced features for experienced users. You can explore settings to adjust audio and video playback, add subtitles, and even stream media content.
With VLC Media Player installed on your Windows PC, you now have access to a flexible and user-friendly application for playing multimedia content and providing comprehensive customization options. VLC offers to both beginners and advanced users supporting a wide range of audio and video formats as compared to WinAmp which is a classic media player you can also install WinAmp on Windows system.
VLC Media Player is commonly used as a multimedia player you can install VLC on our server. Ultahost’s cheap VPS hosting plan offers you an easy-to-manage, reliable, and economical hosting plan for businesses of all sizes. Get started today and enjoy the freedom and flexibility of a VPS!
Visit the official VLC website and click the “Download VLC” button for Windows.
Yes, VLC Media Player is completely free to download and use.
Yes, VLC supports all major versions of Windows, including Windows 7, 8, and 10.
No, you can install VLC alongside other media players without any issues.
Yes, downloading VLC from the official website is safe and free from malware.