
How to Install BlueStack Android on Windows
Imagine playing your favorite mobile games, but on a mu...


Winamp, the classic media player that was popularized in the early 2000s, remains a favorite among many listeners today. Its customizable interface, advanced functionality, and large plugin library make it a very adaptable tool for music enthusiasts. Winamp’s development has slowed in recent years, although it is still functioning and can be installed on current Windows PCs.
This guide will walk you through the installation process to install WinAmp Windows ensuring you can experience the music experience on your Windows machine.
It is important to know that Winamp’s official development ended in 2013. While the software itself is still functional the official website offers a direct download option. Downloading Winamp from third-party sources carries some risks. These sources may bundle unwanted software with the installer or host malicious files. To mitigate these risks we will recommend a trusted source for downloading Winamp.
Following are steps described below on WinAmp download on Windows operating system:
Step 1: Downloading Winamp
Head to the official website of WinAmp or just click the link that automatically starts download WinAmp for Windows. It will likely be an executable file .exe. Download the file and save it to a convenient location on your computer such as your “Downloads” folder.
Step 2: Launching the Installer
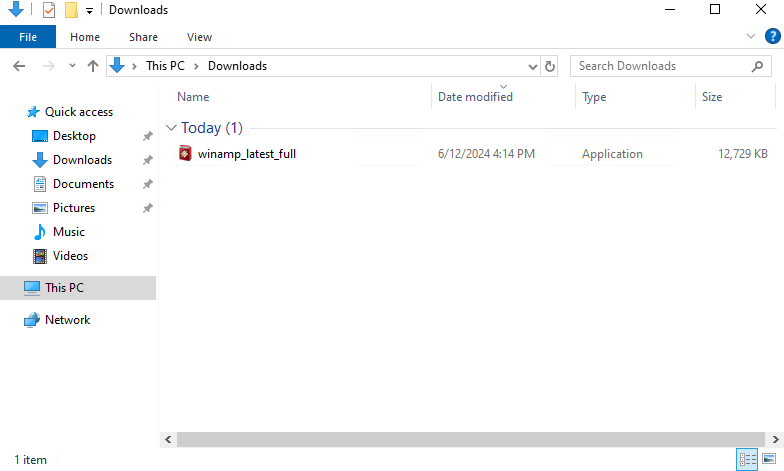
Navigate to your Downloads folder or wherever you saved the downloaded file and locate the Winamp installer. It will likely be named “Winampxxx_full.exe” or similar. Double-click the installer to begin the setup process.
Step 3: Winamp Installer Wizard
The Winamp installer wizard will guide you through the installation process. Here’s a breakdown of each step:
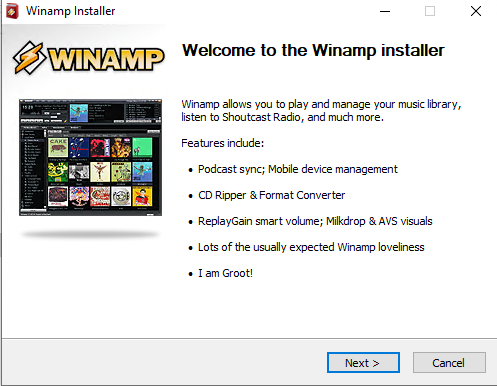
Welcome Screen: This is the initial screen of the installer. Click “Next” to proceed.
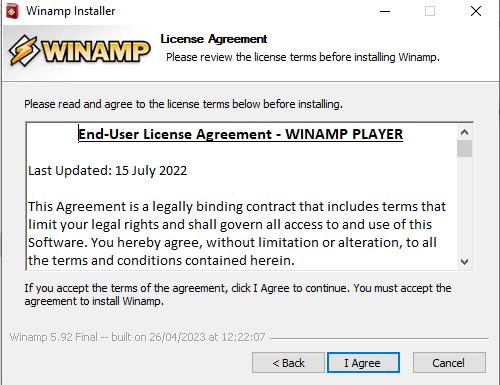
License Agreement: Carefully read the license agreement. It outlines the terms and conditions of using Winamp. If you agree to the terms, click “I Agree” to continue.
Choose Install Location: This screen allows you to choose where Winamp will be installed on your computer. By default, it will be installed in C:\Program Files\Winamp. You can leave this as is or click “Browse” to select a different location. Click “Next” to continue.

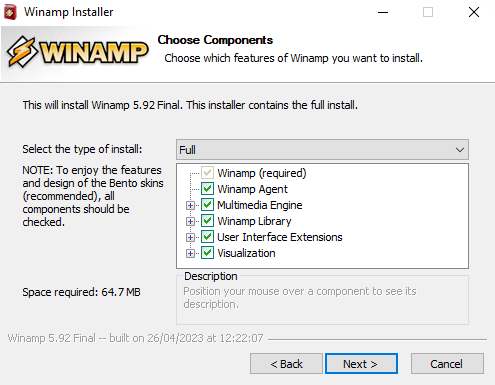
Choose Components: This screen allows you to customize the installation. You can choose to install optional components like the Winamp Agent, visualization plugins, and language packs. It’s generally recommended to keep the default selections unless you have specific needs. Click “Next” to proceed.
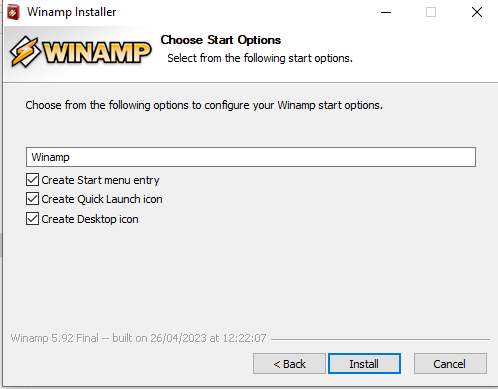
Choose Start Options: This screen allows you to choose whether to launch Winamp automatically after installation and create a desktop shortcut. You can customize these options as desired. Click “Next” to continue.
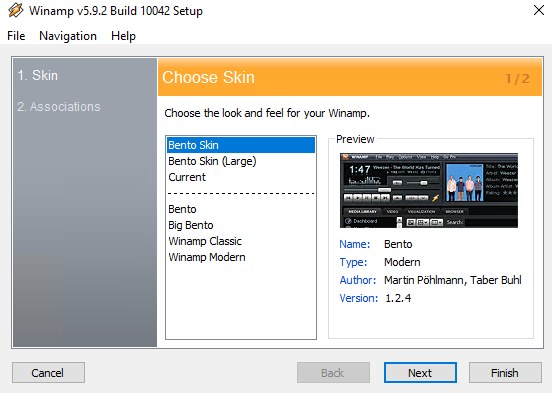
Select a Skin: Winamp is known for its customizable interface. This screen allows you to choose a skin for Winamp. Skins can change the overall look and feel of the player. You can choose from the default options or browse for additional skins online later. Click “Next” to continue.
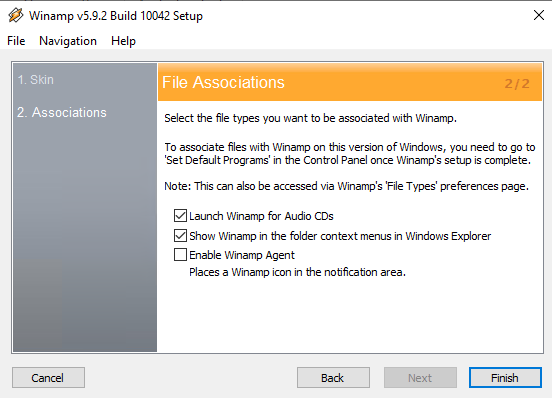
File Associations: This screen allows you to choose which file types Winamp will be associated with. By default, Winamp will associate itself with common audio and video formats. You can customize these options if desired. Click “Next” to continue.
Ready to Install: This is the final screen before installation begins. Review your selections and click “Install” to begin the installation process.
Explore the Best Internet Radio Hosting!
Get the best radio hosting for your online station. High-quality streaming. Start your journey today with a professional radio hosting service.
Step 4: Installation Progress
The Winamp installer will now copy the necessary files to your computer. This may take a few minutes depending on your system speed.
Step 5: Installation Complete
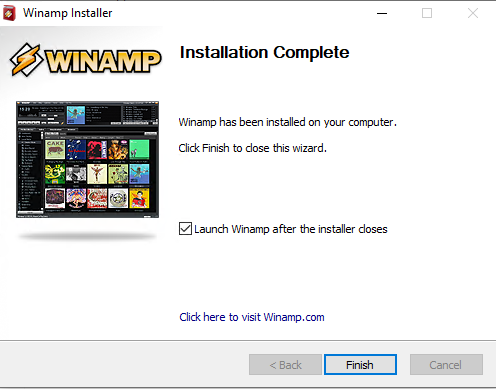
Once the installation is complete, you will be shown a final screen. You can choose to launch Winamp immediately or click “Finish” to exit the installer. Locate the WinAmp icon on the desktop and click on it to run the software.
Learn about How to Install FFmpeg on Windows 10.
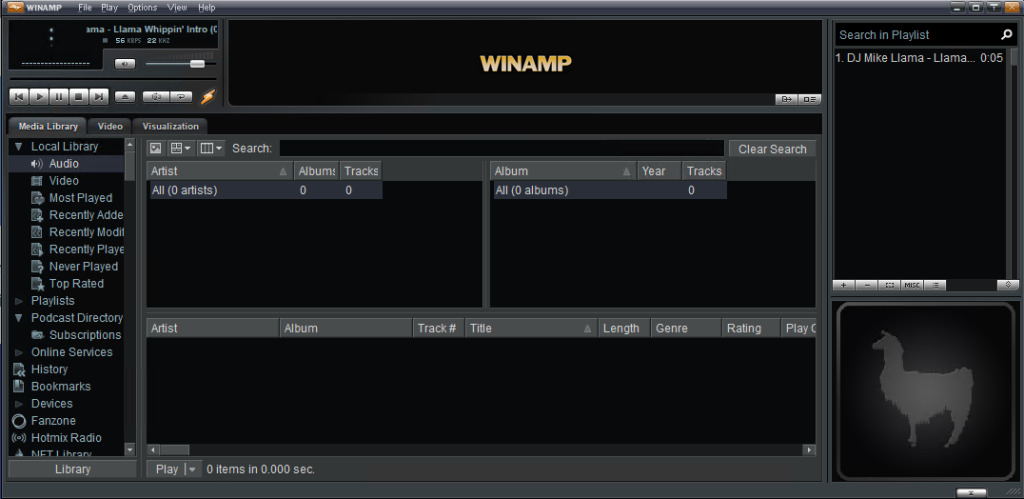
After successfully installing Winamp on your Windows machine. Now you can explore WinAmp player features, add your music library, customize its appearance with skins, and enjoy your favorite tunes with the classic Winamp experience. Following are some option on WinAmp described below:
Winamp’s extensive plugin library is one of its great features. You can find plugins that add new features like advanced visualizations, media format support for less common file types, and integration with music streaming services. However, due to Winamp’s development status, some plugins may not be compatible with modern operating systems or may not be actively maintained.
By following this guide you should be able to successfully install Winamp on your Windows machine and feel the classic music player experience. Remember to install caution when downloading from third-party sources and consider the security measures of using outdated software.
Hope you like this guide consider an Ultahost Windows VPS hosting which grants you a more powerful and secure solution for managing your audio library. Our VPS provides the full Windows desktop environment allowing you to explore a vast selection of music players including WinAmp.
WinAmp is a media player for Windows that allows you to play audio and video files.
You can download WinAmp from the official WinAmp website or trusted software download sites.
Yes, WinAmp offers a free version for users.
WinAmp runs on most Windows versions, including Windows 7, 8, and 10.
Download the installer, run it, and follow the on-screen instructions to complete the installation.