How to Set Up a Catch-All For cPanel Email
One of the commonly known features of cPanel is that it...
Web Host Manager (WHM) is a powerful tool that allows web hosting providers to manage multiple cPanel accounts and websites efficiently. Whether you are an administrator or just getting started, knowing how to modify a cPanel account in WHM is important for maintaining optimal website performance and meeting your client’s needs.
In this article, we will cover the steps required on how to modify cPanel account in WHM, including changing disk space quotas, altering bandwidth limits, and adjusting account features.
Before we modify cPanel on WHM it is essential to understand what WHM and cPanel are and how they interact.
To modify a cPanel account, you first need to access WHM. Follow these steps:
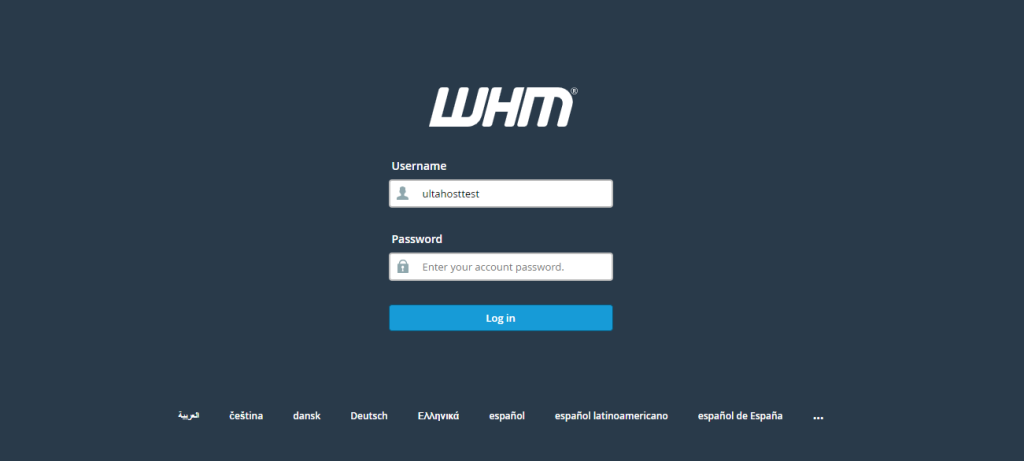
Open your preferred web browser. Enter your server’s IP address followed by “2087” for example, https://123.456.789.101:2087.
Enter your WHM username and password. Click the “Log in” button.

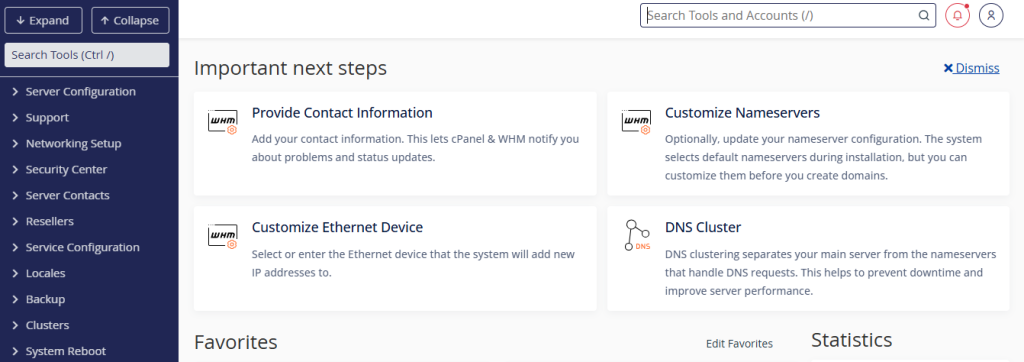
Once logged in, you will be greeted by the WHM dashboard. This dashboard provides access to various features and functions, including account management, server configuration, and more.

Now that you are logged in to WHM, let’s proceed with modifying a cPanel account. Here are the steps:
To modify a cPanel account, you must first locate it within WHM:
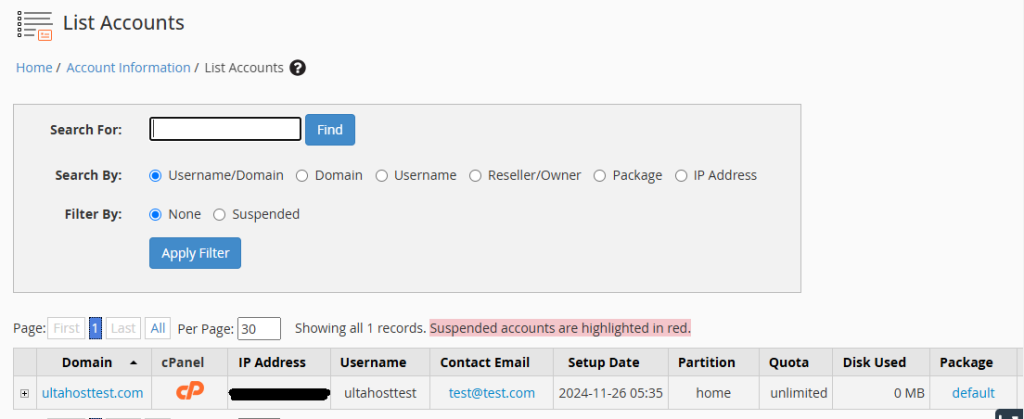
In the WHM dashboard, use the search bar at the top-left corner. Type “List Accounts” and click on the corresponding result.

In the “List Accounts” section, you will see a list of all cPanel accounts on your server. Locate the account you wish to modify by scrolling through the list or using the search function.

Once you have located the account, follow these steps to edit its settings:
Next to the account you want to modify, click on the “Actions” dropdown menu. Select “Modify Account”.

In the “Modify an Account” page, find the “Disk Space Quota (MB)” field. Enter the desired disk space quota for the account. This change will adjust the maximum amount of disk space the account can use.
Locate the “Monthly Bandwidth Limit (MB)” field. Enter the desired bandwidth limit for the account. Bandwidth limits control the amount of data transfer the account can utilize each month.

Scroll down to the “Package” section. Here, you can select a different package for the account, which will change its features and resource limits.
If you need to customize specific features, click on “Select Options Manually” to adjust settings like email accounts, databases, and more.
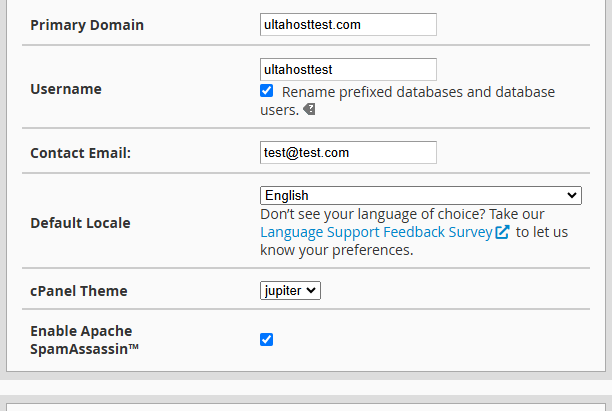
In the “Contact Information” section, you can update the account owner’s email address and other contact details.
In the “Primary Domain” field, you can change the primary domain associated with the account.

After making the necessary modifications, scroll to the bottom of the page. Click the “Save” button to apply the changes.
Setup Website on UltaHost cPanel Hosting!
Is your website bogged down by slow or struggling growing traffic? Experience Ultahost blazing-fast speeds, and reliability, for management of your website.
In addition to the basic modifications, WHM allows for more advanced customization of cPanel accounts. Here are some advanced options:
If you need to set specific resource limits beyond disk space and bandwidth, you can do so:
In the “Resource Limits” section, you can define CPU and memory limits for the account. This is useful for preventing a single account from consuming excessive server resources.
You can also set limits on the number of email accounts, databases, and other resources. These limits help manage resource allocation and ensure fair usage across all accounts.
WHM allows you to enable or disable specific features for a cPanel account:
In the WHM dashboard, search for “Feature Manager”. Select the feature list you want to modify and click “Edit”.
In the feature list editor, you can enable or disable features like FTP access, email services, and more. Customizing feature lists helps tailor the cPanel experience to meet specific user needs.
Learn about How to Switch to cPanel Jupiter Theme.
Modifying a cPanel account is just one aspect of managing a hosting environment. It’s important to monitor effectively:
Modifying a cPanel account in WHM is a fundamental skill for web hosting administrators. By following the steps outlined in this guide, you can effectively manage disk space, bandwidth, features, and more for your cPanel accounts. Regular monitoring and proactive management will help ensure a smooth and efficient hosting environment, keeping your clients satisfied and your servers running optimally.
Setting up multiple cPanel accounts can be a time-consuming task for busy website business owners. For those offering individual cPanel accounts to their clients consider Ultahost’s best reseller hosting which provides you root access and WHM control panel access allowing you to easily manage your client’s cPanel accounts.
WHM is used to manage cPanel accounts, including creating, modifying, and deleting accounts.
Log in to WHM, go to “Modify an Account,” select the account, and make changes like disk space or domain settings.
No, WHM does not allow changing usernames for cPanel accounts.
In WHM, go to “Modify an Account,” select the account, and update the disk quota.
Yes, go to “Modify an Account” in WHM and update the account password.
The account will be restricted from using more bandwidth than the limit you set.
Yes, modifications in WHM apply immediately to the user’s cPanel account.