
How to Fix Missed Scheduled Post Error in Wor...
Have you ever methodically created a blog post and sche...


In many cases, you might want to restrict access to certain pages on your WordPress website. This could be for premium content private community forums or sensitive information. Password protection is a simple yet effective way to achieve this.
In this post, we will discuss with you the step-by-step process of setting up a password protected page on your WordPress website.
Before we set up the WordPress password page let’s understand what password protection does:
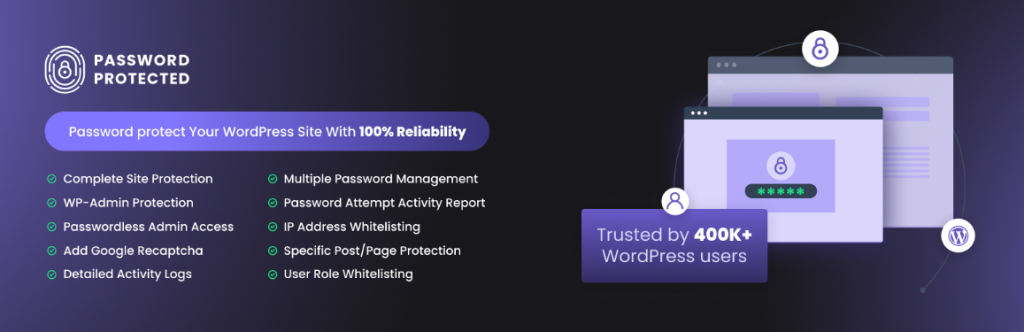
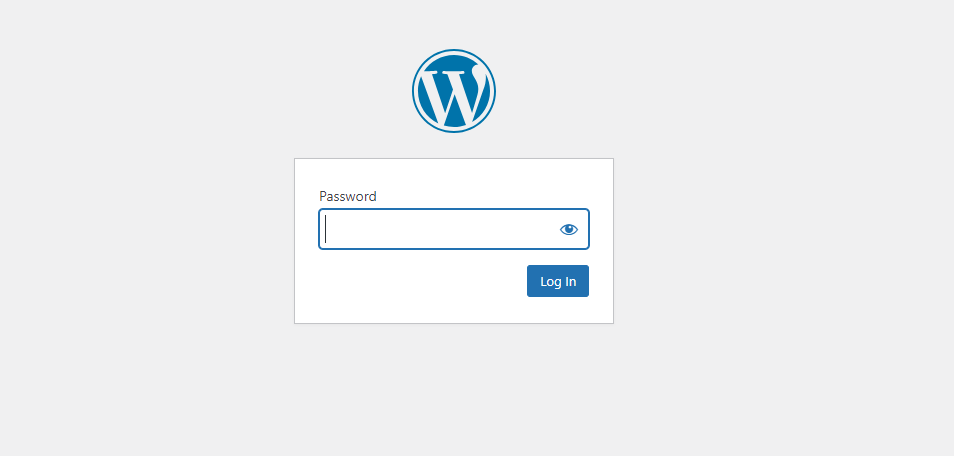
One of the easiest ways to password-protect a page is to use a dedicated plugin. Several options are available but we will use the popular “Password Protected” plugin for this demonstration.
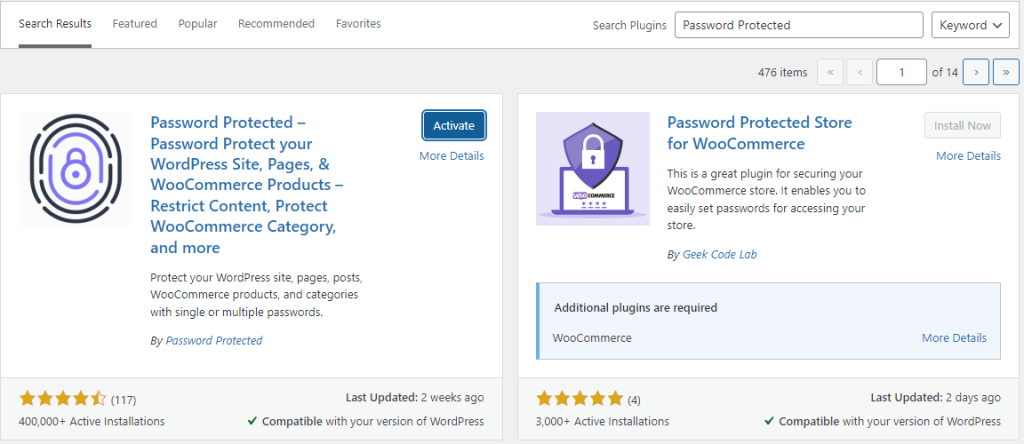
Go to your WordPress dashboard then navigate to “Plugins” and then “Add New”. Search for “Password Protected” and install it. After installing “Activate” the plugin.
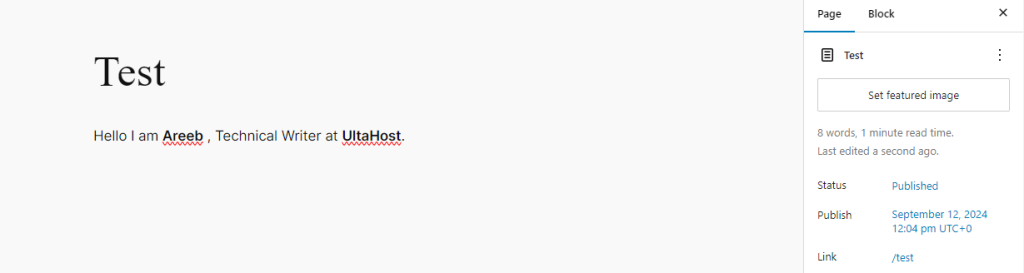
Next, Go to “Pages” then “Add New” to create a new page or edit an existing one.
Scroll down to the “Password Protection” section. Toggle on the “Password Protect Status”. Enter the password in the field provided. Click “Save” or “Update” to apply the changes.
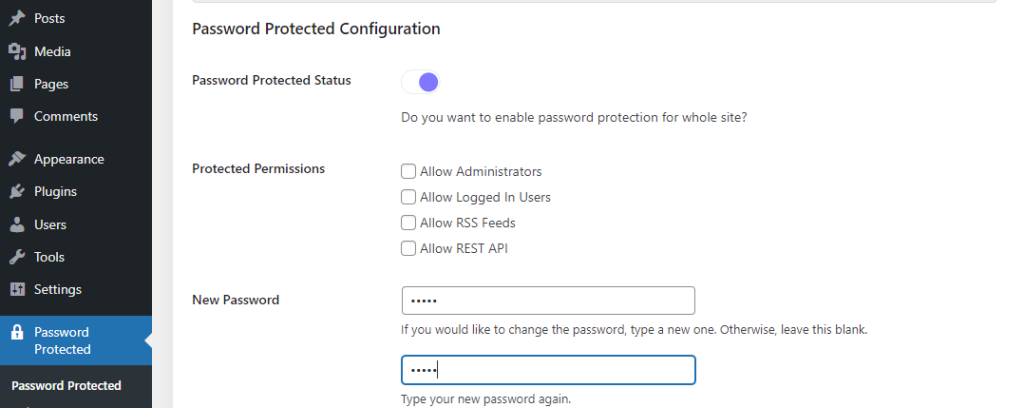
Try to view the page without entering the password. You should be prompted to enter the password.
If you are using the Classic Editor you can also password-protect a page directly from the editor.
First, Go to “Pages” then “Add New” or “Edit”. In the editor, click on the “Text” tab to switch to the HTML view. Insert the following code before the content:
<div class="password-protected">
    Enter your password: <input type="password" name="pw" id="pw" />
    <input type="submit" value="Submit" />
</div>
Replace “Enter your password” with your desired prompt.
Wrap the content you want to protect within a <div> with the class “password-protected-content”:
<div class="password-protected-content">
    </div>
Add the following JavaScript code to your theme’s footer.php file:
<script>
    jQuery(document).ready(function($) {
        $('.password-protected').submit(function(e) {
            e.preventDefault();
            var password = $('#pw').val();
            var correctPassword = 'your_password';

            if (password === correctPassword) {
                $('.password-protected-content').show();
            } else {
                alert('Incorrect password.');
            }
        });
    });
</script>
Replace “your_password” with the actual password you want to use.
Take Advantage with Secure WordPress Hosting!
Increase the security of your website with Ultahost’s Secure WordPress hosting and provide your visitors with the best possible faster page-loading experience.
If you need more advanced password protection features or want to integrate it with other functionalities, you might consider using a custom plugin or theme. These options often provide more flexibility and customization.
Following are some benefits of using custom plugins and themes in WordPress:
Learn about How to Install WordPress Using CyberPanel.
The following are important while setting up a WordPress protected page:
By following these methods and considering the important notes you can effectively set up password protected pages on your WordPress website ensuring that sensitive information remains secure and accessible only to authorized users.
To unlock your website’s potential with a next-generation private server, consider Ultahost’s Virtual Private Server. You can buy Ultahost’s VPS now for maximum flexibility, unlimited bandwidth, and unbeatable performance.
A WordPress page that requires a password to view its content.
To limit access to sensitive or private content on your website.
Edit the page go to “Visibility” settings and choose “Password Protected.”
Yes, each page can have its own unique password.
No, password protected pages are not indexed by search engines.
No, only logged-in users with proper access can edit the page.
Yes, you can remove the password anytime by changing the page visibility.
Have you ever methodically created a blog post and sche...

Cron is a tool that can help Unix/Linux systems schedul...
Malicious actors constantly devise new methods to explo...
WordPress a powerful content management system offers a...
WordPress is one of the most popular content management...

It is frustrating to be sharing a WordPress post or pag...