
How to Install WinSCP in Windows
WinSCP is a popular free and open-source software for W...


Anaconda, a comprehensive distribution of Python and its essential packages, has revolutionized the landscape of data science and machine learning. By providing an all-inclusive environment for data analysis, visualization, and machine learning tasks, Anaconda has become an indispensable tool for professionals and learners alike.
As the demand for Python-based data science and machine learning applications continues to grow, the need to set up a seamless development environment on the Windows operating system becomes increasingly important. Installing Anaconda on Windows enables data scientists, machine learning engineers, Python developers, and students to harness the full potential of Python, leveraging its simplicity, flexibility, and scalability to tackle complex projects and drive innovation.
To get started with run Anaconda Windows on your system, you’ll need to download the installation package from the official Anaconda website. Follow these steps to Download Anaconda Windows:
Step 1: Access the Anaconda Website
Open a web browser and navigate to the official Anaconda website.
Step 2: Choose the Correct Anaconda Version
Anaconda offers three editions: Individual Edition, Team Edition, and Enterprise Edition. Choose the edition that best fits your needs:
For this tutorial, we’ll focus on the Individual Edition:
Step 3: Select the Windows Installer
Click on the “Download” button for the Individual Edition, and then select the Windows installer from the dropdown menu:
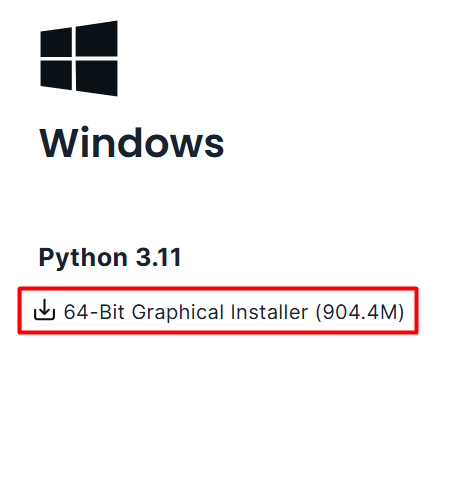
Click the “Download” button to begin the download process. The installer file will be saved to your default download location. Once the download is complete, you’re ready to proceed with the installation process.
Explore the Blazing Fast Speed of Windows VPS!
With Ultahost, hosting a Windows VPS has never been easier or faster. Experience ultra-fast SSD NVMe speeds with no dropouts or slowdowns.
Now that you’ve downloaded the Anaconda installer, it’s time to install latest Anaconda Windows on your system. The installation process is straightforward, and these instructions will guide you through each step.
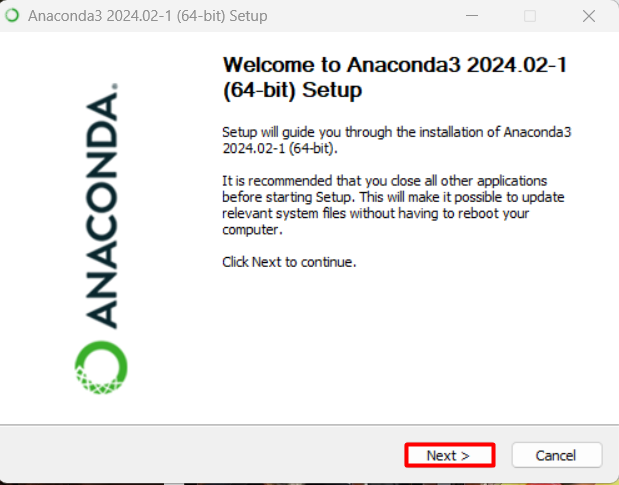
Step 1: Launching Anaconda Executable File
The first screen you’ll see is the Anaconda welcome screen. This screen provides a brief overview of Anaconda and its features. So click on the next button to proceed further:
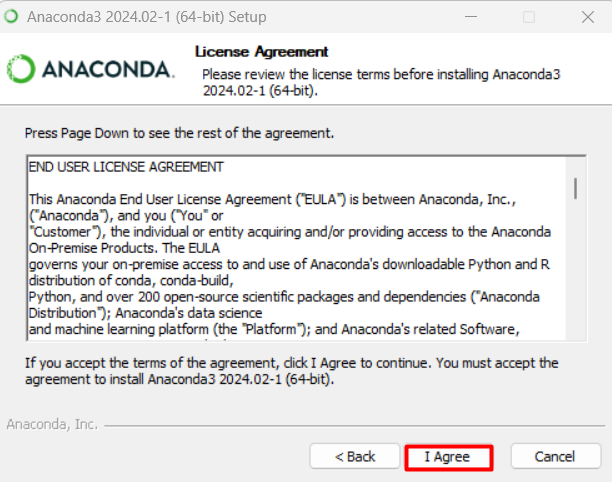
Step 2: Accept License Agreement
After the welcome screen, you’ll be presented with the Anaconda License Agreement. This screen displays the terms and conditions of using Anaconda, including the licensing terms, warranties, and limitations of liability.
Carefully read through the license agreement as it’s important to understand the terms before proceeding. If you agree to the terms of the license, click the “I Agree” button. This will confirm that you accept the agreement and allow you to move on to the next step of the installation process.
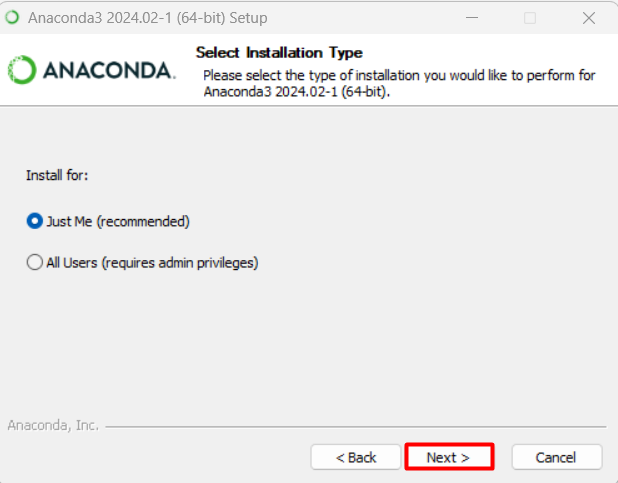
Step 3: Select Installation Type
After accepting the license agreement, you’ll be prompted to choose an installation type. This step determines who will have access to Anaconda prompt download on your computer:
For this tutorial, we’ll choose the “Just Me” option, as it’s the recommended choice. By selecting this option, Anaconda will be installed in your user directory, and you won’t need administrative privileges.
Learn about How to Install Git in Windows 10.
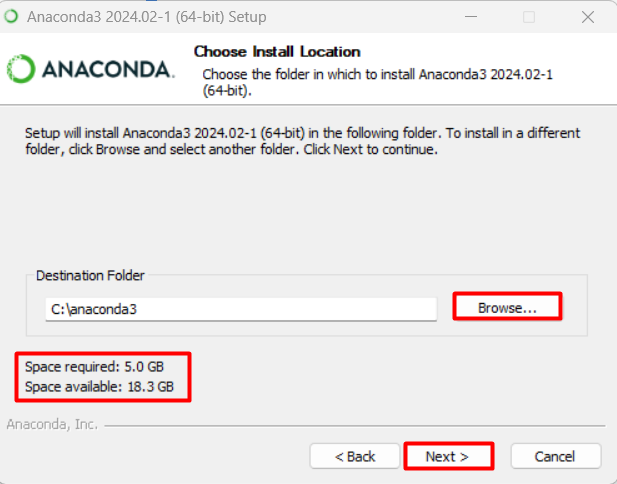
Step 4: Choose Installation Location
The next screen in the Anaconda installation wizard allows you to choose the installation location for Anaconda. This is where Anaconda will be installed on your system, and it’s essential to choose a location with sufficient free space.
The installation process requires approximately 5GB of free space on your system. This is because Anaconda comes with a comprehensive set of packages and tools for data science and machine learning, which take up a significant amount of space.
Step 5: Choose Advanced Installation Options
The next screen presents you with several advanced installation options. These options allow you to customize your Anaconda installation based on your preferences and needs.
Here’s a breakdown of each option:
You can choose to select one, some, or all of these options depending on your needs. If you’re unsure, you can leave the default settings and adjust them later if needed:
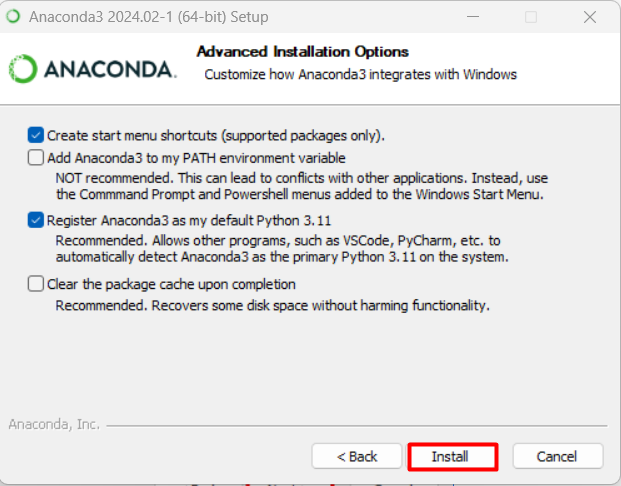
After that click on the Install button to start the installation process which might take some time. After installation is complete, a new screen will appear with a prompt that installation completed:
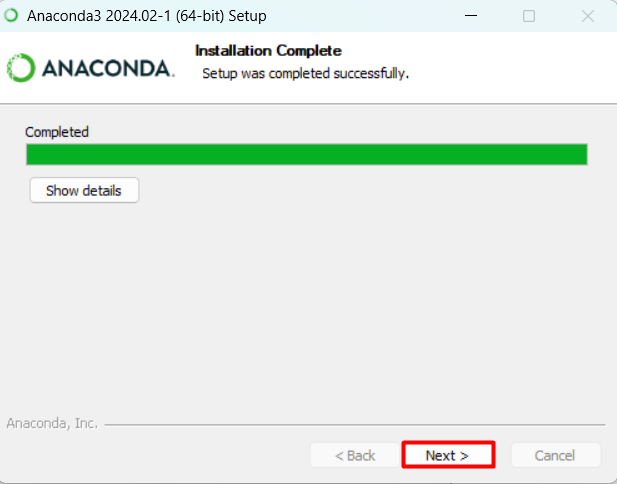
Lastly, you can either launch anaconda navigator directly or just finish the installation:
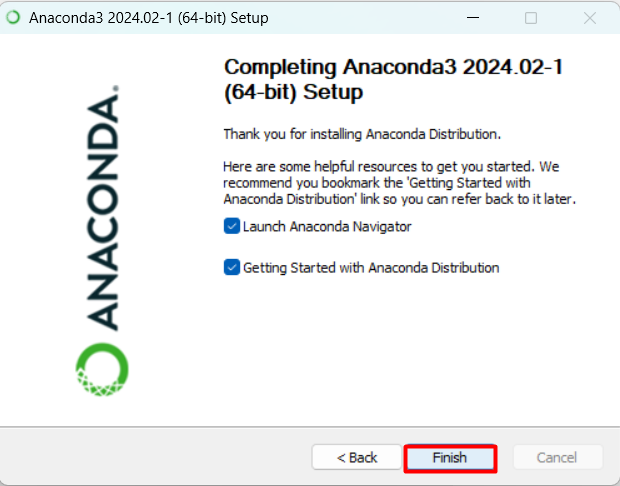
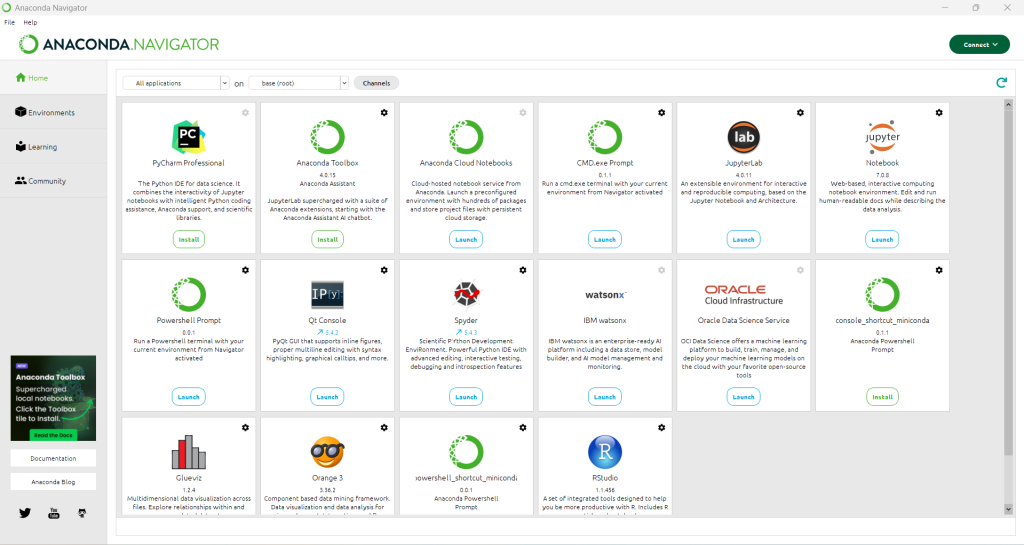
When you launch the anaconda navigator, the main screen that appears is displayed below:
In this article, we walked you through the step-by-step process of installing Anaconda on Windows. We began by downloading the Anaconda installer from the official Anaconda website, and then launched the setup file to initiate the installation process. Furthermore, we discussed all the relevant steps needed to install Anaconda Windows.
By following these steps, you should now have Anaconda successfully installed on your Windows system. With Anaconda, you’ll have access to a comprehensive distribution of Python and its essential packages for data science and machine learning. You can launch Anaconda Navigator to manage your environments and packages, and start exploring the vast range of libraries and tools available for data analysis, visualization, and machine learning.
As Python evolves, stay updated on new releases, features, best practices, and industry trends. Conduct thorough installation research to choose a trusted platform that meets your technical needs. With Ultahost’s Python hosting, you can easily upgrade your resources as your requirements grow, all with just a few clicks.
Anaconda is a distribution of the Python and R programming languages for scientific computing, that aims to simplify package management and deployment. It includes tools like Jupyter Notebook, Spyder, and a robust package manager called conda.
You can download the Anaconda distribution from the official Anaconda website:
To update Anaconda, you can use the following commands in the Anaconda Prompt:
conda update conda or conda update anaconda
To uninstall Anaconda from your system:
Click Uninstall and follow the prompts to remove Anaconda from your system.