Explore the man (Manual) Command in Linux
The man command, short for “manual”, is an essentia...
Rancher is an open-source platform that simplifies the deployment and management of Kubernetes clusters. Whether you are a Kubernetes user or just getting started, Rancher provides the tools to manage multiple clusters across different environments.
In this article, we will discuss the steps required to install Rancher on a CentOS 7 operating system.
Before you begin install Rancher CentOS ensure you have the following:
Following are the steps to install Rancher on the CentOS 7 operating system:
Firstly, check your CentOS version then ensure that your system is up to date by running the following commands:
sudo yum update -y && sudo reboot

Rancher runs as a Docker container, so you’ll need to have Docker installed. Follow these steps to install Docker on CentOS 7:
To install the required packages type the following command:
sudo yum install -y yum-utils device-mapper-persistent-data lvm2

Add the Docker CE repository:
sudo yum-config-manager --add-repo https://download.docker.com/linux/centos/docker-ce.repo

Then install Docker with the following command:
sudo yum install -y docker-ce

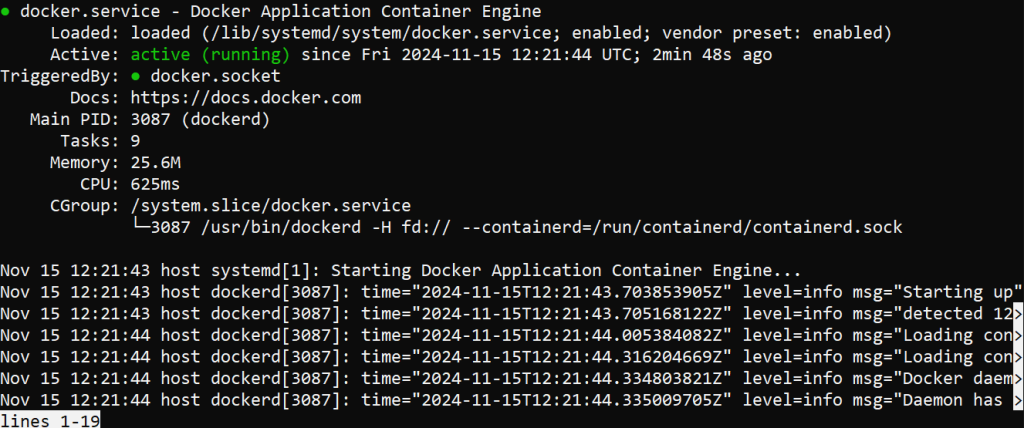
Start and check the status of Docker by typing the following:
sudo systemctl start docker && sudo systemctl status docker

You can also verify Docker installation by checking its version:
docker --version
With Docker running, you can now install Rancher. Rancher runs on a single Docker container, and it’s straightforward to set up.
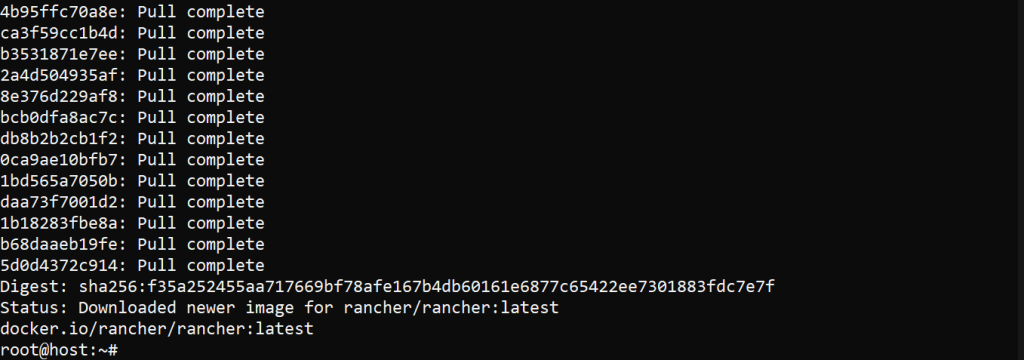
Pull the Rancher image with the following:
sudo docker pull rancher/rancher:latest

Run the Rancher container by typing the following:
sudo docker run -d --restart=unless-stopped -p 80:80 -p 443:443 rancher/rancher:latest

This command will start a Rancher container and bind it to ports 80 and 443 on your host.
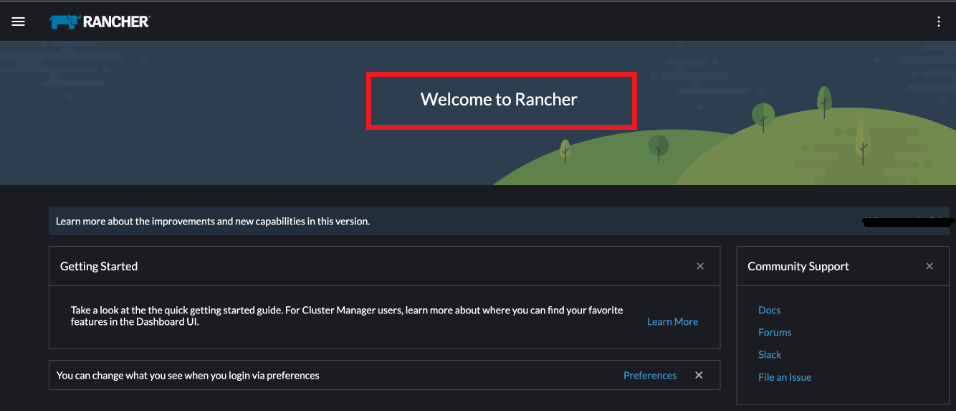
Once the Rancher container is running, you can access the Rancher UI. Open a web browser and navigate to the following URL:
http://<your-server-ip>/
You will be greeted with the Rancher setup page. Follow the instructions to complete the setup.
Install Rancher on Our CentOS VPS!
Ultahost offers VPS hosting with NVMe SSD storage. Use our VPS to practice the command and streamline your processes.
After accessing the Rancher UI, you will need to perform some initial configuration. Here are the steps:
1. Set up an Admin account
Create a username and password for the admin account. Then, log in with the admin credentials.

2. Add your first cluster
Rancher supports various types of Kubernetes clusters, including hosted Kubernetes like GKE, AKS, EKS, custom clusters, and imported clusters. Follow the Rancher UI to set up your first cluster.
3. Configure Global Settings
Adjust settings such as authentication providers, certificates, and other global configurations as per your requirements.
To interact with your Kubernetes clusters, you will need to install kubectl, the Kubernetes command-line tool.
Download the kubectl binary with the following:
curl -LO https://storage.googleapis.com/kubernetes-release/release/$(curl -s https://storage.googleapis.com/kubernetes-release/release/stable.txt)/bin/linux/amd64/kubectl
Make the kubectl binary executable:
chmod +x ./kubectl
Move the binary to your PATH:
sudo mv ./kubectl /usr/local/bin/kubectl
Verify kubectl installation by checking it’s version:
kubectl version --client
After setting up your cluster in Rancher, you can connect kubectl to your Kubernetes cluster by downloading the kubeconfig file from the Rancher UI.
Go to the Rancher UI and navigate to the cluster you want to manage. Click on “Kubeconfig File” and download it.
Set the KUBECONFIG environment variable to point to your downloaded kubeconfig file:
export KUBECONFIG=/path/to/your/kubeconfig/file
Verify the connection by typing the following command:
kubectl get nodes
Learn about Setting up a Docker Instance on Your CentOS VPS.
Here are some common issues you might encounter during the CentOS install Rancher process and how to resolve them:
Installing Rancher on CentOS 7 is a straightforward process that can significantly streamline the management of your Kubernetes clusters. By following this guide, you should be able to get Rancher up and running in no time. Remember, the key to a successful installation is ensuring all prerequisites are met and following each step carefully. Once installed, Rancher will provide a powerful interface for managing your Kubernetes environments, making container orchestration more accessible and efficient.
At Ultahost, we are committed to providing our customers with the best possible service and support, and we are always working to improve our offerings. Our dedicated hosting is designed to be scalable and flexible so you can always choose the right amount of resources for your needs.
Rancher is a tool for managing Kubernetes clusters across various environments.
CentOS 7 provides a stable platform ideal for running Rancher in production or testing.
You’ll need the Docker installed and a server with internet access.
No, Docker is required to run Rancher on CentOS 7.
Yes, Rancher is open-source and free for both personal and commercial use.
Access the Rancher dashboard by entering your server’s IP address and port in a web browser.
Yes, you can update Rancher by pulling the latest Docker image and restarting the container.