How to Install Terraform on Windows
Terraform, developed by HashiCorp, is a powerful Infras...
Hyper-V is a virtualization platform built into Windows Server and Windows 10 Pro, Enterprise, and Education editions. It allows you to create virtual machines (VMs) that run different operating systems within your host computer.
In this post, we will discuss installing Windows 11 on a Hyper-V virtual machine and explore virtualization techniques for testing different operating systems on a single computer.
Before we install Windows 11 on Hyper-V VM ensure you have the following:
Following are steps described below to install Windows 11 on Hyper-V virtual machine technology:
Search for “Control Panel” in the Start menu and open it. Click on “Programs and Features”. Click “Turn Windows features on or off” under Program and Features.

In the Windows Features window, check the “Hyper-V” box. Make sure both “Hyper-V Management Tools” and “Hyper-V Platform” are selected.
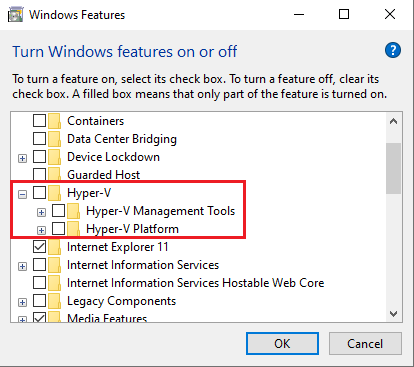
Click OK and restart your computer when prompted.
Press Win + S and type Hyper-V Manager. Select Hyper-V Manager from the search results. In Hyper-V Manager, right-click on your computer name and select Connect.
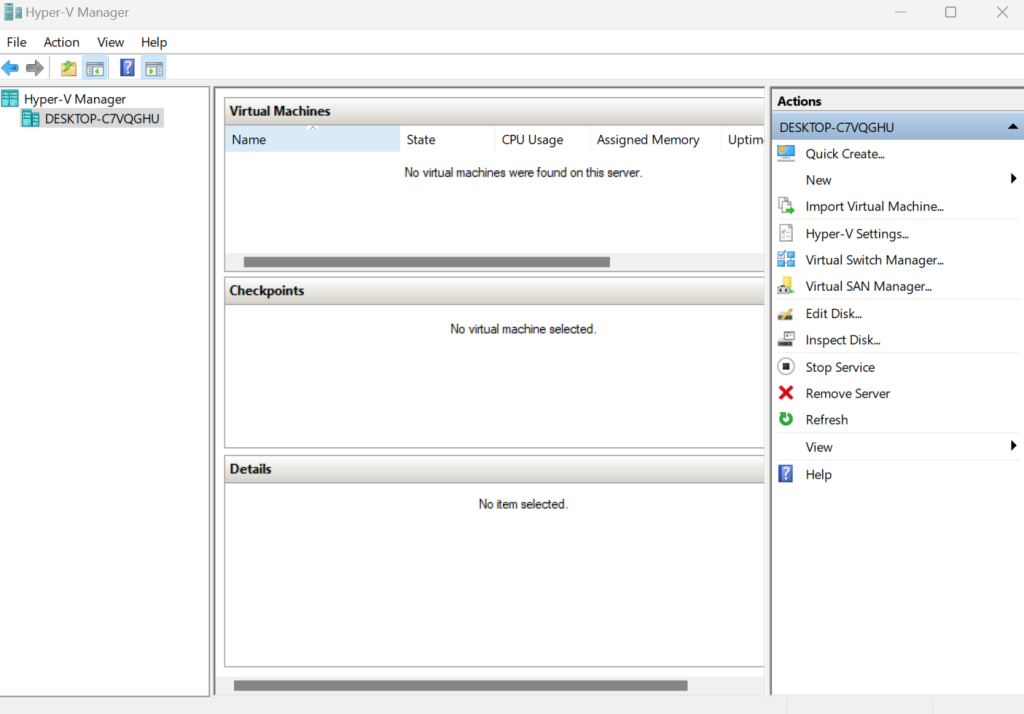
Now, let’s create a new Virtual Machine for Windows 11 Hyper-V.
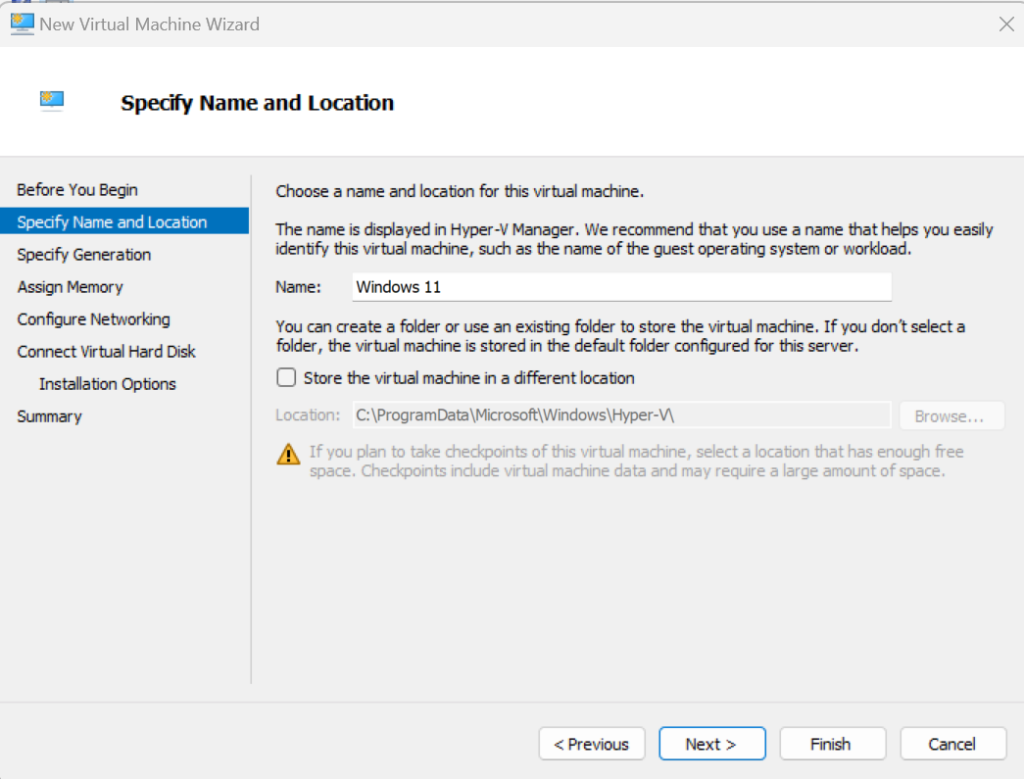
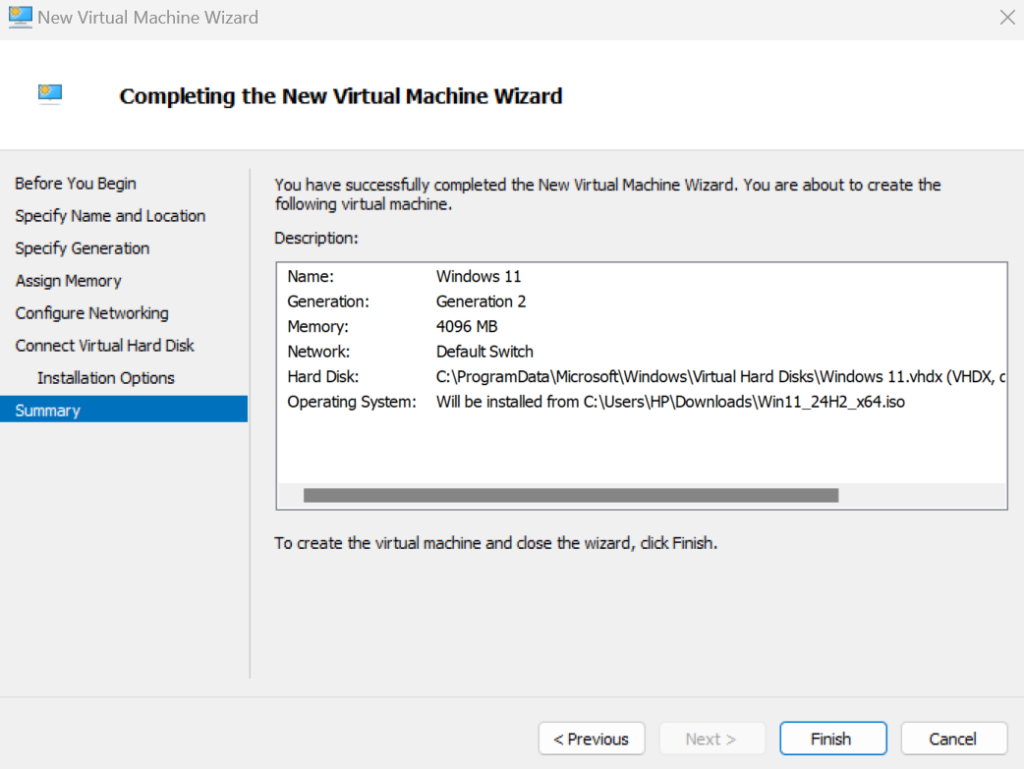
In Hyper-V Manager, click on “New” in the Actions pane on the right. Select “Virtual Machine”. Enter a name for your VM for example Windows 11 VM. Choose a location to store the VM files or use the default location.
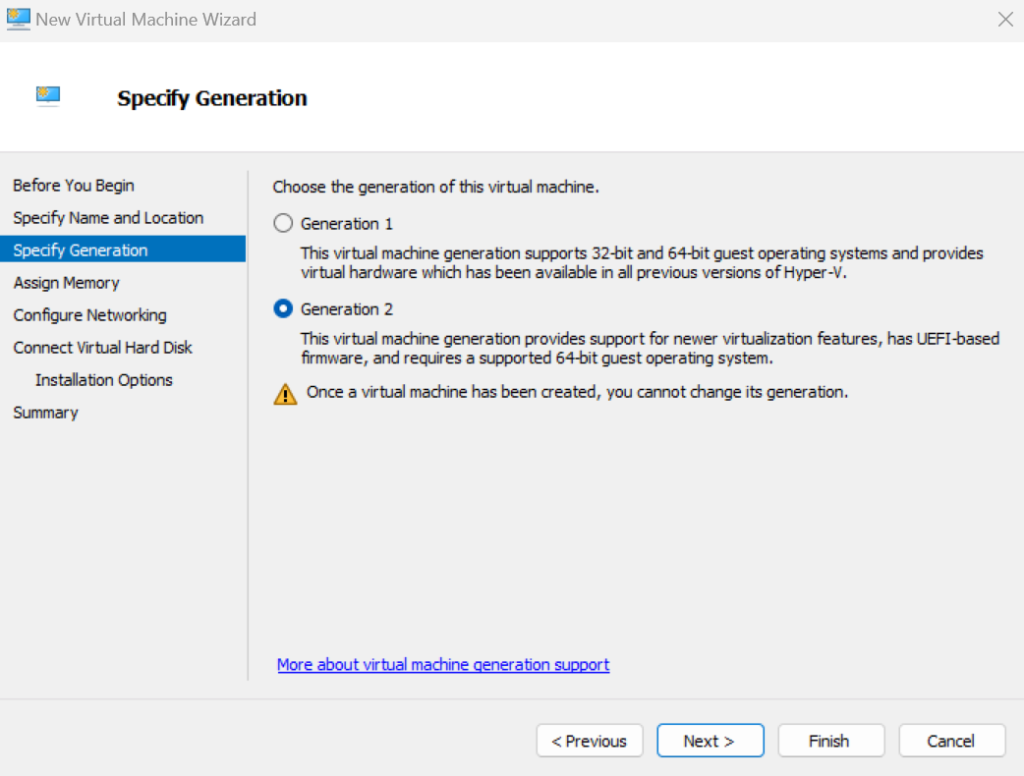
Choose Generation 2 for the VM. Generation 2 VMs support features such as UEFI-based firmware, which is required for Windows 11.
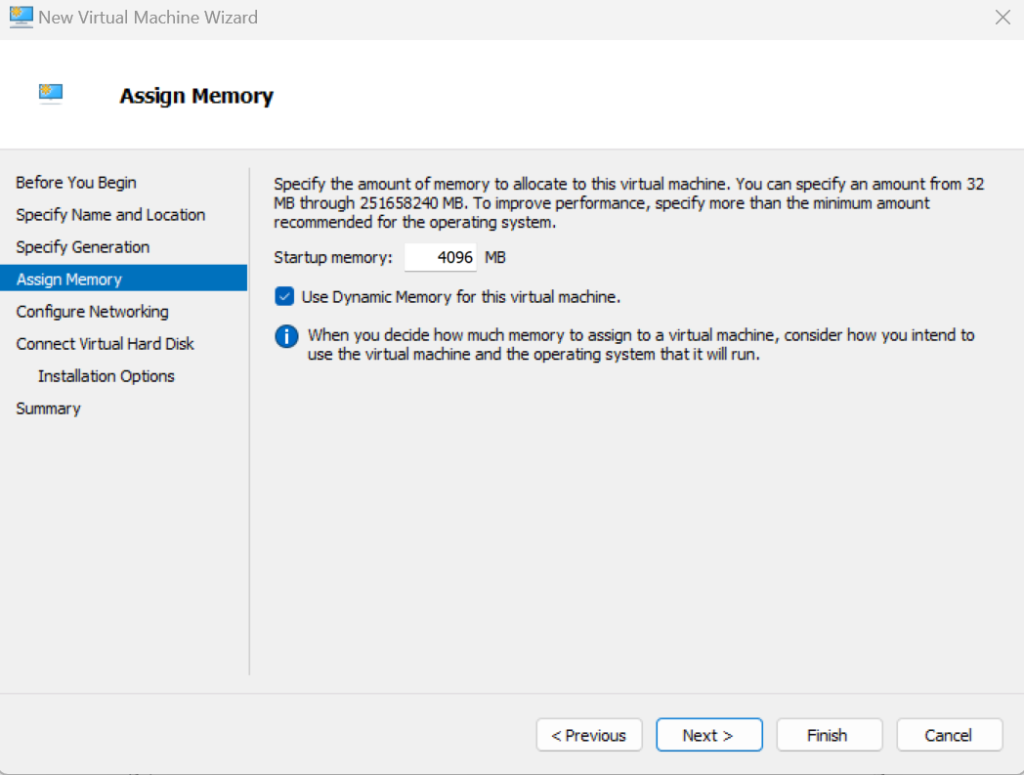
Assign at least 4GB (4096 MB) of memory to the VM. More memory can improve performance.
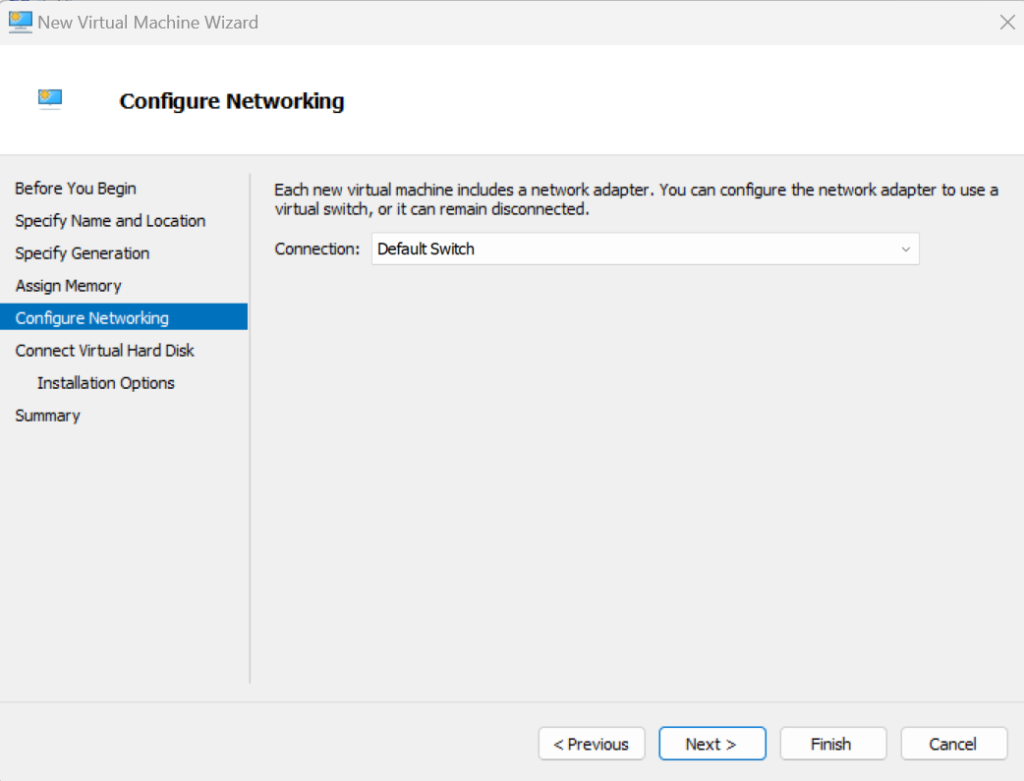
Connect the VM to a virtual switch. If you don’t have a virtual switch, you can create one by selecting Virtual Switch Manager in the Actions pane.
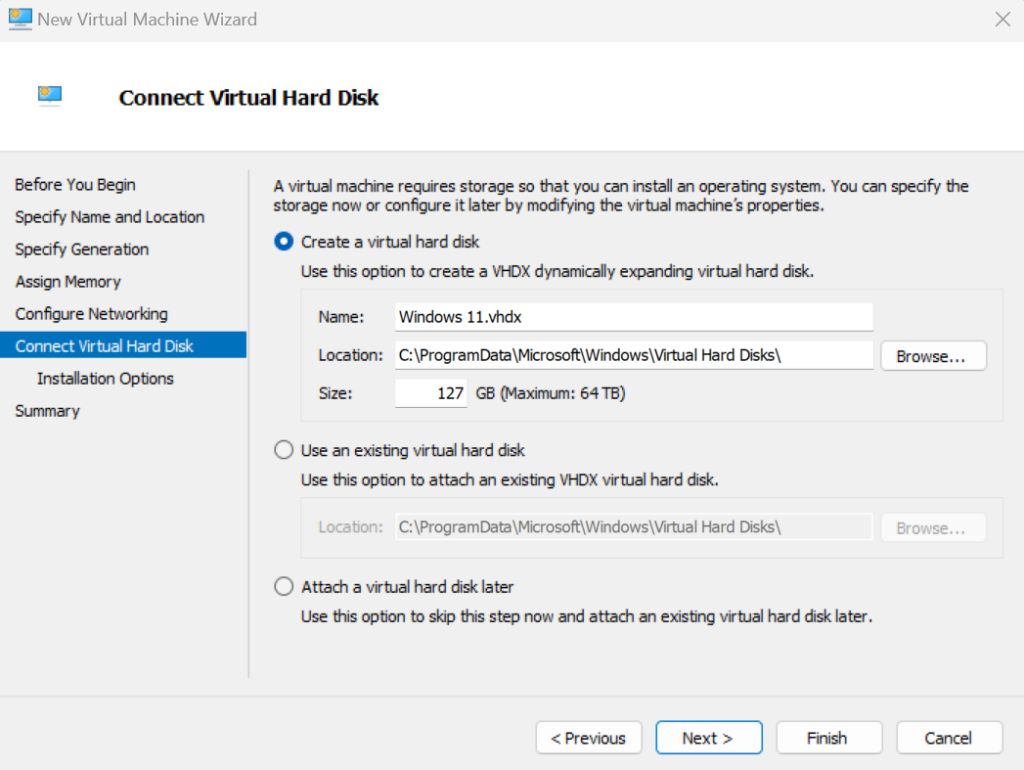
Create a new virtual hard disk. Allocate at least 64 GB of space for the installation.
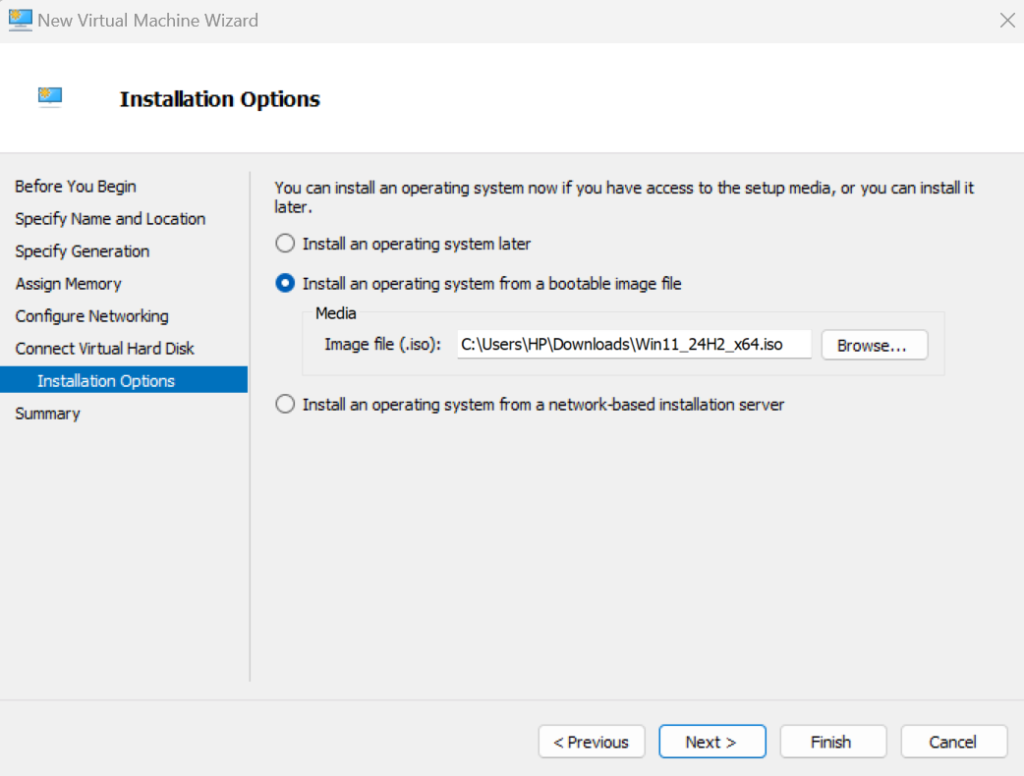
Select “Install an operating system from a bootable image file”. Browse and select the Windows 11 ISO file you downloaded earlier.
Review the settings and click “Finish” to create the VM.
With the VM set up, let’s proceed to install Windows 11.
In Hyper-V Manager, right-click on the newly created VM and select “Connect”. Click on the “Start” button in the VM Connect window. The VM will boot from the Windows 11 ISO. Follow the on-screen instructions to begin the installation.
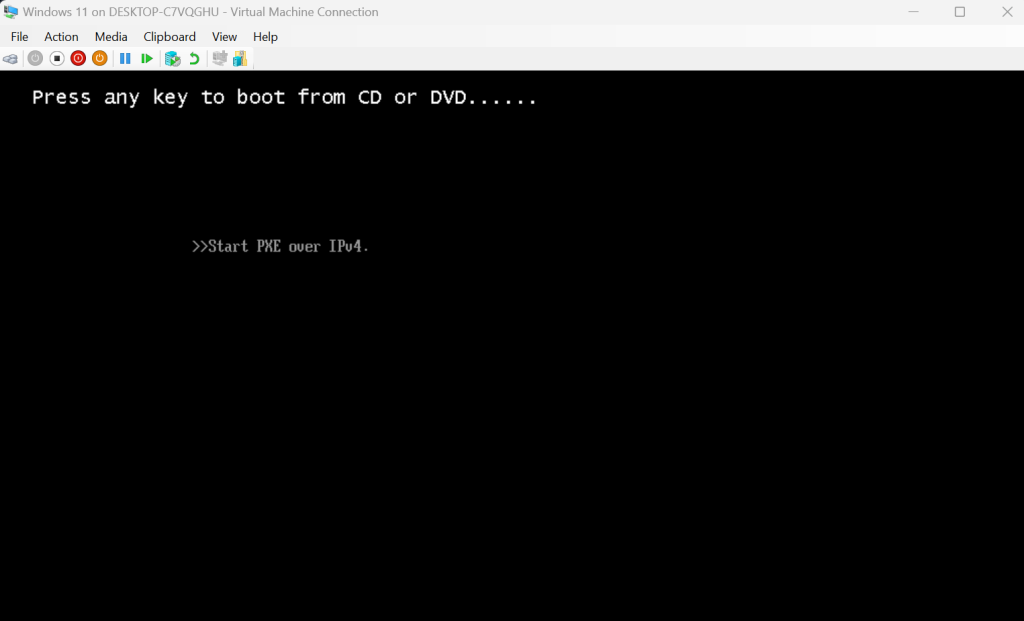
Choose your language, time and currency format, and keyboard layout. Click Next and then “Install now”.
If prompted, enter your Windows 11 product key. You can skip this step if you don’t have a key right now. Accept the license terms and click “Next”. Choose “Custom: Install Windows only (advanced)”.
Select the virtual hard drive you created earlier and click “Next”. The installation process will start. This might take some time.
Once installation is complete, Windows 11 will restart.
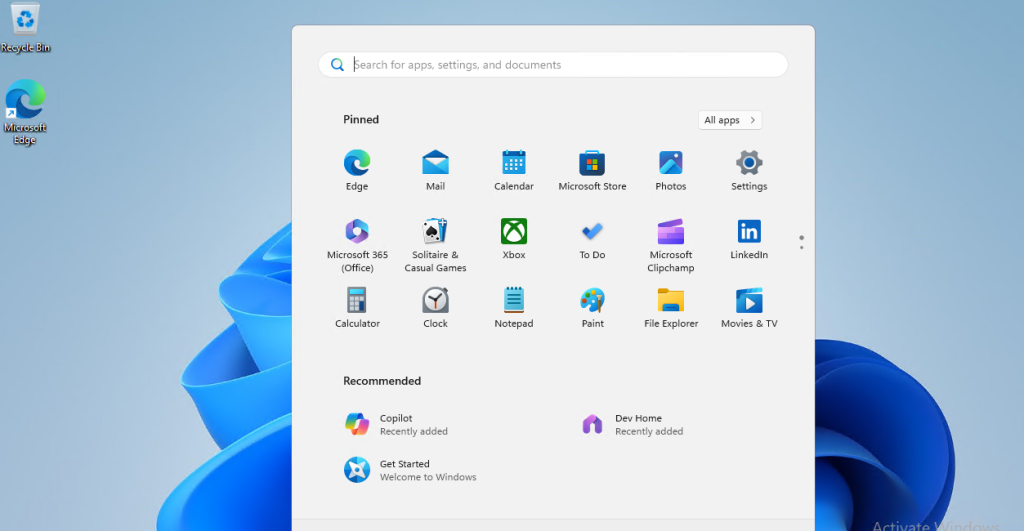
Follow the prompts to set up your preferences, create a user account, and customize your settings.
Install Windows 11 on Our Windows VPS!
Hosting a Windows VPS with Ultahost is now easier and faster than ever. Experience lightning-fast SSD NVMe speeds with no interruptions.
To ensure optimal performance, install Hyper-V Integration Services:
In the VM Connect window, go to Action then Insert Integration Services Setup Disk. Follow the on-screen instructions to install the integration services. Restart the VM to apply the changes.
With Windows 11 installed you can now customize and optimize your VM.
Open “Settings” then “Update & Security” then “Windows Update” and check for updates. Install any available updates.
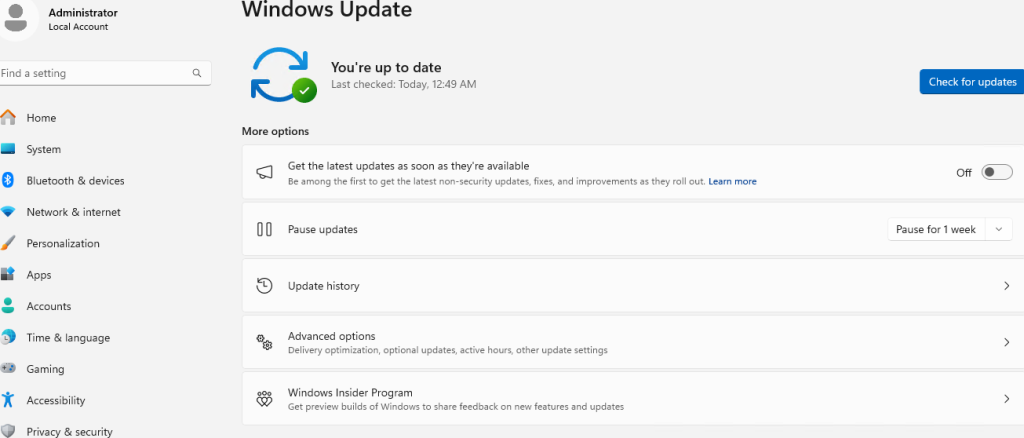
Adjust the VM’s memory, processors, and other settings in Hyper-V Manager as needed for better performance. Install any software you need to test or use within the VM.
Following are some important considerations during the installation of Windows 11 on Hyper-V virtual machine:
Installing Windows 11 on a Hyper-V Virtual Machine is a great way to test the new operating system without impacting your main system. By following these steps, you can set up a VM, install Windows 11, and start exploring its features. This can be a valuable tool for testing new software, developing applications, or running multiple operating systems on a single computer.
Ultahost’s virtual machine hosting offers superior processing power memory and storage compared to running VMs on your local machine. Focus on running demanding applications or managing complex virtual environments seamlessly, let Ultahost provide the power and resources you need to virtualize with confidence.
Hyper-V is a virtualization tool from Microsoft that lets you run virtual machines on your PC.
Yes, you can install Windows 11 on a virtual machine using Hyper-V.
You need a Windows 11 ISO file, Hyper-V enabled, and enough storage and memory.
You can enable Hyper-V in Windows by turning it on from “Windows Features.”
Yes, if your PC has enough resources, Windows 11 runs smoothly on Hyper-V.
No, Windows 11 Home doesn’t support Hyper-V. You need Windows 11 Pro or higher.
Yes, you will need a valid Windows 11 product key to activate it after installation.