
How To Change Your WordPress Username?
WordPress is one of the most popular content management...


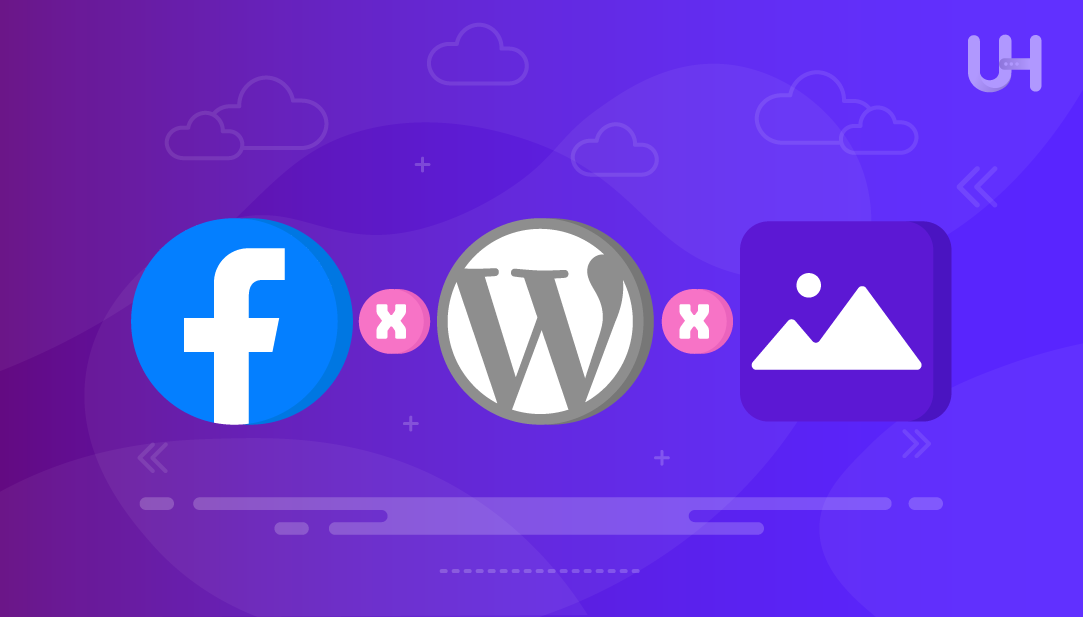
It is frustrating to be sharing a WordPress post or page on Facebook only to find that the wrong image shows, or no image appears at all. This commonly happens when Facebook is caching stale data, or in some cases, Facebook cannot find the correct image because the Open Graph tags are missing. In either case, it makes the link preview seem incomplete or incorrect.
The Facebook Debugger tool is easy to use to quickly solve this problem. It will scan your page for current metadata information and then clear Facebook’s cache. This ensures the image preview is being pulled as expected without you needing to edit the post, or change the page URL.
In this guide, you will learn how to use the Fb Debugger to force Facebook to update your link preview. You will also learn how to check and correct your Open Graph tags in WordPress to ensure your featured image always appears correctly.
The Facebook Debugger is a free tool by Facebook that will show how your URL preview will look when someone shares the URL. It is composed of the image, title, and description that Facebook reads from your page. If the preview is incorrect, the facebook.com debugger will help you identify and correct the problem. After you’ve pasted a URL in the Debugger and clicked on “Debug,” Facebook scans that page for Open Graph data, removes the old cache, and pulls in the most up-to-date content, including any images that have been updated on the post. As a service to you, this makes sure that Facebook pulls in the latest preview from the URL instead of some weird, broken, or outdated preview from the page.
The fb share debugger tool can be found by clicking on FB developer tool. You’ll use this tool whenever you change your post image or see that the preview is wrong and wants the correct one:

Facebook is not showing the correct image when you share a WordPress post is due to several technical reasons. All of these issues get down to how Facebook is reading your WordPress metadata, specifically, what image is specified for the link previews. Understanding these issues will help you to easily solve this issue moving forward, and help you avoid it in the future.
Open Graph Tags are Missing or IncorrectFacebook uses Open Graph (OG) tags to retrieve data from your page like the title, the description, and the featured image. Open Graph tags are simply a set of tags (aka metadata) that display in your pages HTML which tells Facebook what content to display. If there’s a missing, empty, or incorrect image tag (og:image), Facebook won’t know what image to display.
Most SEO plugins such as Yoast SEO or Rank Math will automatically generate these for your WordPress posts. However, if you disable them, or your theme does not support them, the image preview may not work. You can check your OG tags by using the Facebook Debugger to see if the correct image is set.
Experience UltaHost’s WordPress VPS Hosting!
Consider Ultahost’s WordPress hosting for 5x faster loading speeds and optimized performance with LiteSpeed technology.
Even if you have updated your featured image, Facebook may still have the old one in cache. This happens because Facebook caches your link preview the first time someone shares your URL, and it will not update the preview the next time someone tries to share the same URL unless you prompt it to refresh the cache.
This is where the Facebook Debugger comes in handy. When you paste your URL in the tool and click the “Scrape Again” button, Facebook will delete the old cache for the URL and pull in fresh data from your site. This will update the image and all other link metadata without changing or updating your post.
Facebook will only display images that meet their minimum size requirements. If your image dimensions are too small (or not recognizable format) it may not show when the link previews. If you are sharing links, the optimum size for the image is 1200 x 630 pixels, and it’s strongly advisable to use a minimum size of 600 x 315 pixels (landscape) or 1200 x 1200 pixels (square).
Ensure your featured image adheres to these requirements prior to anticipating Facebook to display it accurately. Use tools like TinyPNG to reduce the size of larger images without losing quality to ensure images load quickly and acceptable formats are observed.
To reduce your file size you may need to understand about Enabling Gzip compression which helps compress website content before sending it to the user, reducing the overall data size transferred.
In rare cases other plugins or your Content Delivery Network (CDN) may conflict with the delivery of the OG tags or images. For example:
To address the issue, clear the WordPress cache after adjustments have been made to your image. Learn about the practical solutions to get rid of Overload WordPress glitches. Additionally, if you are using a CDN, clear or purge the cache on your CDN service, like Cloudflare. Then, after refreshed and purged, you will want to use the Facebook Debugger to re-scrape your URL and verify that it updates correctly.
One of the most common and one of the more often ‘forgotten’ is not selecting a featured image in the WordPress post. Facebook will scan your post for images even if there are images in the content area, but will incorrectly process the og:image tag (which defaults to a default image) since none is set to pull from as an image that should be featured.
If this field is left blank, your SEO plugin might not even create an og:image tag. In which case, Facebook might:
To avoid this from happening, always upload and configure a featured image on every post. It should comply with Facebook’s size requirements and accurately represent the content. This ensures that everything is correct and there will be no issues with your preview when shared.
Learn also How to Organize WordPress Files in Media Library.
The fastest way to fix an image preview issue with your shared WordPress post in Facebook is through the Facebook Debugger Tool. This tool allows you to do several things, including clear the cache from Facebook, inspect OG data, and force an update to the post image. Follow these steps to make sure Facebook respects your featured image.
You first need to find and open the blog post that is showing the wrong image on Facebook. Open the post on your site in your browser.
Ensure that you are copying the public link and not the link to the WordPress editor or a URL to a preview mode page. The Debugger only works for published pages that are public.
Now, open up the Facebook Debugger tool, where you will see the Sharing Debugger field. You will paste your copied WordPress post URL into the field and click on the Debug button. This will tell Facebook to scan your link and see how it will look when shared.
Once the scan is complete, you will see detailed information about your post.
Here’s what to look for:
If the image or the data is outdated, no worries, you can have Facebook force it to refresh.
To clear the cached data and retrieve recent information, click on the “Scrape Again” button near the top of the results page. This command instructs Facebook to recheck the URL and update its cache.
After this, you will see all updates to the image, title, and description. You may have to click the button two times if the image still does not change. Additionally, wait a few seconds for the new data to refresh.
Once you scrape again, look in the link preview section. You should see the image that you have designated as a featured image for your post. Next, the title and description should now reflect what you have updated your post to be recently. If this is displayed properly, that was the only issue.
You can now proceed to share the link out on Facebook and it will show what you want everyone’s preview to look like. However, if the image is still not being displayed correctly, check the below: You have your post set with a featured image. The image you used meets Facebook’s image size requirements to post.
Your page is publicly visible and you have not denied it in a `robots.txt` file. This thorough and intentional method of completing the steps ensures your post appears to be professional when posted, and not like a mess when shared on Facebook.
In this article, we reviewed some of the reasons Facebook may display a wrong image or no image at all when sharing a WordPress post. The contributing factors are Missing or incorrect Open Graph tags, Facebook caching old data, unsupported mode: unsupported image dimensions and formats, plugin conflicts, and you did not set a featured image. Any one of these factors can affect the way Facebook reads and displays your post in link preview, so it is vital that you learn to identify and fix these problems to ensure proper display.
We walked you through how to use the Facebook sharing Debugger tool to refresh your preview step by step. The tool will allow you to clear Facebook’s cache, re-scan your link, and then immediately update your metadata. By following the steps provided in this guide, you will be able to easily resolve broken or outdated previews, all without editing your post, and without changing the URL. You should always fix these issues, so that your shared posts have a clean, professional clickable display every time.
We hope this guide has helped you resolve issues to fix your WordPress images by using Facebook debugger tool. For improved performance and reliability, consider Ultahost’s DDoS-protected VPS Hosting at no additional cost, which ensures your website stays fast, secure, and free from overloads. Improve your site’s speed and user experience today!
It helps update the image, title, and description Facebook shows when someone shares your link.
This usually happens due to missing Open Graph tags or cached data from an earlier version of your post.
Use the Facebook Debugger and click “Scrape Again” to refresh Facebook’s cache and force it to pull the latest image.
Facebook recommends 1200 x 630 pixels, with a minimum of 600 x 315 pixels.
No, it prefers the featured image defined in the Open Graph tags, not images within the post body.
Yes, plugins like Yoast SEO or Rank Math can automatically add these tags for you.
Double-check your featured image, clear your WordPress and CDN cache, then try scraping again.
WordPress is one of the most popular content management...
Duplicate title tags can be unfavorable for SEO stands ...
WordPress is now the most used platform for building we...
WordPress relies heavily on plugins and themes to incre...
You update your WordPress site. New text and new images...
Contact form spam is defined as unrequested or automate...