
How to Embed a YouTube Video in WordPress
WordPress is a popular platform that allows users to cr...


Managing your WordPress site often requires direct access to its files. While the WordPress dashboard provides many tools for managing your site sometimes you need to access the underlying files directly. This is where SFTP stands for Secure File Transfer Protocol need. SFTP is a secure method of transferring files between your local computer and your web server.
In this post, we will cover the steps to connect to your WordPress site using SFTP for accessing website files securely.
SFTP stands for Secure File Transfer Protocol. It is a secure version of FTP (File Transfer Protocol) that uses SSH (Secure Shell) to encrypt the data being transferred. This ensures that your files are transferred securely protecting them from being intercepted by malicious actors.
There are several advantages to using SFTP WordPress over FTP:
Before you can connect to your WordPress site using SFTP you will need the following:
Following are the steps described below on the SFTP connection for the WordPress website:
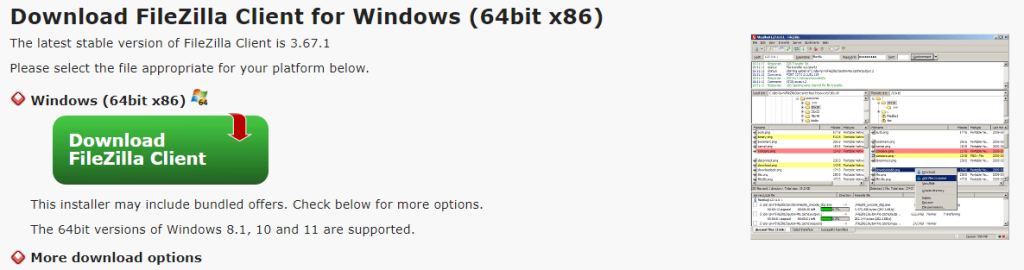
First, you will need to install an SFTP client on your computer. You can install WinSCP on Windows or you can use the popular Filezilla. You can download Filezilla clients from respective websites and follow the installation instructions. Navigate the Filezilla official website and click on “Download Filezilla Client” under the Windows section.
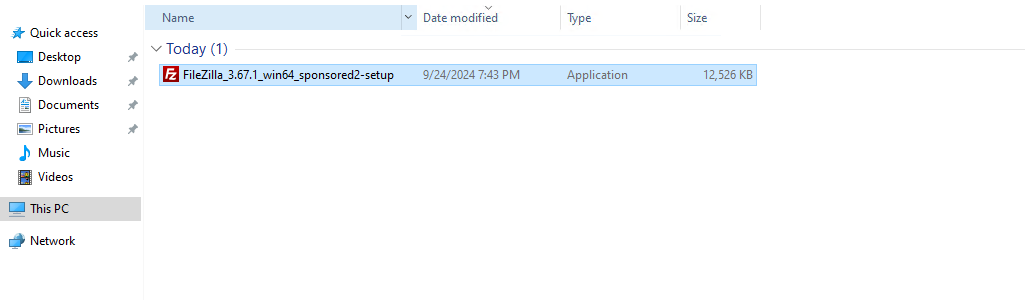
After downloading, click on the installer file which is usually located in the “Download” folder.
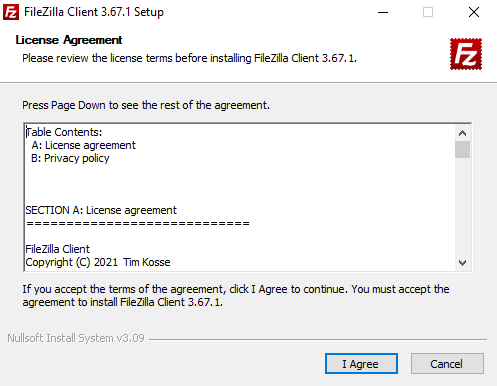
Double click the installer file a License Agreement wizard appears. Click “I Agree” to continue.
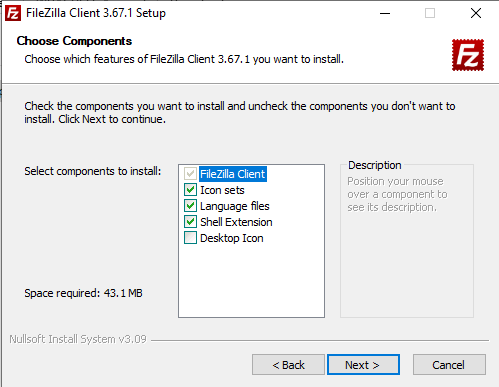
Choose the components such as features of FileZilla that you want to install then click “Next”.
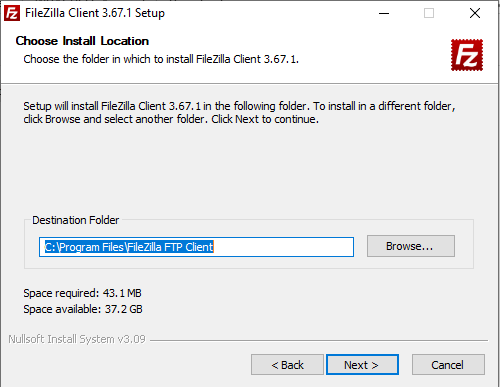
Choose the installation directory by default it is installed on the “Program Files” location.
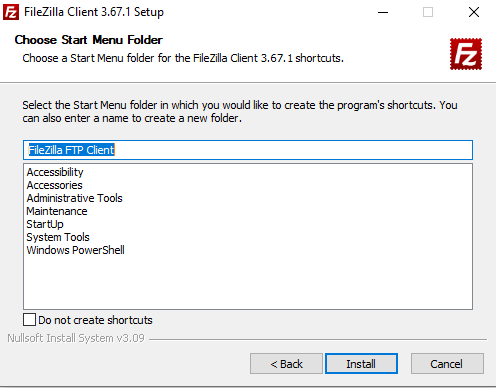
Select the Start Menu shortcuts in which you would like to open the FileZilla client then click “Install” to start the installation process.
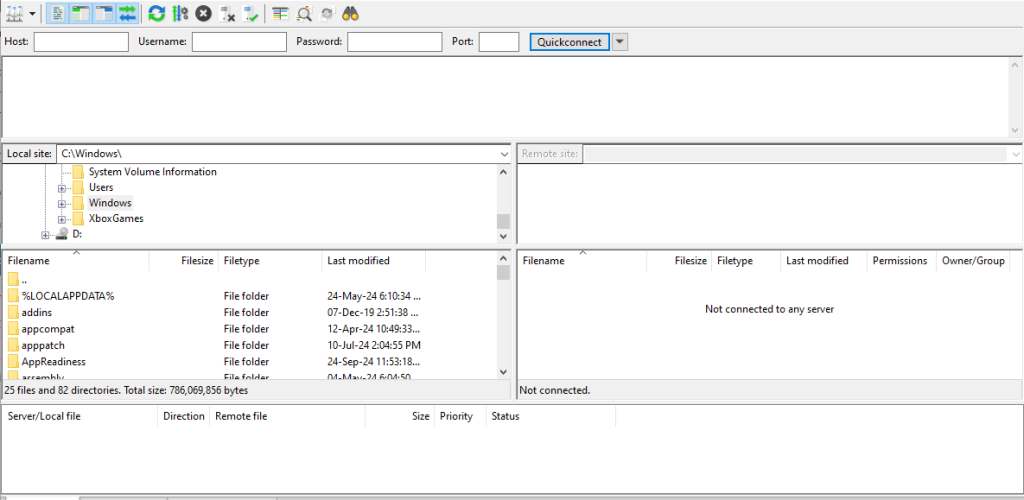
After the installation is complete open Filezilla from the start menu the interface looks like this:
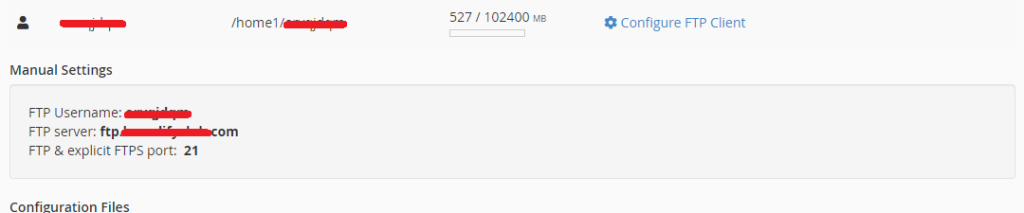
Next, you will need to obtain your SFTP credentials from your web hosting provider. This information is usually available in your hosting account dashboard or if have cPanel access you can find the credentials under the “FTP section”.
Once you have your SFTP client installed and your credentials ready you can configure your client to connect to your server. Click on the “File” menu and select “Site Manager”. Click the “New Site” button and give your site a name. Enter your SFTP details:
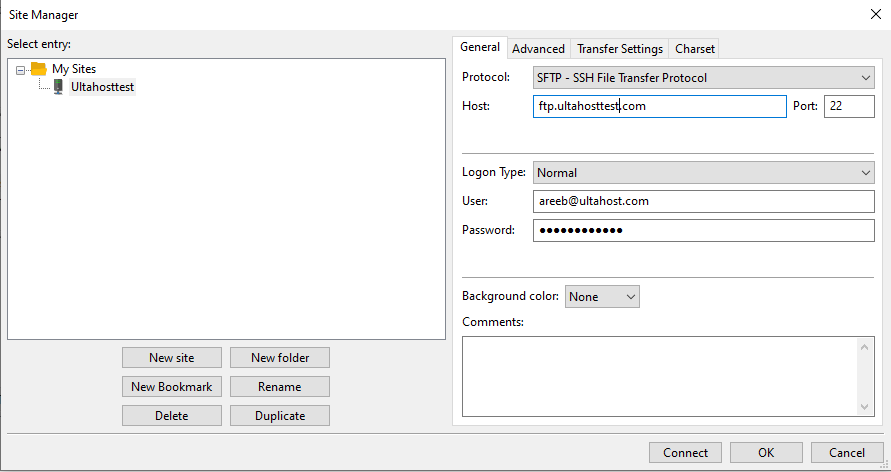
Click the “Connect” button to establish the connection.
Embrace SFTP On Our cPanel VPS Today!
Unleash the power of cPanel with high-performance VPS hosting plans. Equip Ultahost VPS with FTP and experience the power of secure, efficient file transfers.
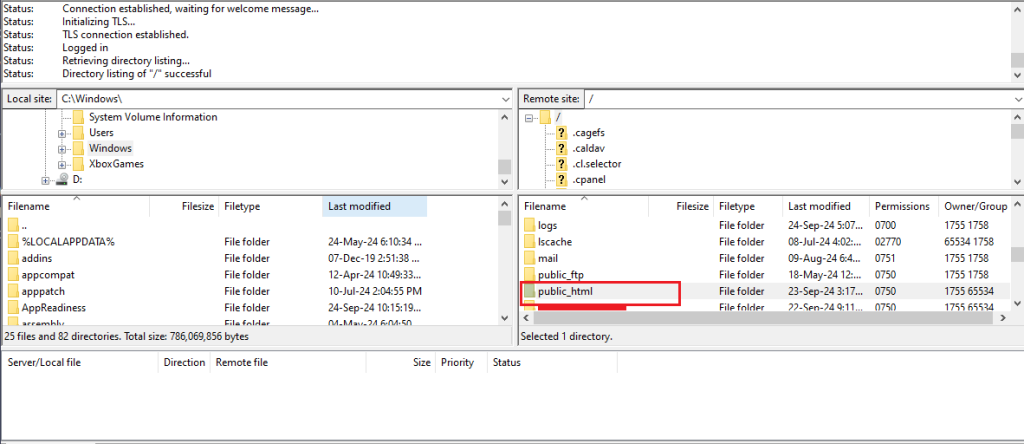
Once connected, you will see a split-screen interface in your SFTP client. The left side represents your local computer and the right side represents your server. You can navigate through your WordPress files on the server side. Typically, your WordPress files are located in a directory named “public_html” or “www”.
You can now upload and download files between your local computer and your server. To upload a file, simply drag it from the left side (local) to the right side (server). To download a file drag it from the right side (server) to the left side (local).
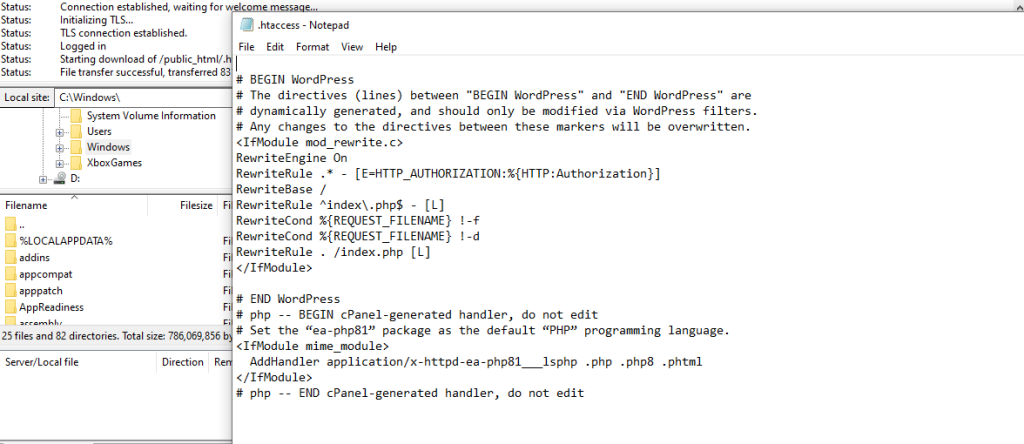
Many SFTP clients allow you to edit files directly on the server. For example, in FileZilla, you can right-click on a file and select “View/Edit” to open it in your default text editor. Make your changes and save the file. The SFTP client will prompt you to upload the modified file back to the server.
When you’re finished working with your files it is important to disconnect from the server to ensure security. In FileZilla, you can disconnect by clicking the “Disconnect” button in the toolbar.

Following are the troubleshooting steps while setting up an SFTP connection for the WordPress website:
Following are some best practices while using SFTP for your WordPress website:
Using SFTP to connect to your WordPress site is a secure and efficient way to manage your site’s files. By following the steps outlined in this guide you can easily set up an SFTP connection and start transferring files between your local computer and your server. Remember to follow best practices for security and regularly monitor your files to keep your WordPress site safe and secure.
Establishing an FTP server on Linux empowers you to seamlessly exchange files between your local device and the remote server. Ultahost comes with reliable WordPress VPS hosting plans. We offer a wide variety of plans to suit your needs all at quality prices which include VPS full root access with SSD NVMe drive supported.
SFTP (Secure File Transfer Protocol) is a secure way to transfer files between your computer and your WordPress site.
SFTP encrypts your file transfers, making it safer than regular FTP for managing your WordPress site.
You need an SFTP client and your server’s login details so you can connect to your WordPress site securely.
An SFTP client is software like FileZilla or Cyberduck that helps you transfer files to your WordPress site.
Your SFTP login details are usually available in your web hosting control panel.
Yes, SFTP is more secure because it encrypts the data protecting your site from potential security risks.
Most hosting providers support SFTP but it is best to check with them to ensure it’s enabled on your account.