
How to Read From stdin in Python
Python is one of the most widely used programming langu...


Django is a high-level web framework for building web applications in Python. It follows the Model-View-Controller (MVC) architectural pattern, emphasizing web application’s reusability, maintainability, and rapid development. The primary goal of Django is to make it easier for developers to build web applications by providing a robust and flexible foundation.
This guide provides you with a step-by-step guide on how you can create a superuser in Django for Linux OS specifically in Ubuntu 22.04 LTS.
You can only add a superuser in Django by installing it first. If you already installed it then you can skip this part. Otherwise, follow the below steps.
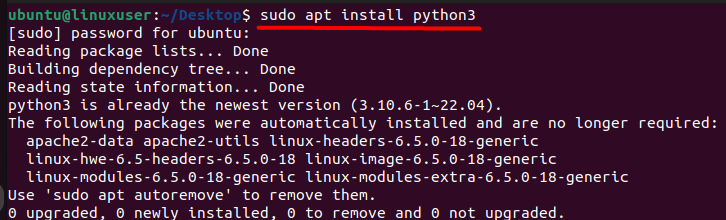
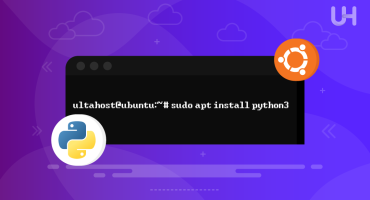
First, you need to check if Python is installed or not. You can install it using the following command:
$ sudo apt install python3
Python3 is the latest version whereas earlier versions are no longer getting any new updates. As a result, new libraries and features are now developed for Python3. Python3 ensures that you have access to the latest tools and packages for your Django projects.
After installing and verifying python3, you can install Django by executing the following command:
$ pip install django
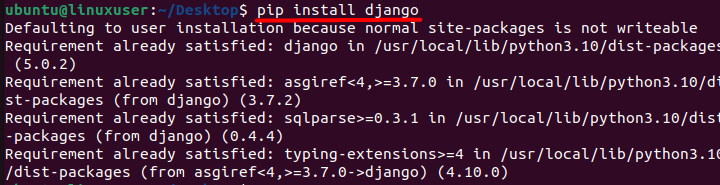
By executing this command you should be able to successfully install Django in Linux.
For detailed instructions, refer to this guide How to Install Django on Ubuntu
Now, to create a superuser in Django, you can follow the below steps:
You need to decide where you want to create your Django project. You can do this either in the existing directory or a different directory. For example, create a new directory named “my_django_project” in your home directory. You can do this by using a mkdir command:
$ mkdir my_django_project

If you created a project in the current working directory then there is no need to navigate to it as you are already in there.
If you created a project in a different directory then you need to navigate there using a cd command and providing the complete directory path.
$ cd my_django_project

Now you need to create a project with any name of your choice using the following command:
$ django-admin startproject my_project

Now you need to navigate again to the project directory using the following command:
$ cd my_project

Next, you need to activate the virtual environment which comes under the name ‘myenv’ or ‘env’. You can activate them by navigating there and executing the following command:
$ source /bin/active
After activating it, your terminal should look like this:

The output shows that the virtual environment with the name ‘(myenv)’ is currently activated.
You can create an isolated environment for each project with the help of virtual environments. This means that the Python packages and dependencies installed for one project do not interfere with those of another project. It helps prevent version conflicts and ensures that each project has its own set of dependencies.
Now you need to apply migrations to the Django project otherwise you won’t be able to create a superuser. You can do that by following the below command:
$ python manage.py migrate
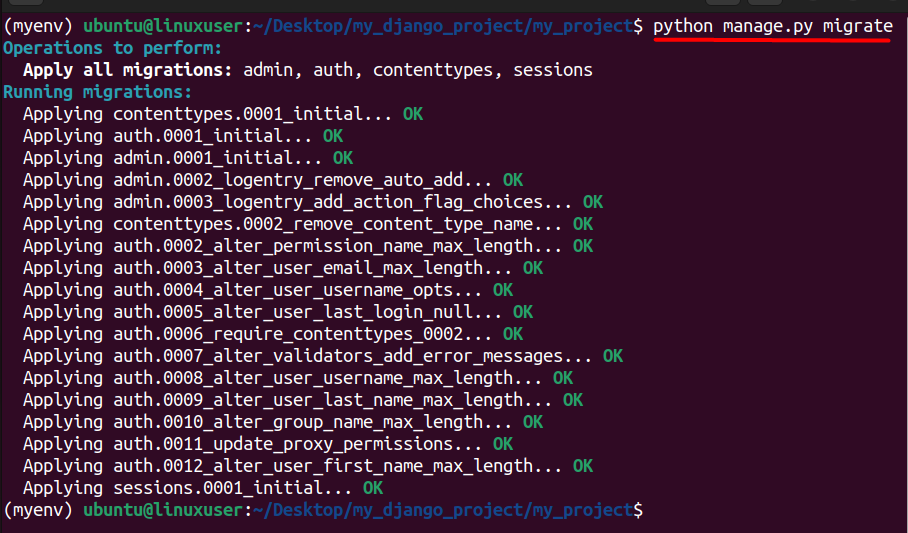
Migrations allow you to define changes to your database schema, such as creating or modifying tables and fields. As your Django project evolves, you might add new features, change existing models, or introduce improvements. Migrations capture these changes and provide a systematic way to apply them to your database.
Now you should be able to create a superuser which can be done using the following command:
$ python manage.py createsuperuser
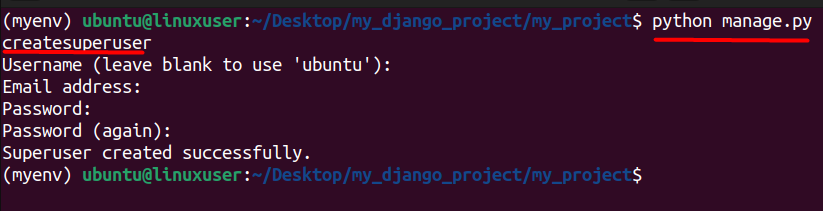
Next provide relevant information regarding the superuser you want to create like the username, email address, and password. After that, the superuser will be successfully created which can be seen in the image as well.
Ready to Empower Your Django Project?
Take the next step in your Django journey and unleash the full potential of your application. Explore our reliable Django hosting solutions today!
The main purpose of Django is to simplify and streamline the development of web applications. It aims to provide a framework that enables developers to focus on building unique features rather than dealing with repetitive tasks, such as database handling, URL routing, and security.
Django is well-suited for a variety of web development projects, including:
Content Management Systems (CMS): Django’s modular structure makes it a good choice for building CMS platforms.
E-commerce Websites: Django’s features like the ORM, built-in admin interface, and security measures make it suitable for developing robust e-commerce applications.
Social Media Platforms: The framework’s scalability and flexibility make it a good fit for social networking sites.
Data-driven Applications: Django’s ORM simplifies working with databases, making it ideal for applications heavily reliant on data.
APIs (Application Programming Interfaces): Django can be used to create APIs, serving as the backend for mobile applications or other services.
To wrap up, mastering the creation of a superuser in Django is essential for developers aiming to efficiently manage user authentication and permissions within their web applications. By following the steps outlined in this guide, developers gain the necessary skills to establish administrative access, customize user roles, and ensure the security of their Django projects.
As you start your Django Superuser creation journey, remember that powerful projects deserve reliable hosting. Elevate your Django experience further with our Linux VPS hosting solutions. Take control and unleash your project’s full potential. Explore our hosting options now!
In Django, a superuser is a user with special privileges that allow them to access and manage the Django admin interface. Superusers have the ability to perform administrative tasks such as creating, updating, and deleting records in the database.
To create a superuser in Django, you can use the create superuser management command. Open a terminal, navigate to your Django project directory, and run the following command: python manage.py createsuperuser
When running the createsuperuser command, you will be prompted to enter the username, email address, and password for the new superuser. The email address is optional, but it’s a good practice to provide one.
Yes, you can provide the –username and –email options followed by the desired values to specify the username and email without being prompted. However, for security reasons, it’s recommended not to specify the password in the command to avoid it being stored in the shell history.
Python is a versatile and widely used programming langu...
In Python, substrings are extracted portions of a strin...