
How to Install Python 3 on Ubuntu
Python is one of the most widely used programming langu...


Django is a web framework for Python which offers a clean, practical design alongside rapid development. At its core, Django is based on the principle of DRY (Don’t Repeat Yourself) so all components are reusable and pluggable which helps in speeding up development process. It also uses an MVT (Model-View-Template) architectural structure which is like MVC (Model-View-Controller) but differs in certain aspects.
For hosting Django applications, Linux is preferred due to its stability, security, and flexibility. Furthermore, numerous web, database, and deployment servers operate optimally on the Linux platform. Using Linux to deploy Django provides an excellent base for efficiently scaling and managing web applications.
This manual walks you through the precise steps needed to deploy a Django application within an Ubuntu 22.04 environment.
Following are instructions on Django deploy application given below:
Before deploy Django application ensure that you have install Python in Ubuntu operating system, after that you also need to manage libraries so install PIP for that purpose. Python serves as the primary language for Django development, while PIP is the package installer used to manage dependencies.
You can use the below command to check if Python is already installed or not:
python --version
This command will show you the Python version if it is already installed. Otherwise, it instructs you to install it using:
sudo apt install python3
After that install the pip package using the following command:
sudo apt install python3-pip
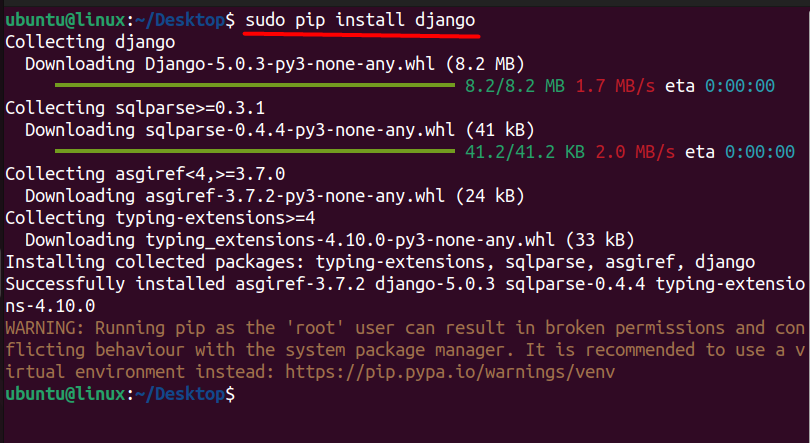
This is necessary to install Django that you can do using the following command:
sudo pip install django
To verify the Django version, you can use:
django-admin --version

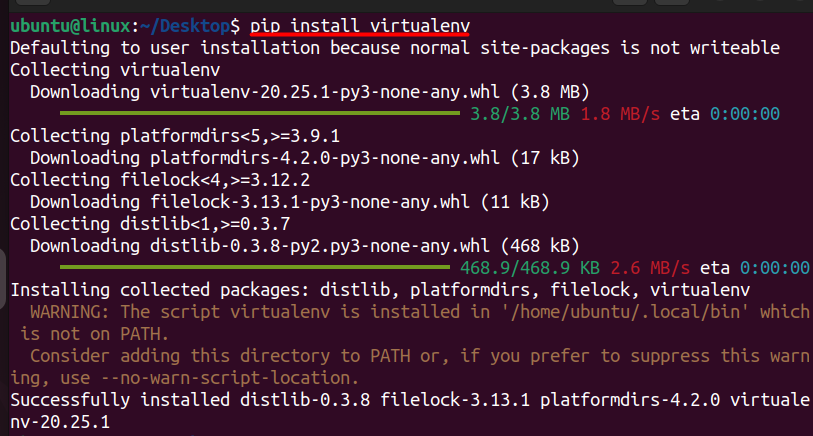
Virtualenv is a tool to create isolated Python environments for each project, preventing conflicts between dependencies. It allows you to install project-specific packages without affecting the system-wide Python installation:
pip install virtualenv
Now you need to create a virtual environment named “venv”. A virtual environment is an isolated environment where you can install and manage packages separately from your system-wide Python installation:
virtualenv venv
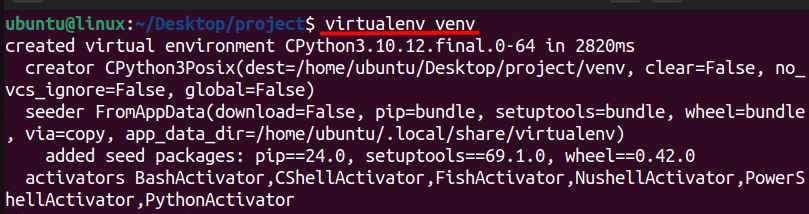
This command creates a fresh virtual environment called “venv” within the directory you’re currently working in. After the setup is finished, you’ll have to activate this virtual environment as well.
source venv/bin/activate

After installing Django you can now configure your Django project using the below command:
django-admin startproject django_project

Executing this command will create a standard folder arrangement, containing Python files and your project’s management application named identically to your project.
tree django_project/django_project/
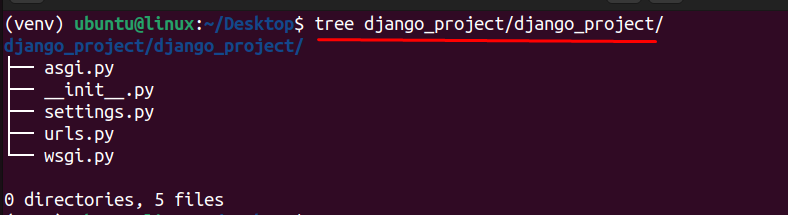
Take some time to examine the initial project structure that the django-admin command-line tool has generated for you. Each project created with the startproject command will follow this same layout. Once you’re prepared, you can proceed to develop a Django app, which serves as a fundamental component of your new web application.
Explore the power of fast and reliable Django Hosting
Take the next step in your Django journey and unleash the full potential of your application. Explore our reliable fast and reliable Django hosting solutions today!
In Django, each project can encompass multiple Django apps. When you used the startproject command earlier, you established a management app necessary for every default project. Now, you’ll craft a Django app to encapsulate the specific functionality of your web application. You no longer require the django-admin command-line utility; instead, you can initiate the startapp command via the manage.py file:
python manage.py startapp <appname>
The startapp command constructs a standard folder arrangement for a Django application. In this tutorial, the app is named “example.”
python manage.py startapp example

After executing this command, Django will create a new app with the name “example” within your project. This can be verified using the list command:
ls

Don’t forget to substitute “example” with the name of your app when you’re creating the Django app for your personal web application. After the startapp command completes, you will notice that Django has included an additional folder within your existing folder structure.
The newly created folder adopts the name you provided during the command execution, which in this tutorial’s case is “example/”. Inside this folder, you’ll find a few Python files. This Django app directory will be your primary workspace for developing your web application. While you’ll also make adjustments in the management app, “setup/”, most of your work will be centered around the Django app, “example/”.
As you progress through a tutorial or start developing your own project, you’ll become more familiar with the Python files generated. Here are three important files created within the app folder:
With the framework of your Django web application set up, you’re ready to start realizing your ideas. The direction you take from here is entirely up to you as you work towards creating your own distinct project.
Read also How to Install Django on Ubuntu 22.04.
After setting up your Django project and initiating the Django application, it’s essential to create a superuser in Django. The superuser account grants you administrative access to the Django admin interface, allowing you to manage your application’s data and configurations. To create a superuser, run the following command:
python manage.py createsuperuser

Follow the prompts to enter a username, email address, and password for the superuser account. Once the superuser account is created, you can use it to access the Django admin interface during development.
Once your Django project is configured and your superuser is created, you need to run the development server to preview your application locally. You can start the server using the following command:
python manage.py runserver
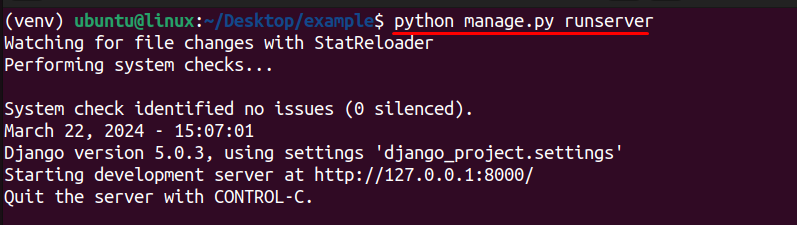
Executing this command will start the development server, and you’ll see an output indicating that the server is running. By default, the server will run on http://127.0.0.1:8000/, and you can access your Django application by navigating to this address in your web browser.
In this guide, we have discussed all the necessary steps that are needed to deploy first Django app on Ubuntu 22.04. These steps include setting up Python, configuring Django projects, and initiating your first application on Django.
Django emerges as a powerful tool for web development, promoting efficient coding practices through its DRY principle and MVT architecture. On the other hand, Linux serves as an ideal hosting environment for Django applications, offering stability and scalability.
Successfully deploying your first Django app is an exciting moment. For a smooth deployment experience consider Ultahost’s Python hosting service offers a perfect solution. Their plans are pre-configured for Python applications like Django, eliminating the need for manual setup.
Deploying a Django app typically involves preparing the application for production, configuring a web server, setting up a database server, managing static files, and deploying the code to a production environment.
Prepare your Django app for production by ensuring that DEBUG is set to False in your settings.py file, configuring static and media file handling, setting up a secure secret key, and optimizing database queries.
Popular choices for deploying Django apps include Nginx and Apache. These web servers can serve as reverse proxies for handling incoming HTTP requests and serving static files while forwarding dynamic requests to the Django application server.
Django supports various relational database management systems (RDBMS) such as PostgreSQL, MySQL, SQLite, and Oracle. Choose a database server based on your specific requirements for performance, scalability, and features.
Python is powerful and versatile programming language h...
Cryptography keeps information safe when sent between c...