
How to change your MySQL root password in WHM
Managing databases is an important aspect of web hostin...


In recent years, the rise of the internet has led to a surge in the popularity of online radio broadcasting, providing a new way for people to listen to music and stay up to date with news and events. With the availability of SHOUTcast hosting, setting up an online radio station has become more accessible and affordable for individuals and businesses alike. SHOUTcast hosting provides a reliable platform for broadcasting live and pre-recorded content. The AutoDJ functionality is a feature that allows you to upload and schedule pre-recorded content to be played automatically when you’re not broadcasting live. This feature is useful if you need to take a break or if you want to offer a continuous stream of content to your listeners. Setting up AutoDJ on SHOUTcast hosting is relatively simple, and it can be done by following a few straightforward steps. By taking advantage of this feature, you can provide your listeners with a seamless and uninterrupted listening experience.
AutoDJ is an important feature for radio stations, especially for those that operate online. It enables radio stations to provide a continuous stream of content for listeners, even when the DJ is not available to host live shows. This is particularly useful for small radio stations with limited resources, as it eliminates the need for a full-time DJ, which can be costly. Additionally, AutoDJ enables radio stations to create a more professional broadcasting experience as it allows for pre-recorded content to be played seamlessly. This can also help to attract more listeners as it provides a more consistent and reliable listening experience.
Another advantage of using AutoDJ is that it allows radio stations to automate their programming, making it easier to manage and schedule content. This saves time and effort for the DJ, who can focus on creating new content or other aspects of radio station management. Additionally, AutoDJ can provide greater flexibility in programming, allowing radio stations to play a wider variety of content, including music, news, and talk shows, among others.
However, it’s important to note that while AutoDJ can be a valuable tool, it should not be used exclusively, as live shows and DJs can bring a unique and personal touch to a radio station’s programming. Therefore, it’s important to strike a balance between live shows and AutoDJ programming to create a well-rounded and engaging listening experience for your audience.
First, you’ll need to choose the right AutoDJ software for your needs. Popular options include SAM Broadcaster, RadioDJ, and Mixxx. Consider your budget, required level of customization, and necessary features when selecting your software.
Once you have chosen your AutoDJ software, the next step is to install it. Follow the instructions provided by the software provider carefully, and ensure that the software is compatible with your SHOUTcast hosting service.
After installation, you’ll need to configure the AutoDJ software by setting up the audio input, creating playlists, and configuring additional features like crossfading and volume normalization.
To create playlists for your AutoDJ, you need to carefully select music that is suitable for your station’s format. Once you have chosen the songs, you should organize them into playlists and arrange the order of the songs and the time between them. It is essential to avoid repetitive songs and maintain a good mix of music to keep your listeners engaged and entertained.
Scheduling playlists is also crucial to ensure that your listeners always have fresh content. Set up a schedule for each playlist and create recurring playlists for a consistent listening experience.
Before launching your AutoDJ, it’s important to test it thoroughly to ensure that everything is working correctly. Test each playlist and troubleshoot any technical issues that arise. By following these steps, you can set up a reliable and engaging AutoDJ for your radio station.
To begin using the AutoDJ software, simply click on the start button within the software, and it will begin playing the selected playlist.
To broadcast a continuous stream of music, you must connect the AutoDJ to your SHOUTcast Hosting account by entering your account details into the AutoDJ software. This will enable the software to broadcast your playlist online, providing uninterrupted music for your listeners.
If you’re new to SHOUTcast and want to start broadcasting your own internet radio station, setting up AutoDJ is an essential step. AutoDJ enables your station to broadcast a continuous stream of music even when you’re not live. Here’s a step-by-step guide to help you set up AutoDJ for the first time.
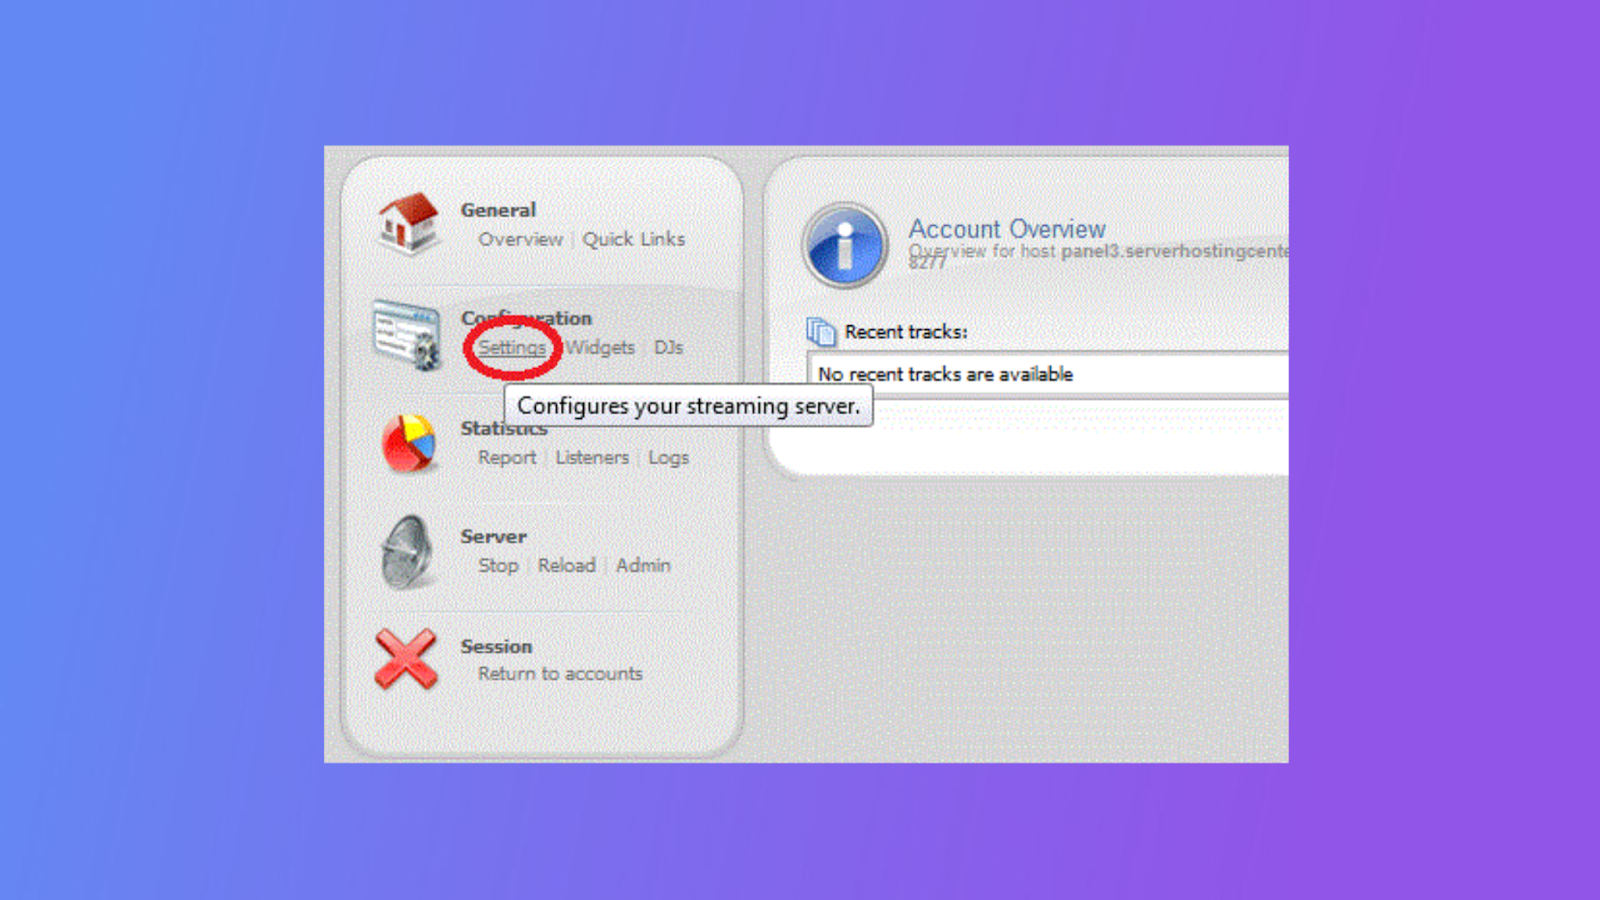
To get started, log in to your SHOUTcast station’s control panel using your account credentials.
Once you’re logged in, navigate to the “Managements” section on the left-hand side of the page and click on “Setup an AutoDJ.”
After clicking on “Setup an AutoDJ,” you’ll be directed to a page where you can fill out the required fields to set up your AutoDJ. Here’s a description of each field:
Radio Username: This is the username of your SHOUTcast station, which cannot be changed.
Encoder: This is the encoder used by the server to send audio to your listeners. This is usually determined by the type of files you’re streaming, such as MP3.
AAC+ Bitrate: This is the recommended AAC bitrate for your station to improve performance and reduce latency. Note that this only applies to AAC+ streaming.
MP3 Bitrate: This is the MP3 bitrate for your station, it only affects MP3 streaming.
Channel: This specifies the audio output channel, which can be left as the default “Stereo.”
Title: This is the title of your stream, which can be your podcast or station name.
URL: This is the web player URL for your SHOUTcast station. Leaving this blank is also an option.
Genre: This is where you can specify the genre of music that your station plays.
MP3 Store: This specifies where the AutoDJ will grab audio files from. You can choose from “Auto,” “Playlist,” or “Public Playlist.”
DJ Port: This is the default DJ port that can connect to the server while AutoDJ is running.
Shuffle: This sets whether the playlist on AutoDJ will shuffle or not.
AutoMix: This sets the cross-fade between audio files in the playlist.
Setup: This completes the setup process for your AutoDJ.
Once you’ve completed the setup, your AutoDJ will be created, and if you’ve specified a playlist, it will be available for use. If it doesn’t start automatically, you can start it manually from the control panel by navigating to “Management’s” => “AutoDJ Managements.” If the AutoDJ isn’t listed as “ON,” click the “Start” button to start it up. If it’s started successfully, you’ll see a message indicating this.
If you have any questions or need assistance, you can contact SHOUTcast’s support team via live chat or by submitting a support ticket. With these steps, you should now be able to set up AutoDJ for your SHOUTcast station and start broadcasting a continuous stream of music.
Setting up AutoDJ for the first time is a crucial step in ensuring a continuous stream of music for your listeners, even when no live DJ is present. With SHOUTcast hosting, the process can be simplified, and by following the steps outlined in this blog post, you can set up your AutoDJ quickly and easily. By utilizing AutoDJ, you can maintain listener engagement, keep your station running 24/7, and provide a high-quality listening experience for your audience. It is clear that AutoDJ is an essential tool for radio broadcasting and should be included in any station’s setup.