
How Much Does a Website Hosting Cost in 2026,...
Did you know that choosing the wrong plan can increase ...


WordPress is a widely recognized and user-friendly content management system (CMS) that empowers individuals to effortlessly create and handle websites. If you happen to be utilizing Debian, a robust and dependable Linux distribution, you’ll be pleased to know that installing WordPress and commencing your website development journey is a straightforward endeavor. In this article, we’ll provide you with a detailed, step-by-step guide on how to install WordPress on Debian, enabling you to establish a fully operational website swiftly and seamlessly.
WordPress, a free and open-source content management system (CMS), stands as the backbone for countless websites across the globe. It boasts a user-friendly interface, offering individuals a hassle-free experience in managing their online content. With an array of themes and plugins at your disposal, WordPress allows for extensive customization, ensuring your website aligns with your unique vision. On the other hand, Debian, a widely adopted Linux distribution, is renowned for its unwavering stability, emphasis on security, and a vast repository of software packages that cater to diverse needs. By combining the power of WordPress and the reliability of Debian, you can create a robust and secure online presence for your website.
Before we begin, make sure you have the following prerequisites in place:
With these prerequisites met, let’s dive into the installation process.
To run WordPress, we need to set up a LAMP stack, which consists of Apache, MySQL/MariaDB, and PHP. Follow the steps below to install these components:
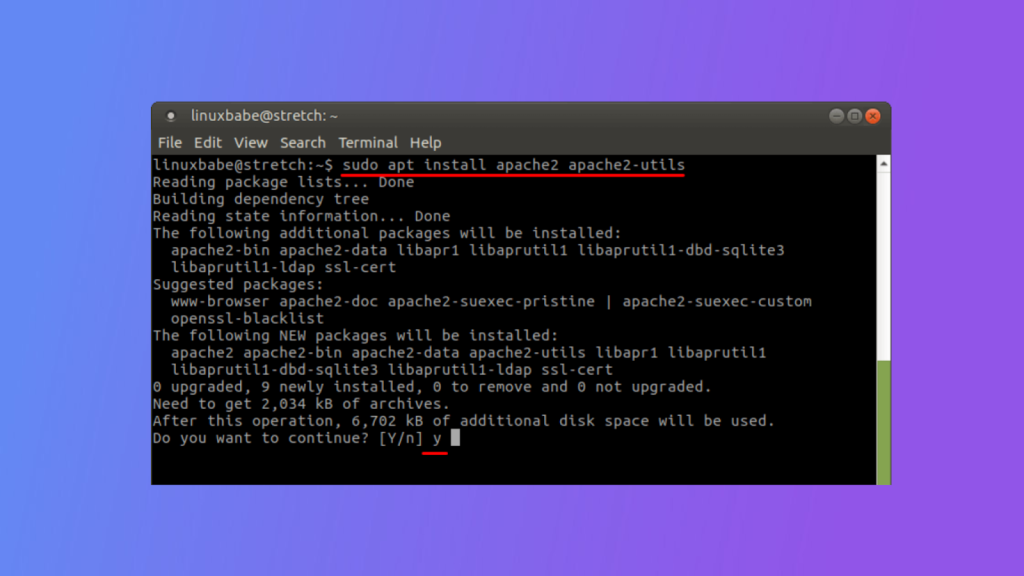
First, update your system’s package index and install the Apache web server:
sudo apt update sudo apt install apache2
Once installed, start the Apache service and enable it to start on boot:
sudo systemctl start apache2 sudo systemctl enable apache2
Next you need to install MySQL or MariaDB, which is used to store WordPress data:
sudo apt install mysql-server
During the installation, you’ll be prompted to set a root password for the database. Make sure to choose a strong password and remember it.
Lastly, install PHP and its necessary extensions:
sudo apt install php libapache2-mod-php php-mysql
After the installation, restart Apache for the changes to take effect:
sudo systemctl restart apache2
With the LAMP stack in place, we can move on to the next step.
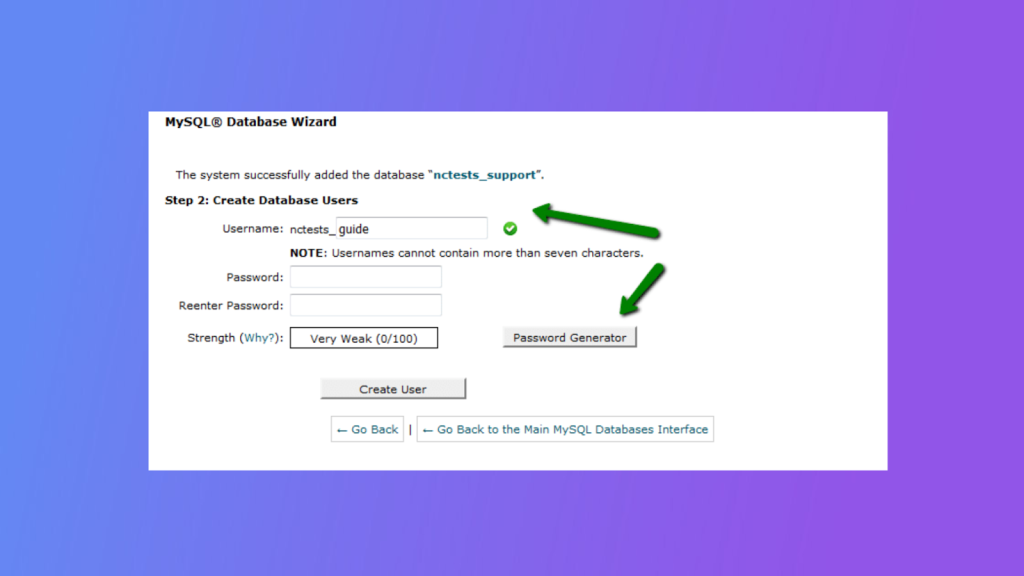
Before we download and install WordPress, we need to set up a MySQL database and user. Follow these steps to create them:
sudo mysql -u root -p
CREATE DATABASE wordpress;
CREATE USER ‘wp_user’@’localhost’ IDENTIFIED BY ‘your_password’; GRANT ALL PRIVILEGES ON wordpress.* TO ‘wp_user’@’localhost’; FLUSH PRIVILEGES;
With the database and user ready, we can proceed to download and configure WordPress.
In this step, we’ll download the latest version of WordPress and configure it to use the MySQL database we created earlier. Follow the steps below:
Change to the Apache web server’s root directory:
cd /var/www/html
sudo wget https://wordpress.org/latest.tar.gz
sudo tar xf latest.tar.gz
sudo cp wordpress/wp-config-sample.php wordpress/wp-config.php
sudo nano wordpress/wp-config.php
define(‘DB_NAME’, ‘wordpress’); define(‘DB_USER’, ‘wp_user’); define(‘DB_PASSWORD’, ‘your_password’); define(‘DB_HOST’, ‘localhost’);
To access your WordPress site, you’ll need to set up an Apache virtual host. Follow these steps:
sudo nano /etc/apache2/sites-available/wordpress.conf
sudo a2ensite wordpress.conf
sudo systemctl restart apache2
With the virtual host in place, we can now install WordPress on Debian. Follow these steps:
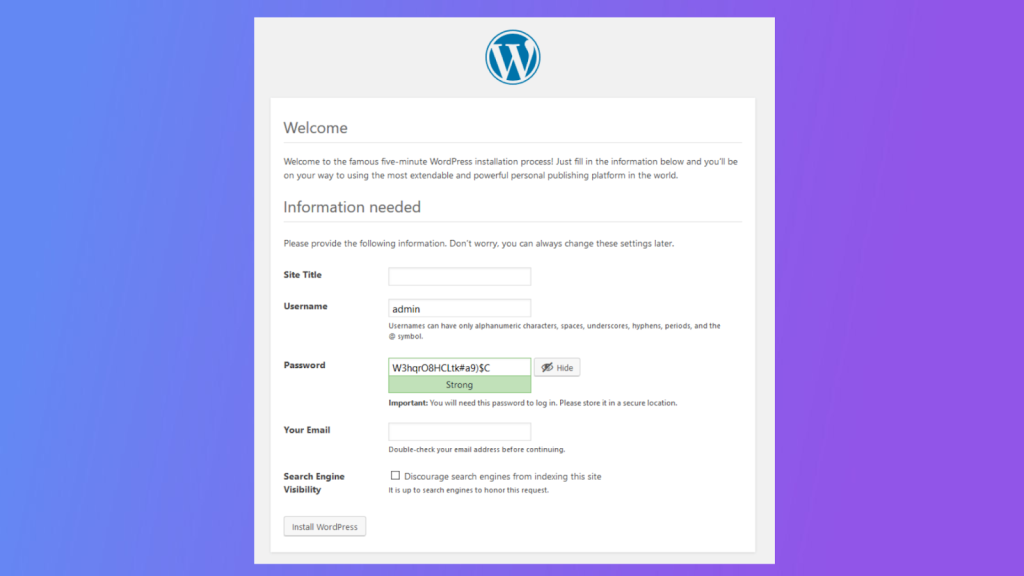
Open a web browser and enter your domain name. You should see the WordPress installation screen.
Follow the on-screen instructions to complete the WordPress installation. Provide the requested information, including the site title, admin username, password, and email address.
After the installation, you can log in to the WordPress admin dashboard by visiting http://your_domain.com/wp-admin. From there, you can start customizing your website, installing themes and plugins, and creating content.
To ensure the security and optimal performance of your WordPress site on Debian, consider implementing the following:
By following these best practices, you can maintain a secure and high-performing WordPress site.
To summarize, the process of installing WordPress on Debian is relatively simple and, when executed accurately, grants you access to a dependable, secure WordPress hosting and content management system. By setting up the essential components of the LAMP (Linux, Apache, MySQL, PHP) stack and adhering to the installation instructions diligently, you can establish a sturdy foundation for effortlessly creating and managing your website or blog. This streamlined process ensures that you can leverage the full potential of WordPress while enjoying the reliability and security offered by Debian.