
How to Install ShoutCast on Windows
Shoutcast software is a suite used for streaming media ...


Arduino is an open-source electronics platform that has gained popularity due to its ease of use and versatility. It allows users to create interactive projects ranging from simple blinking LEDs to complex robotics and IoT applications. To start with Arduino the first step is to install the Arduino Integrated Development Environment (IDE).
In this post, we will cover the process of installing the Arduino IDE on your Windows operating system.
Before you start Arduino IDE download make sure you have the following:
Following are the steps described below to install Arduino IDE Windows operating system:
Open your favorite browser and go to the official Arduino website. Look for the “Downloads” section and click on it.
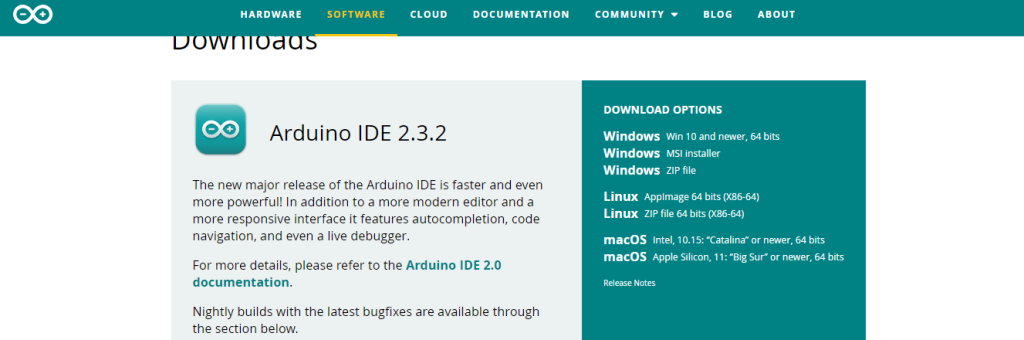
Choose the “Windows Installer” option. This will initiate the download of the Arduino IDE setup file.
Once the download is complete locate the downloaded setup file typically named arduino-x.x.x-windows.exe, and double-click on it to run it.

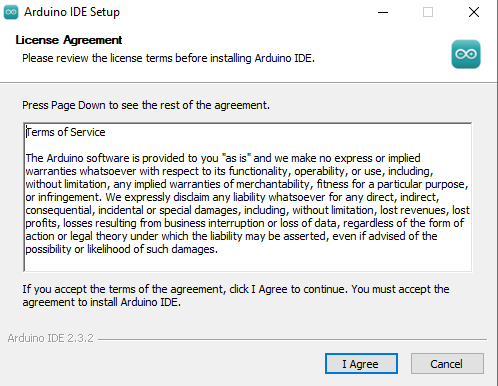
The Arduino IDE installation wizard will guide you through the installation process. Read through the license agreement and click on “I Agree” to proceed.
Select the desired location on your computer where you want to install the Arduino IDE. The default location is usually in the “Program” folder.
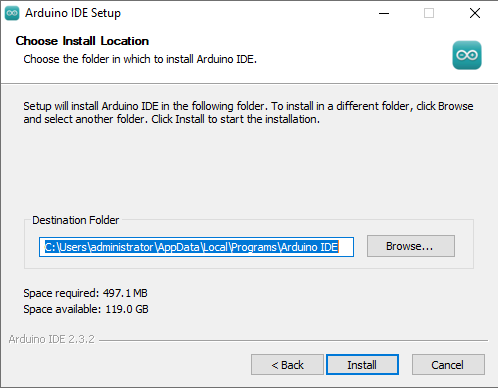
Click on the “Install” button to begin the installation process.
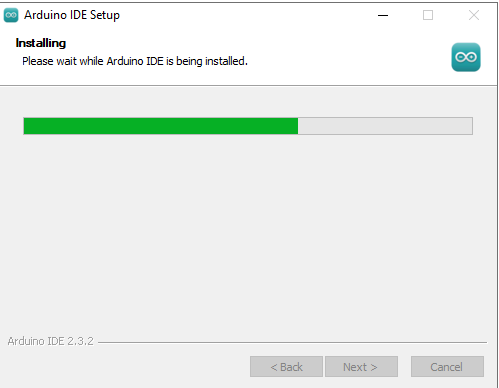
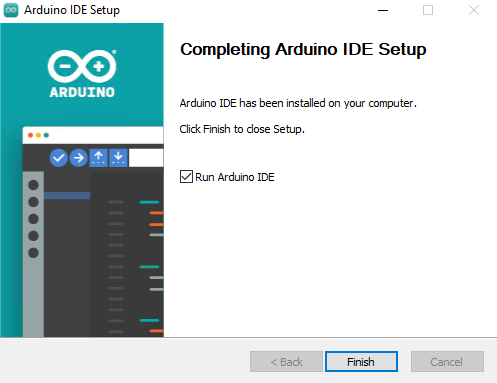
Once the installation is complete, click on the “Finish” button to close the wizard. Check “Run Arduino IDE” to start immediately.
Locate the Arduino IDE shortcut on your desktop or in your start menu and double-click on it to launch the application.
Install Arduino IDE on Our Windows VPS today!
Hosting a Windows VPS with Ultahost is now simpler and faster than ever. Enjoy ultra-fast SSD NVMe speeds without interruptions or slowdowns.
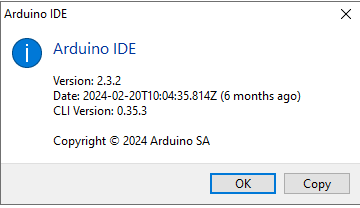
Look for the Arduino IDE version number displayed in the “Help” menu. This confirms that the installation was successful.
Once you have installed the Arduino IDE you are ready to start creating your first sketches.
The Arduino IDE is a simple yet powerful tool. The main window is divided into three sections:
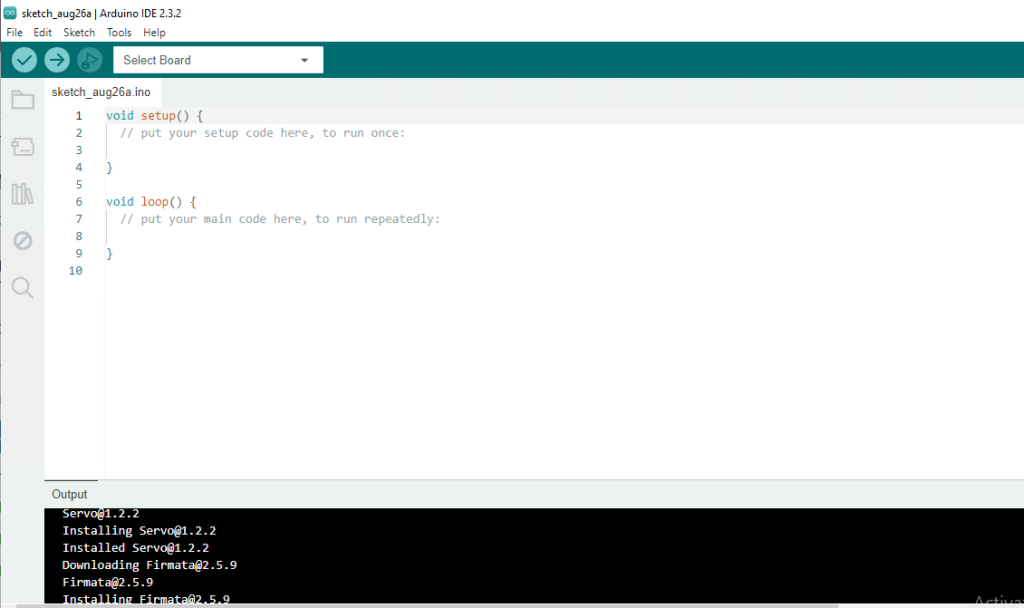
Go to “File” then “New” to create a new blank sketch. Write the Arduino IDE language and enter the following simple code into the code editor:
void setup() {
  pinMode(13, OUTPUT);
}
void loop() {
  digitalWrite(13, HIGH);   // turn the LED on (high is on)
  delay(1000);              // wait for a second
  digitalWrite(13, LOW);    // turn the LED off (low is off)
  delay(1000);              // wait for a second
}
After writing the code go to “File” then “Save As” and give your sketch a name for example Blink_File. Click the “Verify” button to check for syntax errors.
Make sure the correct Arduino board and port are selected from the “Tools” menu. It is important to note that you must have Arduino hardware which is connected to your computer.
Click the “Upload” button. you should see a message in the output window indicating that the code was uploaded successfully.
Read also How to Install IntelliJ IDEA on Windows.
Following are some additional notes while installing Arduino IDE on the Windows operating system:
Installing the Arduino IDE on your Windows computer is a straightforward process that provides you with the essential tools to start creating projects. By following the steps outlined in this article you will easily install and start exploring Arduino programming and its use.
To increase performance consider an Ultahost dedicated Windows server that provides a secure and performant environment for exploring these configurations and utilizes cutting-edge storage technology for lightning-fast loading times.
Arduino IDE is software used to write and upload code to Arduino boards.
You can download it from the official Arduino website.
Yes, Arduino IDE is free and open-source software.
Arduino IDE runs on Windows 7 or later with at least 4GB of RAM.
Download the installer, run it, and follow the above instructions.
Some Arduino boards require drivers which are usually installed with the IDE.
Arduino IDE may work on older versions but it’s recommended to use Windows 7 or later.
Shoutcast software is a suite used for streaming media ...
Magento is a powerful open-source e-commerce platform t...
Terraform, developed by HashiCorp, is a powerful Infras...
PostgreSQL, also known as Postgres is a powerful open-s...
The Brave web browser is a fast, privacy-centric browse...