
How to Install and Configure NFS on Ubuntu
NFS, which stands for Network File System, is a tool th...


Concrete is a free and open-source version of the popular Concrete5 content management system (CMS). It allows users to create and manage websites without requiring extensive technical expertise. Concrete provides a user-friendly interface and a robust set of features that make it an excellent choice for building and managing websites.
Concrete offers Ubuntu users a reliable and efficient way to manage their online presence. With Concrete, users can create custom websites, blogs, and portals, and easily manage their content, users, and permissions. With its intuitive interface and robust feature set, Concrete makes creating and managing websites easy, even for those without extensive technical expertise. By installing Concrete on Ubuntu, users can take advantage of its many features, including a drag-and-drop page builder, customizable themes, and a robust permission system.
In this article, we’ll guide you through the process of installing Concrete CMS Ubuntu, providing a step-by-step guide that covers all the necessary steps to get Concrete up and running on their system.
To successfully install Concrete on Ubuntu, follow these detailed steps.
Begin by updating your system to ensure all software is current. Open a terminal window and execute the following command:
sudo apt update && sudo apt upgrade -y
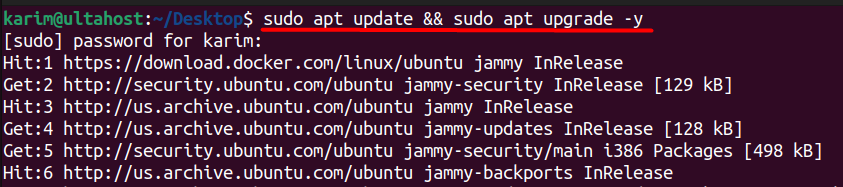
This command updates the package list and upgrades existing packages to their latest versions.
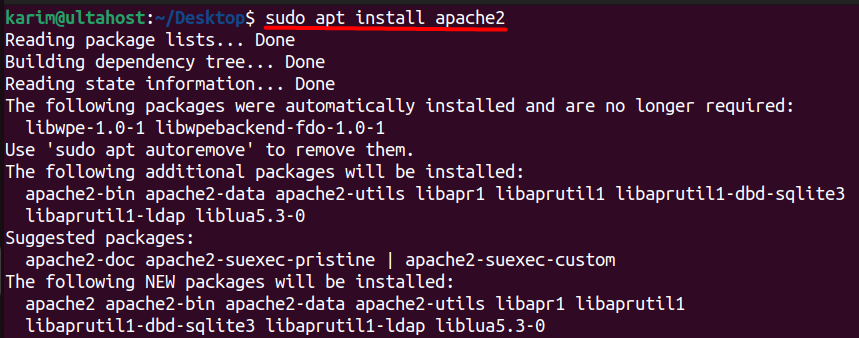
Concrete requires a web server to function. Apache is a popular choice. To install Apache, run:
sudo apt-get install apache2
After installing Apache, start the service and ensure it runs at boot:
sudo systemctl start apache2 && sudo systemctl enable apache2

Verify that Apache is running with:
sudo systemctl status apache2
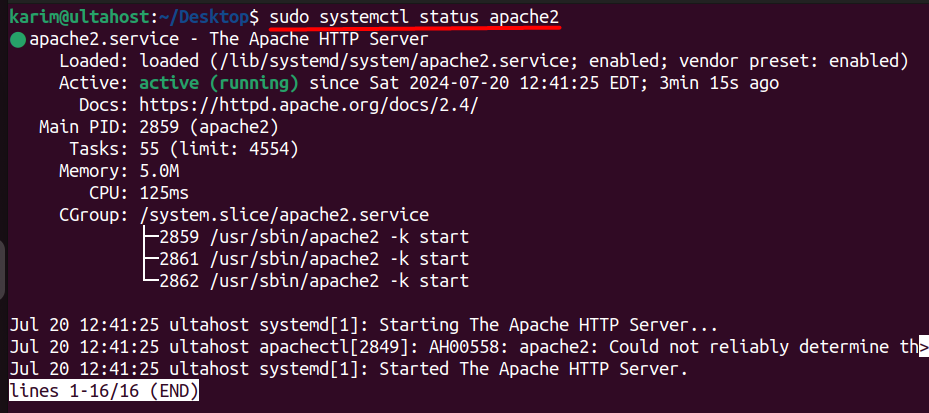
If the service is running, you will see an output indicating that Apache is active. For more detailed instructions refer to our guide on how to install Apache on Ubuntu operating system.
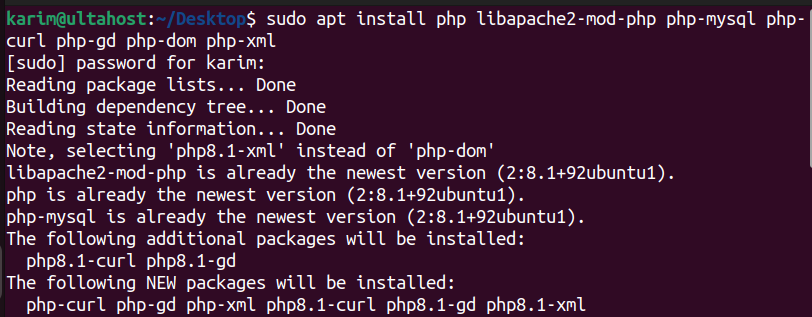
Concrete relies on PHP. Install PHP along with necessary extensions by running:
sudo apt install php libapache2-mod-php php-mysql php-curl php-gd php-dom php-xml
After the installation, verify the PHP version to ensure it is correctly installed:
php -v

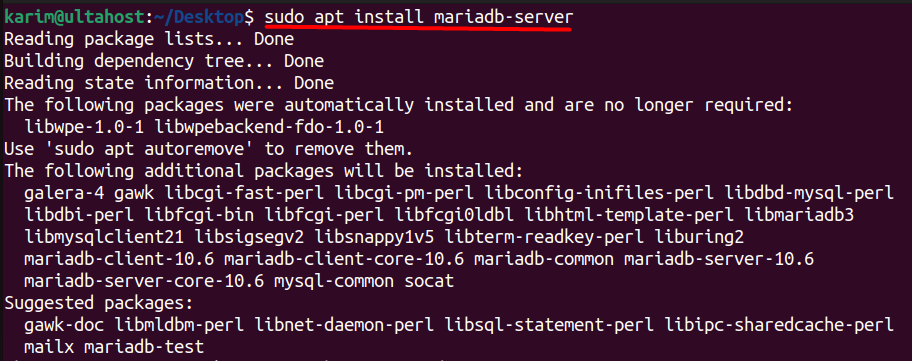
Concrete uses a database to store content. MariaDB is a robust option. Install MariaDB using:
sudo apt install mariadb-server
Start the MariaDB service and enable it to start on boot:
sudo systemctl start mariadb && sudo systemctl enable mariadb

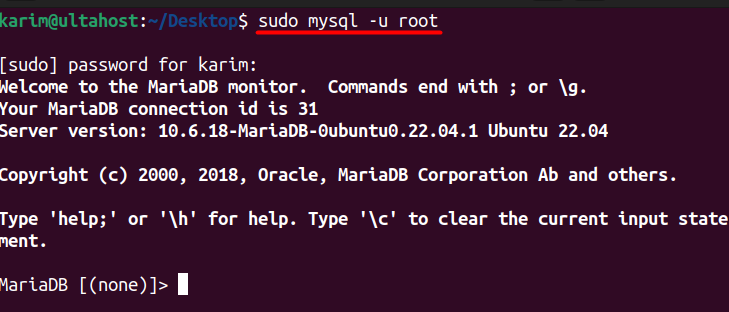
Log into the MariaDB command line interface to set up your database:
sudo mysql -u root
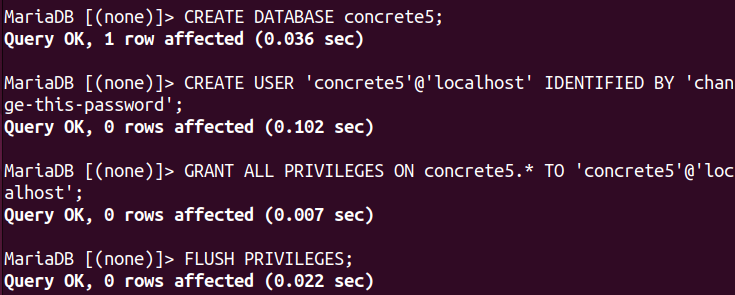
Create a new database and a user with full permissions. Replace ‘change-this-password’ with a strong password of your choice:
CREATE DATABASE concrete5;
CREATE USER 'concrete5'@'localhost' IDENTIFIED BY 'change-this-password';
GRANT ALL PRIVILEGES ON concrete5.* TO 'concrete5'@'localhost';
FLUSH PRIVILEGES;
Exit the MariaDB command line by typing:
QUIT;

Following these steps, you will have prepared your Ubuntu system for Concrete installation, with Apache, PHP, and MariaDB configured and ready.
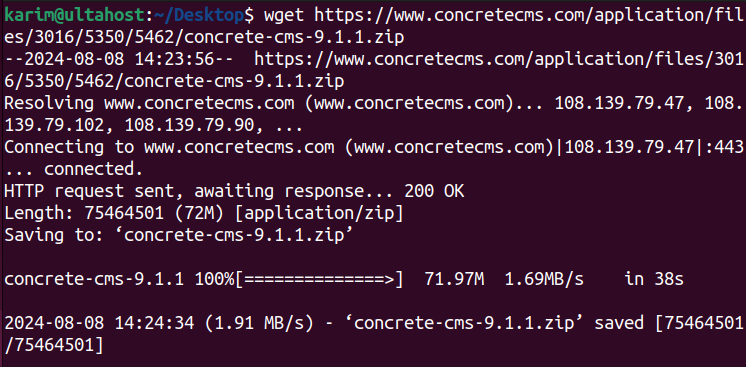
Now that your system is ready, it’s time to download Concrete CMS Ubuntu. To install the latest version, navigate to the /tmp directory and execute the following command:
wget https://www.concretecms.com/application/files/3016/5350/5462/concrete-cms-9.1.1.zip
Once the download is complete, extract the archive using the following command:
unzip concrete-cms-9.1.1.zip
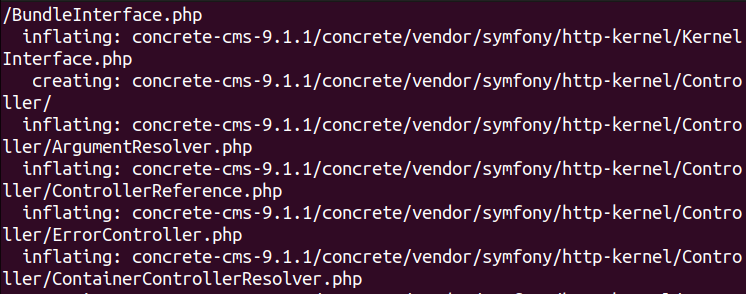
This will create a new directory called concrete-cms-9.1.1 (the version number may vary depending on the latest version available).
Move the extracted directory to the /var/www directory, where Apache will serve it:
sudo mv concrete-cms-9.1.1 /var/www/html/concrete5

To ensure that Apache can access and write to the directory, change the ownership of the directory to the www-data user and group:
sudo chown -R www-data:www-data /var/www/html/concrete5/

sudo chmod -R 755 /var/www/html/concrete5

This will set the permissions to allow the www-data user and group to read, write, and execute files in the directory.
Experience the power of Ubuntu VPS!
Combine the power of the world’s most trusted Linux distro with the flexibility of a VPS. Experience lightning-fast performance.
To configure Apache to serve Concrete CMS, you’ll need to create a new virtual host file. Navigate to the Apache configuration directory:
sudo nano /etc/apache2/sites-available/concrete5.conf
Add the following content to the file:
<VirtualHost *:80>
    ServerAdmin [email protected]
    DocumentRoot /var/www/concrete5
    ServerName your-domain.com

    <Directory /var/www/concrete5>
        Options FollowSymlinks
        AllowOverride All
        Require all granted
    </Directory>

    ErrorLog ${APACHE_LOG_DIR}/your-domain.com_error.log
    CustomLog ${APACHE_LOG_DIR}/your-domain.com_access.log combined
</VirtualHost>
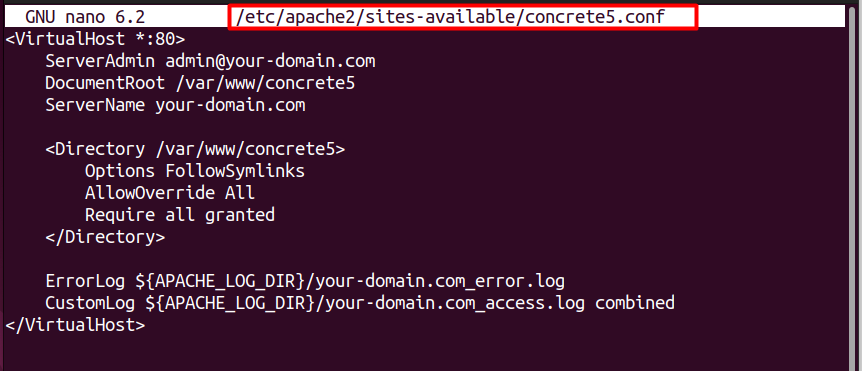
Make sure to replace your-domain.com with your actual domain name.
This configuration file tells Apache to serve Concrete CMS from the /var/www/concrete5 directory and logs errors and access to separate files.
Save and close the file.
To enable the new virtual host file, execute the following command:
systemctl reload apache2

Your Concrete CMS installation is now ready to use. You can access it by navigating to your domain name in a web browser. In the next part of this series, we will guide you through the process of completing the Concrete CMS installation through the web interface.
Read also How to Install Drupal on Ubuntu.
With the installation files in place, it’s time to configure Concrete CMS. Open a web browser and navigate to your domain name followed by /install.html. For example:
https://cms.domainhere.info/index.php/install
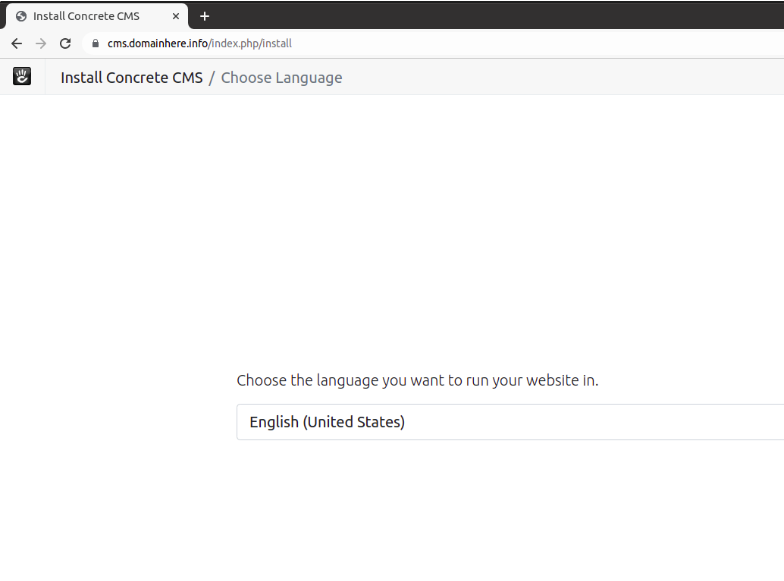
On this page, you’ll see a dropdown menu or a list of available languages. Choose the language you want to use for your website from the options provided. This selection will determine the default language for your website’s interface, including the dashboard, menus, and other system messages.
Replace cms.domainhere.info with your actual IP address or domain name as configured on your server. This will redirect you to the Concrete CMS configuration page, where you’ll finalize the installation process.
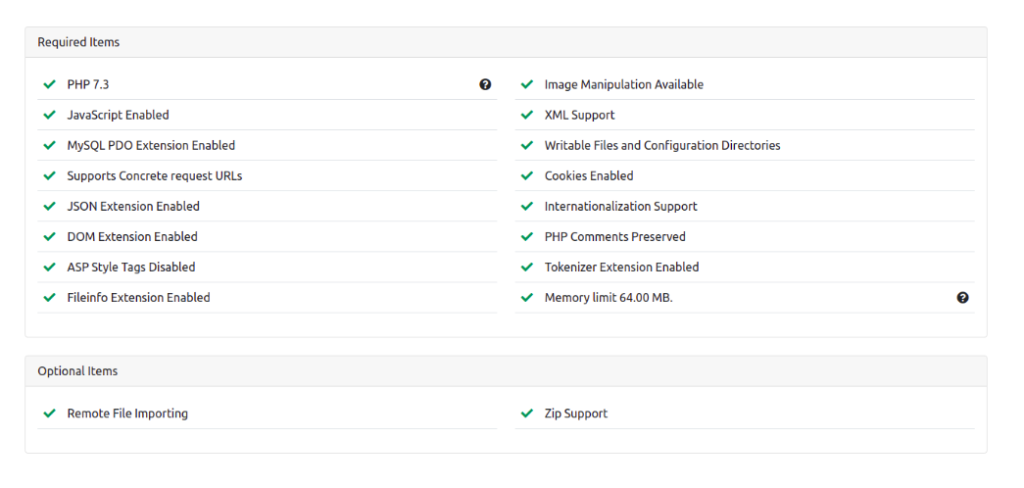
The checked items confirm that your server environment has the necessary components installed and configured correctly to run Concrete CMS. This includes:
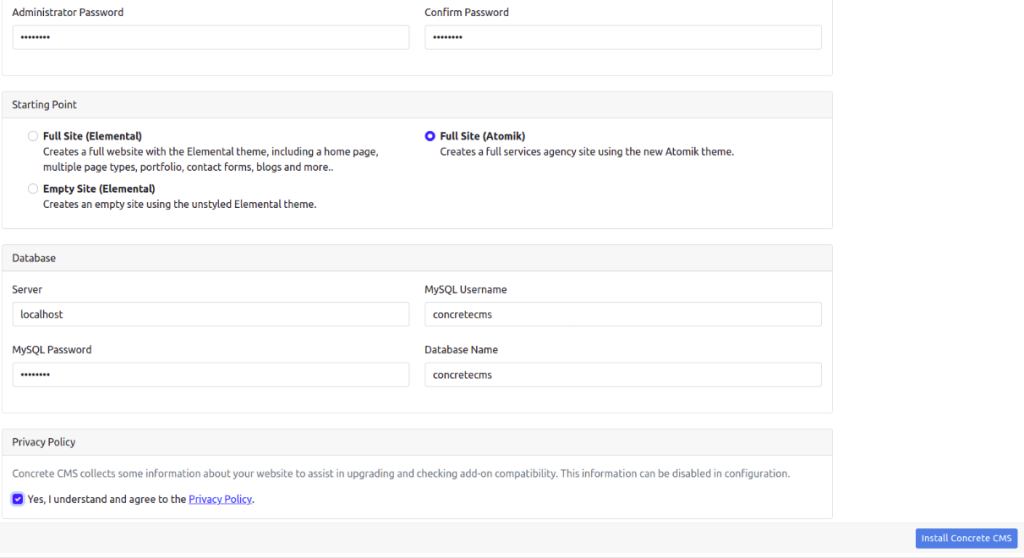
On this page, you’ll need to set up the administrator credentials by entering a password and confirming it. You’ll also choose a starting template for your website from the available options. Additionally, you’ll need to provide the database connection details, including the server hostname or IP address, database username, database password, and database name.
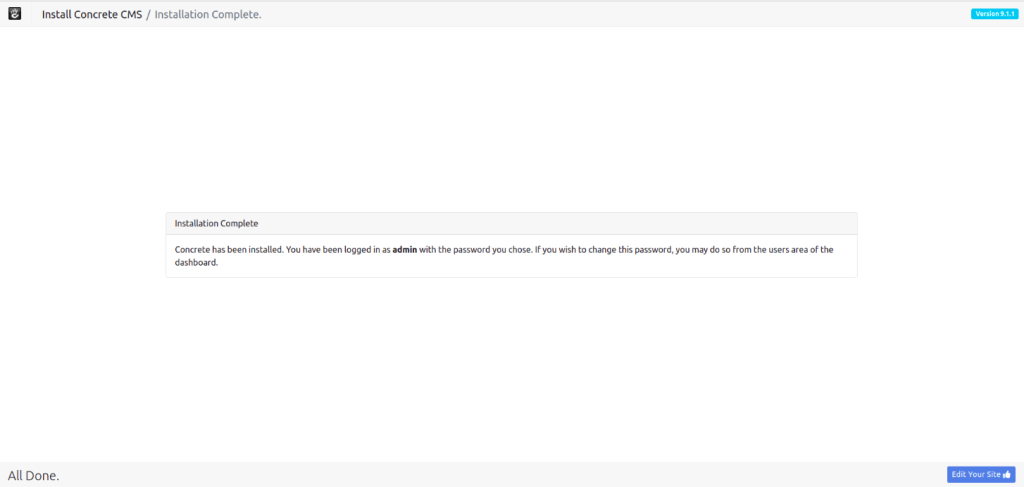
After taking some time, it will be installed on your Ubuntu machine and you can see the message shown below if it’s successfully installed:
Installing Concrete on Ubuntu is a straightforward process that requires careful attention to detail. By following the steps outlined in this article, you can successfully install and configure Concrete on your Ubuntu system. From updating your system and installing the necessary packages to configuring Apache and MariaDB, each step is crucial to ensuring a smooth installation process.
With Concrete installed and configured, you can now take advantage of its many features, including a drag-and-drop page builder, customizable themes, and a robust permission system. Whether you’re building a personal website, blog, or portal, Concrete provides a user-friendly interface and a robust set of features that make it an excellent choice for managing your online presence.
Choosing a Linux VPS provider can be a difficult task, with so many options available. That’s why Ultahost understands your specific needs and requirements, and brings you a perfect solution. Our best Linux VPS is designed to be scalable and flexible, so you can always choose the right amount of resources for your needs.
Concrete5 is an open-source content management system that allows users to build and manage websites with ease. It features an intuitive interface and robust functionality for managing web content.
You need to install Apache, PHP, and MySQL (or MariaDB) on your Ubuntu server. You can do this with the following commands:
sudo apt update
sudo apt install apache2 php libapache2-mod-php mysql-server php-mysql
Open a web browser and navigate to http://your_domain. You should see the Concrete5 installation wizard. Follow it.
After installation, ensure that you have set proper file permissions and strong passwords and keep Concrete5 and your server software up to date. Consider configuring HTTPS by obtaining an SSL certificate and setting up SSL/TLS in Apache.
You can find official documentation and community support on the Concrete5 website and Concrete5 forums.