How to Install PIP on Debian
PIP (Pip Installs Packages) is a package management too...
The LAMP stack is a powerful open-source development platform that comprises the products Linux, Apache, MySQL, and PHP, most frequently used for web applications. In view of its great stability and security, Debian 12 is an excellent choice for LAMP stack deployment.
Here, in this write-up, we will carry through the steps for installing and configuring each component of the LAMP stack on the Debian 12 server.
Before we begin the installation of LAMP on Debian 12, we need to make sure:
Install LAMP on Our Debian Linux Server!
Ultahost offers Debian Linux hosting with NVMe SSD storage. Use our best Debian Linux VPS to practice and improve your command line skills efficiently.
Following are the steps described below to install LAMP Stack Debian 12 server:
The first step is to update the package index and upgrade installed package list to the latest versions. Open a terminal and run the following commands:
sudo apt update && sudo apt upgrade -y
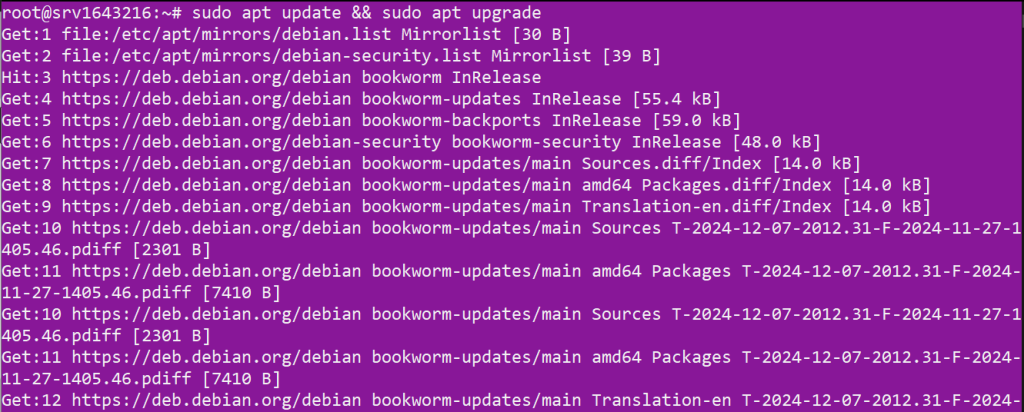
These commands will update your package list and upgrade all installed packages to their latest versions.
Apache is a robust and popular web server. To install Apache, run the following command:
sudo apt install apache2 -y
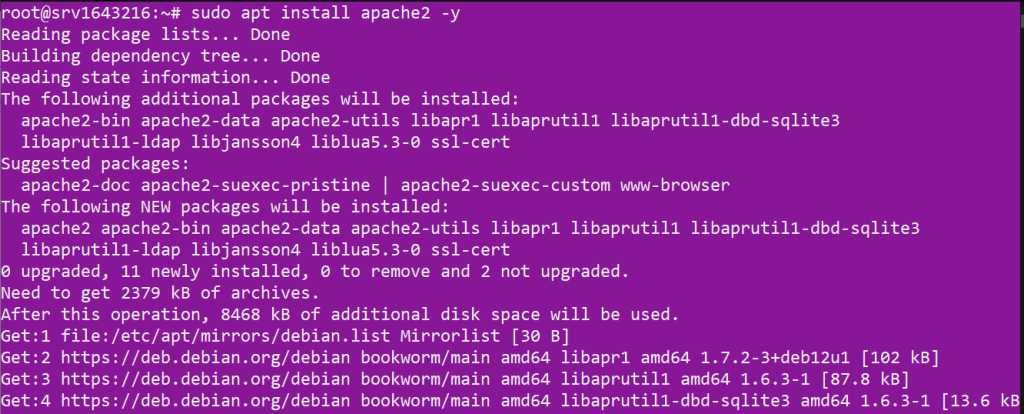
Once the installation is complete, enable Apache to start on boot and start the Apache service:
sudo systemctl enable apache2 && sudo systemctl start apache2

You can verify that Apache is running by visiting your server’s IP address in a web browser. You should see the default Apache welcome page.

MySQL database is a powerful relational database management system. The MySQL server package is not available in the default APT repositories on Debian 12. Download the MySQL repository using wget command:
wget https://dev.mysql.com/get/mysql-apt-config_0.8.30-1_all.deb
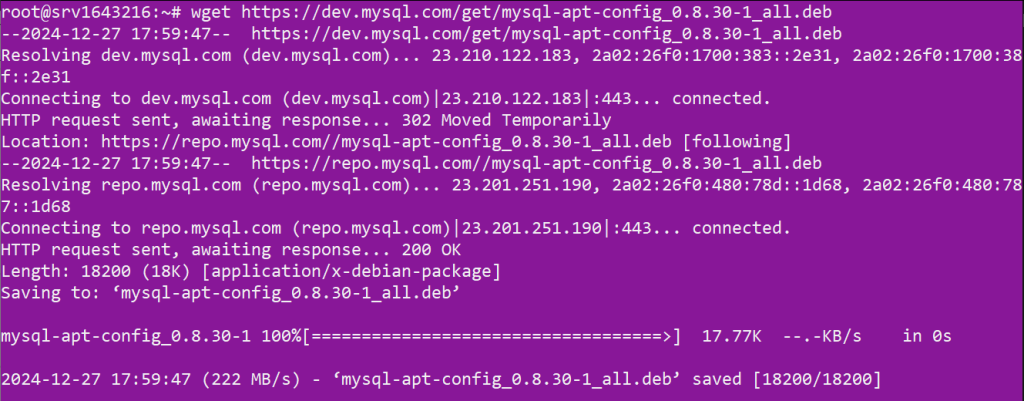
Install the MySQL repository using the file:
sudo dpkg -i mysql-apt-config_0.8.30-1_all.deb
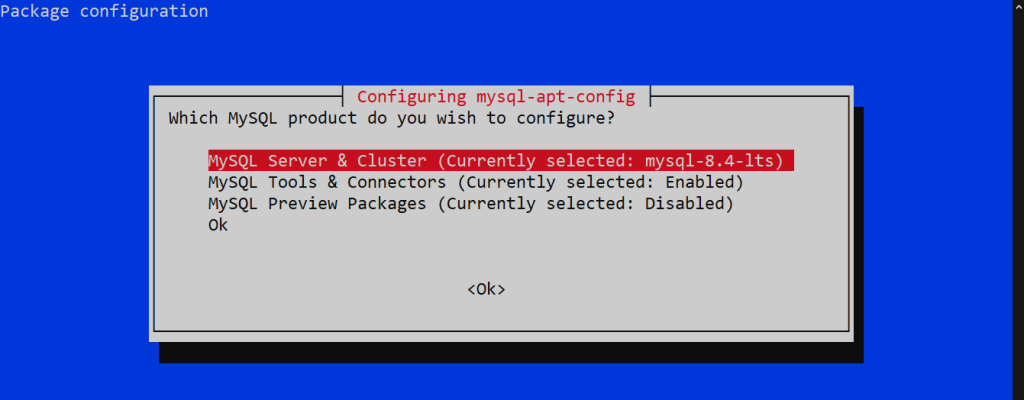
Now install MySQL, first update the repository then run the following command:
sudo apt install mysql-server -y
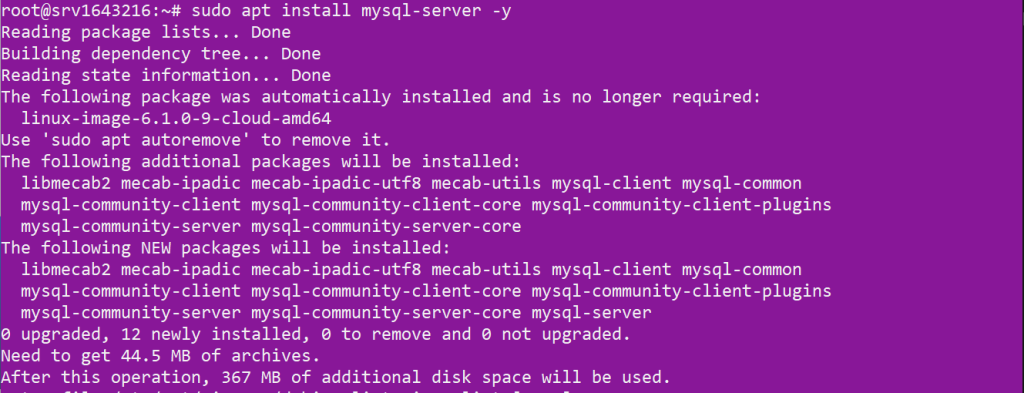
After the installation is complete, secure your MySQL installation by running the security script:
sudo mysql_secure_installation
This script will guide you through a series of prompts to improve the security of your MySQL installation. It’s recommended to answer “yes” (y) to all the prompts.
PHP is a widely-used scripting language, particularly suited for web development. To install PHP along with some common PHP modules, run the following command:
sudo apt install php libapache2-mod-php php-mysql -y
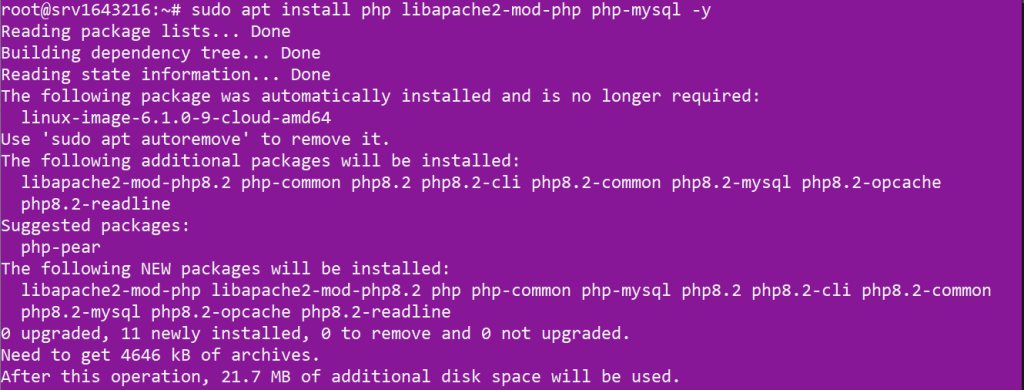
After the installation is complete, you can verify the PHP version installed by running:
php -v

By default, Apache serves HTML files first. To make Apache process PHP files first, modify the dir.conf file:
sudo nano /etc/apache2/mods-enabled/dir.conf
Move the index.php directive to be the first in the list:
<IfModule mod_dir.c>
    DirectoryIndex index.php index.html index.cgi index.pl index.xhtml index.htm
</IfModule>
Save the file and exit the text editor. Then, restart Apache command to apply the changes.
Also, Read Install LAMP on Ubuntu 18.04.
To ensure PHP is correctly installed and configured, create a info.php file in the web root directory:
sudo nano /var/www/html/info.php
Add the following PHP code to the file:
<?php
phpinfo();
?>
Save the file and exit the text editor. Now, visit http://your_server_ip/info.php in a web browser. You should see the PHP information page, which confirms that PHP is working correctly with Apache.
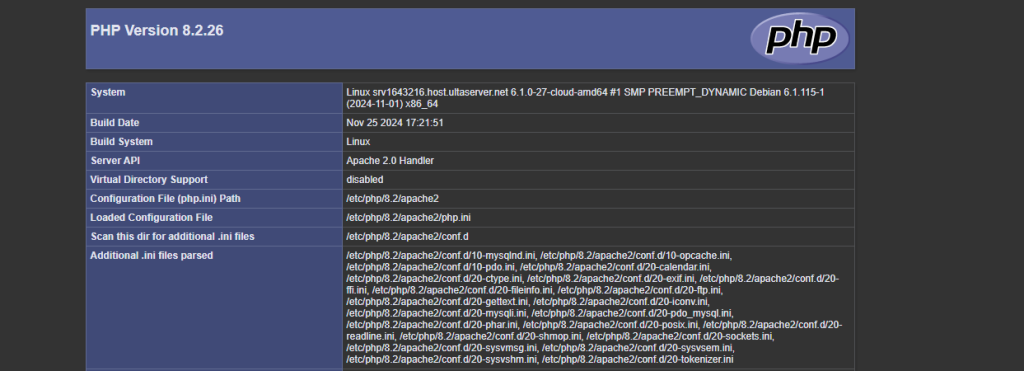
To create a database for your web application, log in to the MySQL root user:
sudo mysql -u root -p
You will be prompted for the MySQL root password. After entering the password, you’ll be at the MySQL prompt. Create a new database and user, and grant the user privileges on the database:
CREATE DATABASE your_database_name;
CREATE USER 'your_username'@'localhost' IDENTIFIED BY 'your_password';
GRANT ALL PRIVILEGES ON your_database_name.* TO 'your_username'@'localhost';
FLUSH PRIVILEGES;
EXIT;
Replace your_database_name, your_username, and your_password with your preferred names and password.
Apache’s mod_rewrite module is required for many web applications to handle URLs. To enable it, run:
sudo a2enmod rewrite
Then, restart Apache server with above described command.
You have successfully installed and configured the LAMP stack on your Debian 12 server. With Apache, MySQL, and PHP up and running, you are now ready to deploy your web applications. Whether you’re setting up a blog, an online store, or a complex web application, the LAMP stack provides a robust and scalable platform for your projects.
At Ultahost, we are committed to providing our customers with the best possible service and support and always working to improve our offerings. Rent a VPS from Ultahost that scales with your resources to accommodate your growing demands. Explore our VPS plans to find the perfect option for you.
A LAMP stack is a combination of Linux, Apache, MySQL, and PHP used for hosting websites and web applications.
Debian 12 is stable and secure, making it a great choice for setting up a LAMP stack for your server.
You can install Apache using the command sudo apt install apache2.
Install MySQL with the command sudo apt install mysql-server and secure it using mysql_secure_installation.
Use the command sudo apt install php libapache2-mod-php to install PHP on your server.
Create a PHP file in /var/www/html/, then access it in your browser to confirm PHP and Apache are working.
Yes, you can use MariaDB, a popular MySQL-compatible database server, in a LAMP stack.