
Understanding the Function, Types & Roles...
What is a DNS Server? The Domain Name System (DNS) h...


The LAMP acronym, which stands for Linux, Apache, MySQL, and PHP/Perl/Python, represents a dynamic and widely-used software stack renowned for building and hosting websites and web applications with exceptional capabilities. In this enlightening blog post, we embark on an exciting journey exploring the intricate process of installing the magnificent LAMP stack on the ever-popular Ubuntu Server 18.04, a highly regarded and dependable Linux distribution adored by web developers and system administrators alike.
Behold Linux, the bedrock operating system that serves as the sturdy foundation for the majestic LAMP stack. Ubuntu 18.04, revered for its unwavering stability, ironclad security measures, and unparalleled user-friendliness, bestows upon us a rock-solid platform brimming with an extensive repertoire of features and packages meticulously tailored to satiate the needs and desires of ambitious web developers and meticulous system administrators.
Now, let us back in the radiance of Apache, the esteemed “A” in the illustrious LAMP acronym—a venerable web server that exudes reliability, breathtaking performance, and an impenetrable fortress of security. With the installation of Apache, behold the gateway to a realm where you can effortlessly host and elegantly serve your web applications with utmost efficiency, guaranteeing an unparalleled user experience.
Turn your attention to the captivating “M” in the remarkable LAMP stack, none other than MySQL—a captivating, open-source, and highly versatile relational database management system (RDBMS). This remarkable marvel bestows upon you an unyielding and scalable solution for deftly storing and effortlessly retrieving data for your magnificent web applications. Armed with MySQL, you can effortlessly navigate through the intricate labyrinth of database management, seamlessly execute queries, and preserve the sanctity and integrity of your invaluable data.
The “P” in the spellbinding LAMP stack—a trio of powerful programming languages: PHP, Perl, and Python. Brace yourself as you enter a world where you can sculpt dynamic web content with finesse and breathe life into your creations. These extraordinary languages empower you to craft interactive websites that elegantly handle user input and seamlessly connect your applications with the formidable MySQL database. The choice between PHP, Perl, or Python rests in the hands of your discerning preferences and unique project requirements.
To install Apache on Ubuntu 18.04, follow these step-by-step instructions:
Before installing any software, it’s a good practice to update the package repositories on your Ubuntu system. Open a terminal and run the following command:
sudo apt update
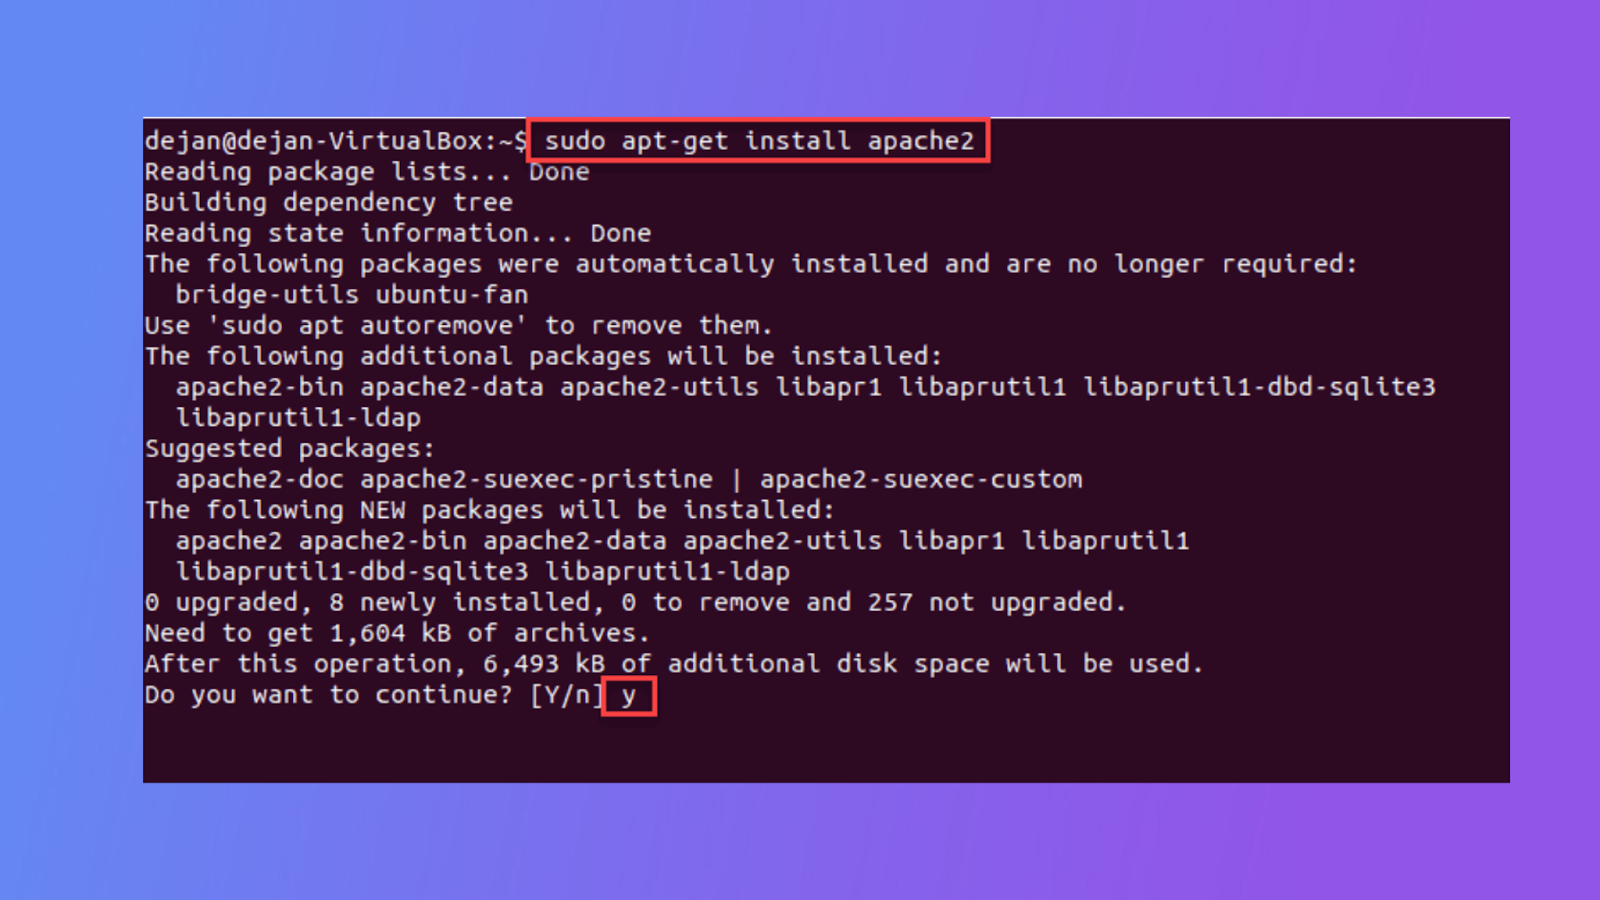
Once the package repositories are updated, you can proceed with the installation of Apache. Run the following command:
sudo apt install apache2
This command will download and install Apache along with its dependencies. You may be prompted to confirm the installation by entering ‘Y’ and pressing Enter.
After the installation is complete, Apache is automatically started as a service. However, you can run the following commands to ensure it is enabled and started:
sudo systemctl enable apache2
sudo systemctl start apache2
sudo systemctl status apache2
To ensure that Apache is working correctly, open a web browser on a device connected to the same network as your Ubuntu system, and enter the IP address or domain name of your Ubuntu machine in the browser’s address bar. You should see the default Apache2 Ubuntu Default Page, indicating a successful installation.
To install MySQL on Ubuntu 18.04 and secure the installation, follow these step-by-step instructions:
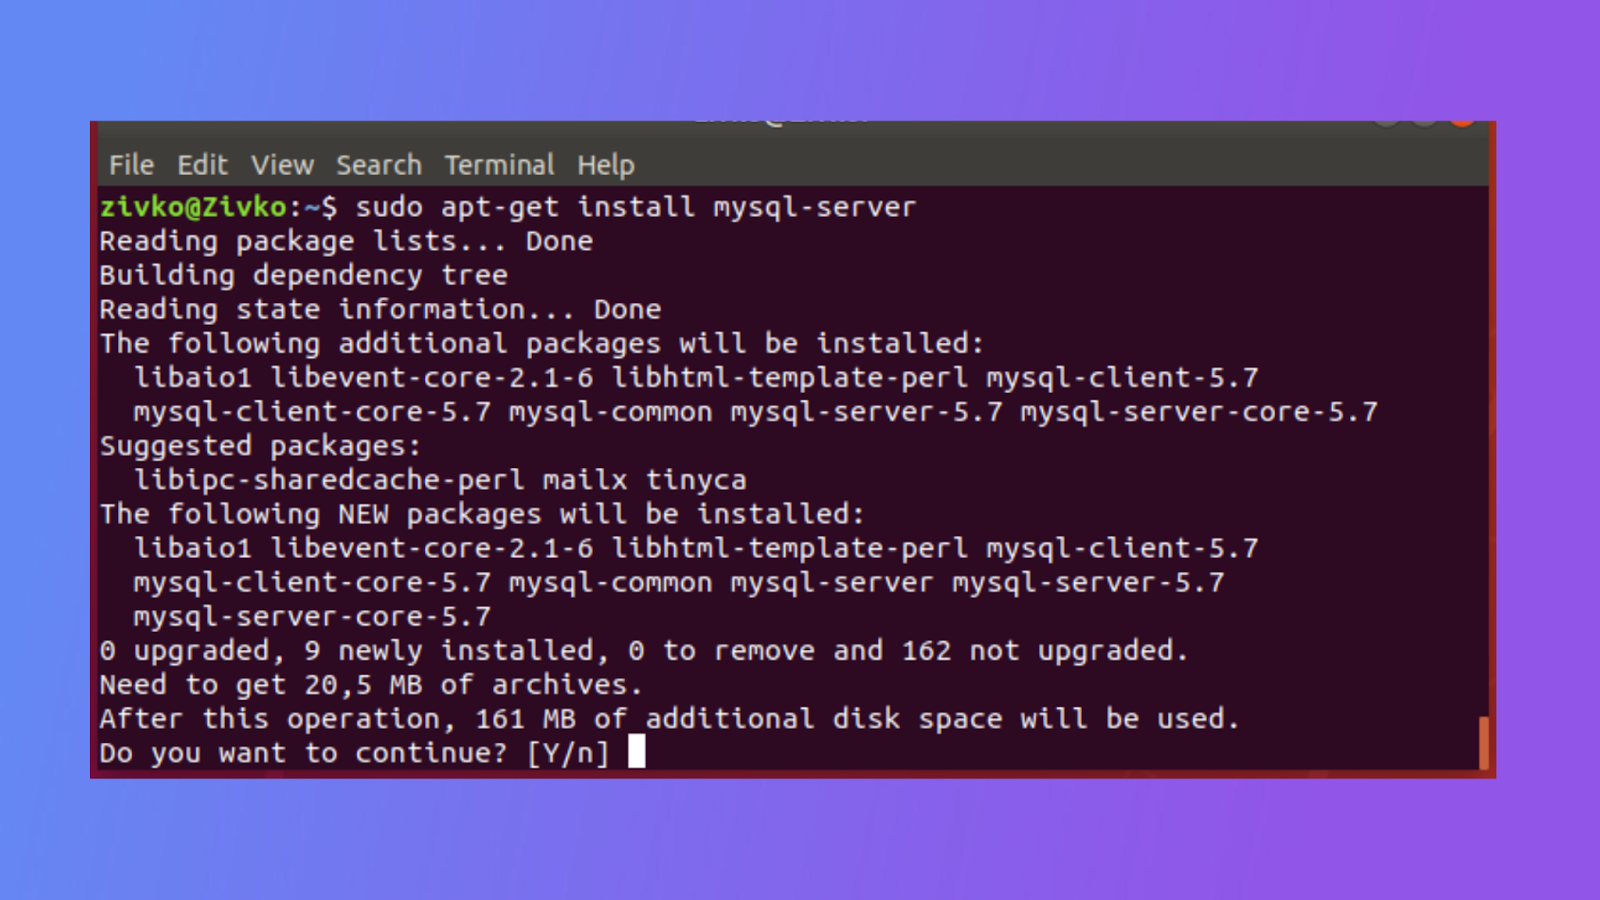
sudo apt install mysql-server

sudo mysql_secure_installation
Once the MySQL installation is secure, start the MySQL service and enable it to start automatically on system boot. Run the following commands:
sudo systemctl start mysql
sudo systemctl enable mysql
mysql -u root -p
To install PHP and its necessary modules on Ubuntu 18.04, follow these step-by-step instructions:
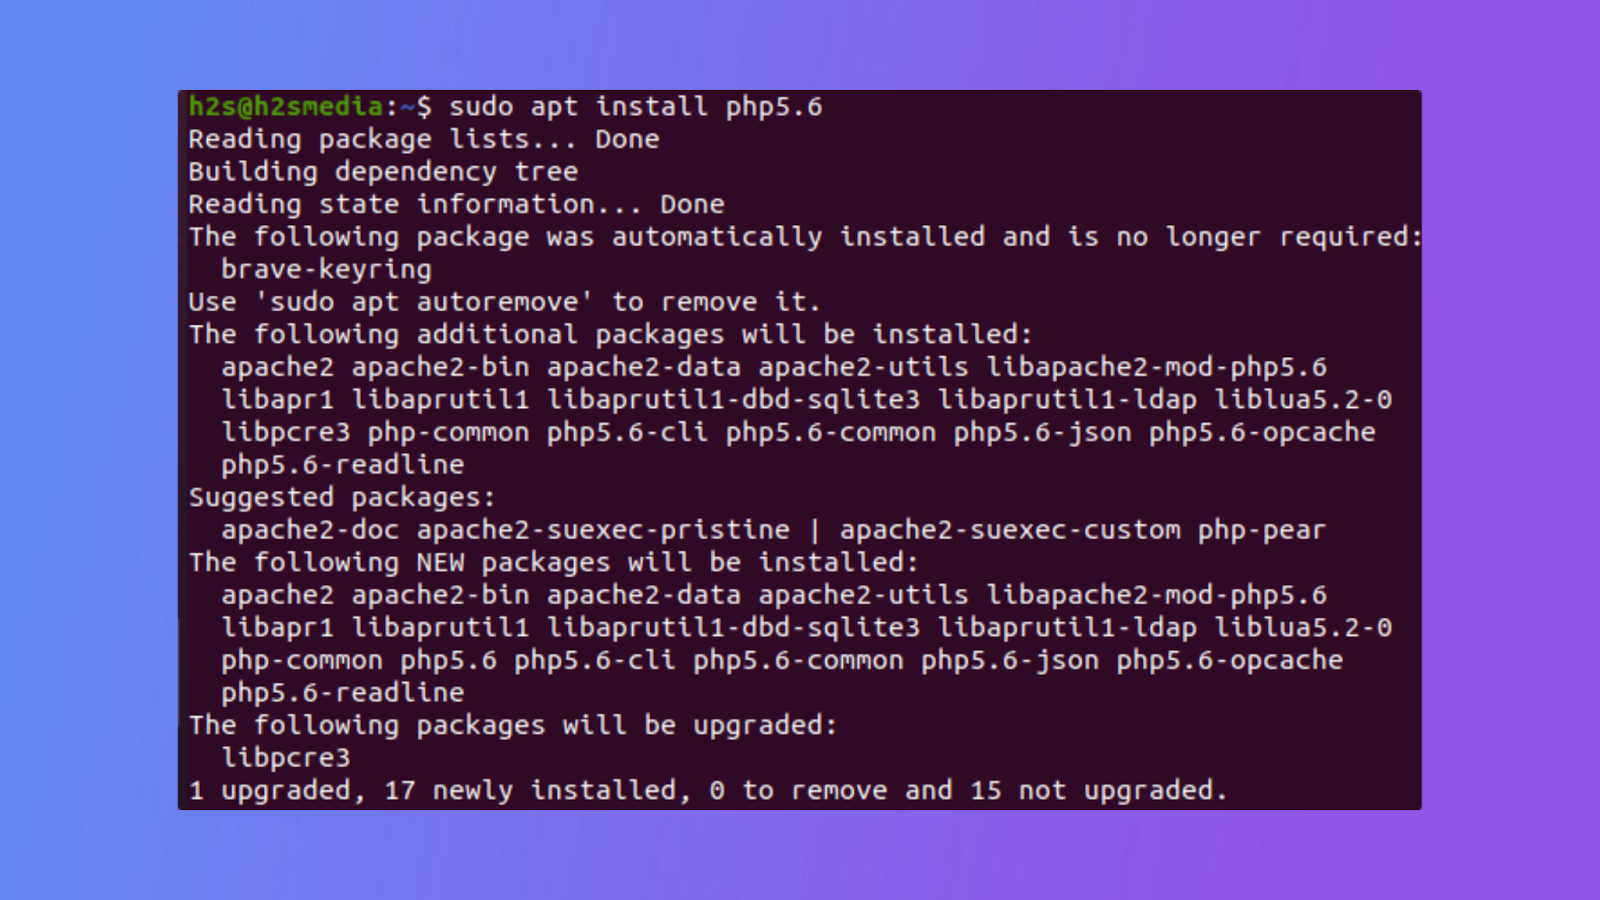
sudo apt install php libapache2-mod-php php-mysql
sudo nano /var/www/html/info.php
<?php phpinfo(); ?>
sudo systemctl restart apache2
http://<your-server-IP>/info.php
sudo rm /var/www/html/info.php
In this blog post, we learned how to install and test the LAMP stack on Ubuntu 18.04. By installing Linux, Apache, MySQL, and PHP, we created a powerful environment for web development and hosting in process to install LAMP on Ubuntu. With the LAMP stack in place, you have the tools needed to build dynamic and interactive websites and web applications. By harnessing the power of Ultahost VPS hosting, you can fully unlock the potential of the LAMP stack and create exceptional websites and web applications. Enjoy exploring the capabilities of the LAMP stack and unleash your creativity in the world of web development.