Vue is a progressive JavaScript framework used for building user interfaces. It is often referred to as a “framework for building frameworks” because it focuses on the view layer of an application. Vue is designed to be adaptable and flexible, allowing developers to incrementally adopt its features and integrate it into existing projects. In this post, we will explain the process to install and run Vue on Ubuntu 19.04.
Some key features of Vue include:
Declarative Syntax: Vue uses a declarative template syntax that allows developers to write HTML-based templates with added directives to handle dynamic rendering and data binding.
Component-Based Architecture: Vue promotes a component-based approach, where the UI is broken down into reusable and self-contained components. Components encapsulate their own logic, data, and styles, making it easier to build and maintain complex applications.
Reactive Data Binding: Vue provides a reactive data binding system that allows developers to establish relationships between the data and the UI. When the data changes, the UI automatically updates to reflect those changes, simplifying state management.
Directives and Computed Properties: Vue offers a range of directives to control the behavior of HTML elements, such as v-if, v-for, and v-bind. Computed properties enable developers to define derived data based on existing data, reducing code duplication.
Vue Router: Vue Router is the official routing library for Vue.js. It enables developers to create single-page applications with client-side routing, allowing for a seamless navigation experience.
Vuex: Vuex is the official state management library for Vue.js. It provides a centralized store for managing application state, making it easier to share data between components.
What is Vue.js?
Vue.js has become extremely popular in the world of web development due to its simplicity, flexibility, and impressive performance. It has gained a strong reputation for enabling developers to effortlessly create interactive user interfaces and single-page applications. If you happen to be a user of Ubuntu 19.04 and are eager to harness the power of Vue.js, you’ve come to the right place!
Why Should You Choose Vue.js?
Before we delve into the installation process, let’s take a moment to understand why Vue.js deserves your attention.
Simplicity and Intuitiveness: Vue.js offers a gentle learning curve, making it an excellent choice for both beginners and seasoned developers. Its straightforward syntax and clear documentation allow you to quickly get up to speed.
Flexibility and Versatility: Vue.js provides the option to gradually adopt its features, enabling you to integrate it into existing projects or start afresh. Its component-based architecture encourages reusability and maintainability.
Performance: With its virtual DOM implementation and optimized rendering process, Vue.js delivers exceptional performance. This ensures smooth and efficient updates to your application’s user interface.
Active Community: Vue.js boasts a thriving community of developers and enthusiasts. This vibrant ecosystem offers a wide range of plugins, extensions, and support that can enhance your Vue.js projects.
What is Vue CLI?
The Vue CLI is an incredibly useful command-line tool that offers a range of features to make Vue.js development easier. With this tool, you can effortlessly create new Vue projects, handle project configurations, generate components quickly, and seamlessly build and deploy your applications for production.
Requirements to Install Vue.js
Ensure that you have Ubuntu 19.04 installed on your machine.
Update the package list by running the following command:
sudo apt update
Install Node.js and npm by running the following command:
sudo apt install nodejs npm
Installing Vue CLI
Please follow these steps to get started with Vue CLI:
Open your terminal.
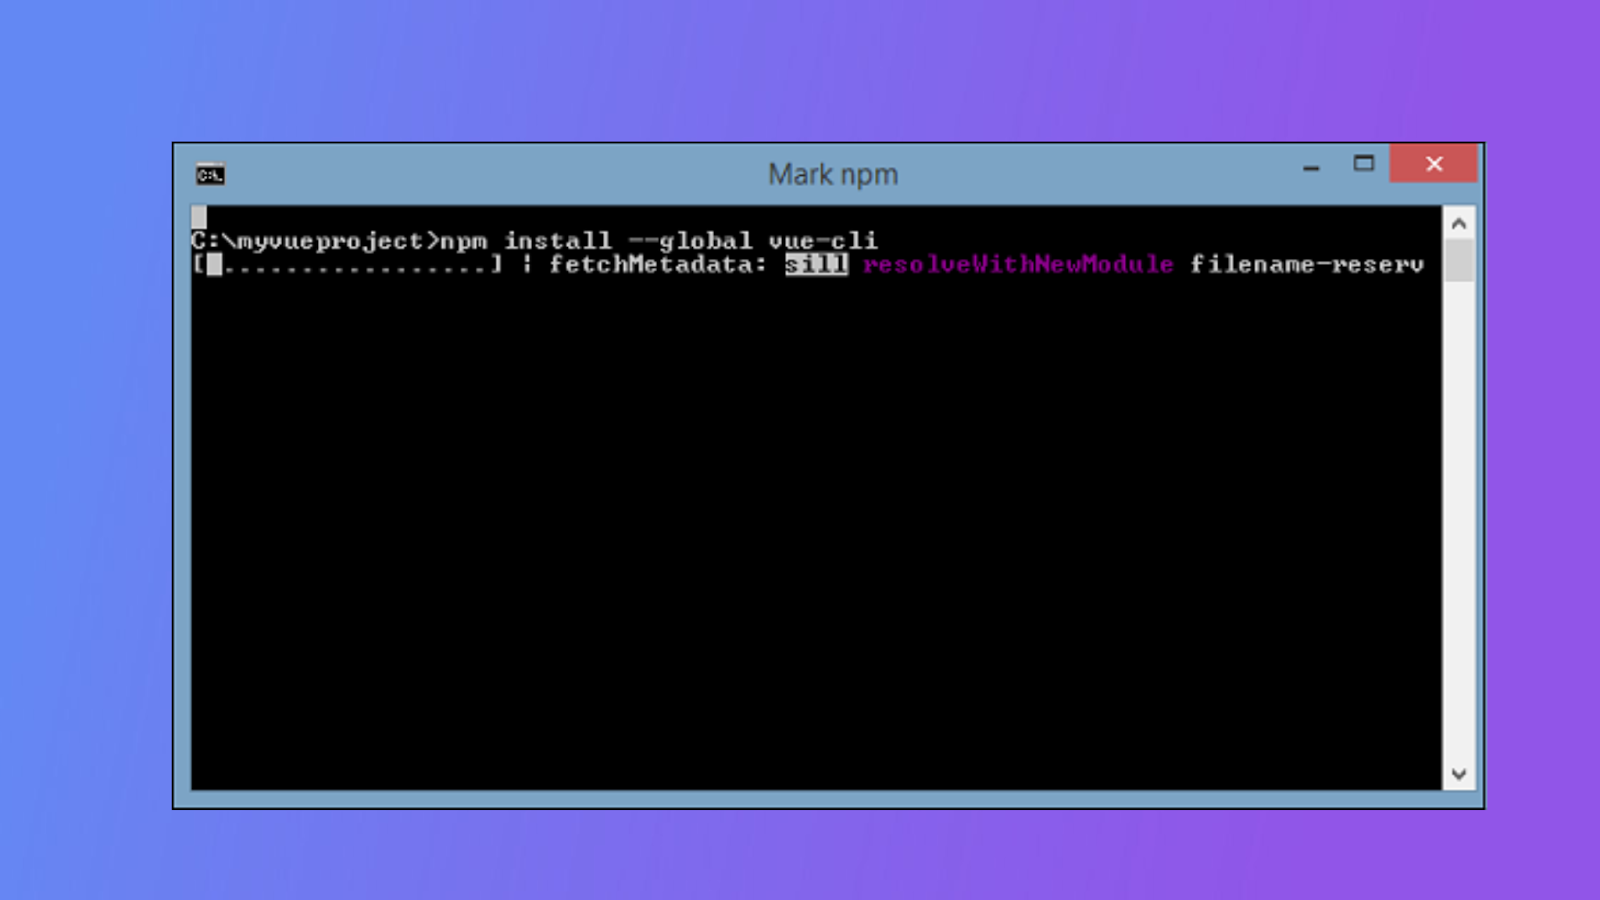
Install Vue CLI globally using npm. Run the following command in your terminal:
npm install -g @vue/cli
The above command will ensure that Vue CLI is installed globally on your system, allowing you to access it from any directory.
Once you complete the installation, you can verify the correct installation of Vue CLI by checking its version. Type the following command in your terminal:
vue --version
The version number of Vue CLI should be displayed in the terminal, indicating that Vue CLI is ready to be used.
Create and Run New Vue Project
Create a new Vue project using Vue CLI. Replace “my-vue-project” with your desired project name:
vue create my-vue-project
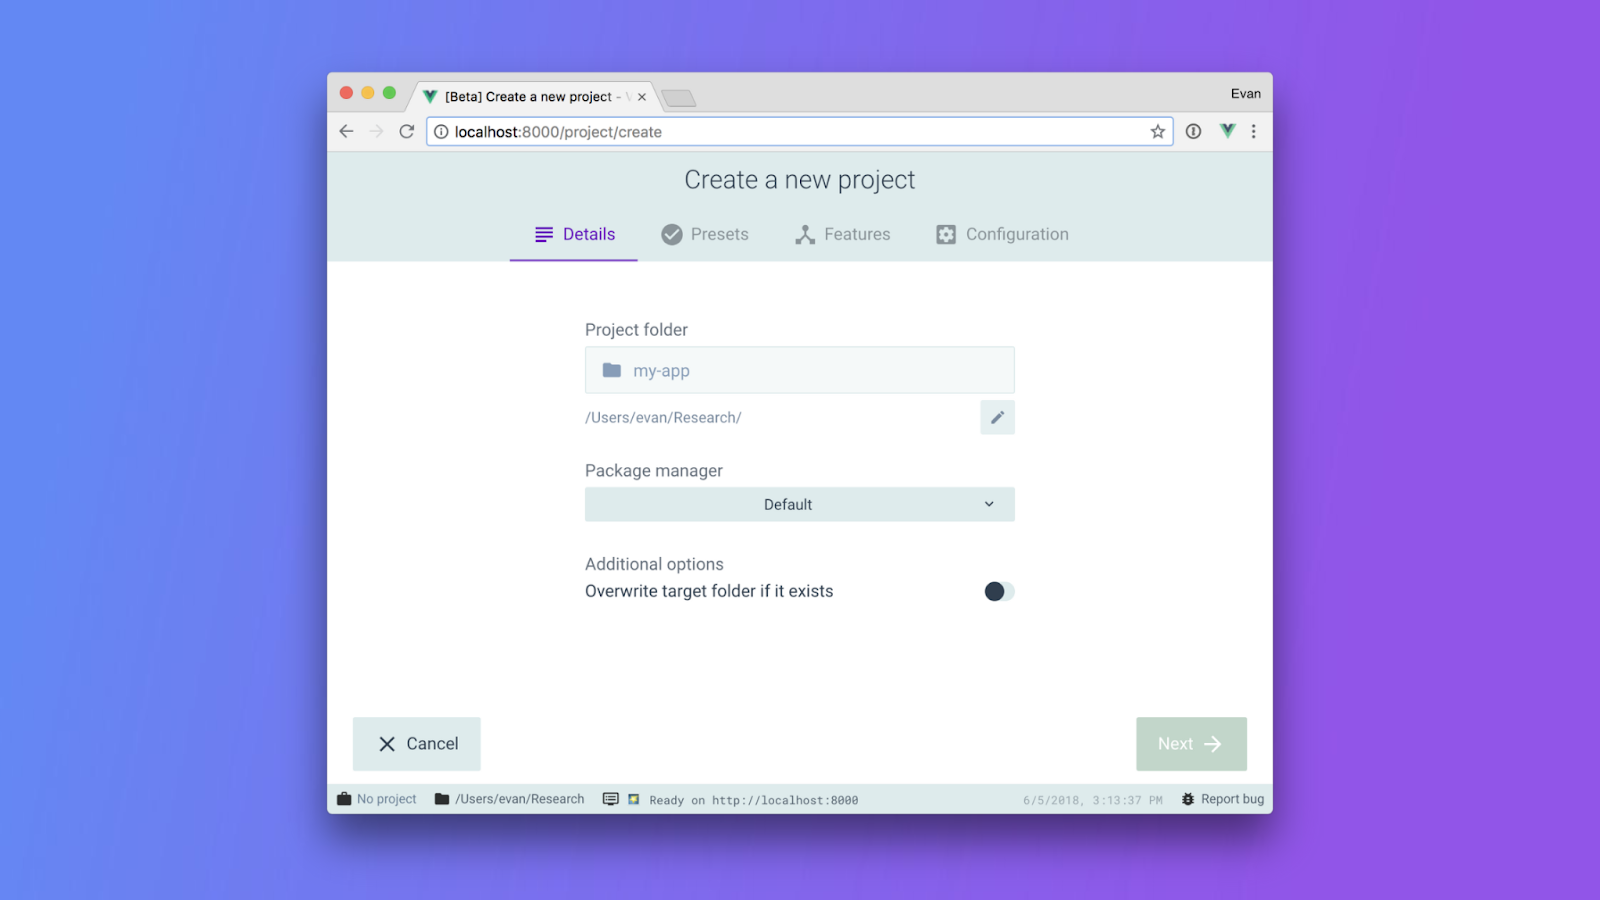
Vue CLI will prompt you to choose a preset configuration. You can either select the default preset or manually configure features.
Once the project is created, navigate to the project directory:
cd my-vue-project
Now, you can run the Vue development server:
npm run serve
The development server will compile the project and start a local development environment.
After the compilation is successful, open your web browser and go to http://localhost:8080 (or the specified address if there were any port conflicts) to see your Vue app running.
Running the Vue Development Server
To run the Vue development server on Ubuntu 19.04, you can follow these steps:
Open a terminal window by pressing Ctrl + Alt + T.
Navigate to your Vue project directory. If you have already followed the previous steps, you should already be in the project directory. Otherwise, you can use the “cd” command to navigate to the project directory.
Once you are in the project directory, start the Vue development server by running the following command in the terminal:
npm run serve
The development server will compile your Vue project and create a local development environment.
After the compilation is successful, you will see output similar to the following in your terminal:
App running at:
– Local: http://localhost:8080/
– Network: http://192.168.1.2:8080/
Open your web browser and enter the URL “http://localhost:8080” (or the specified address if it’s different from the default). This will display your Vue application in the browser.
Whenever you make changes to your Vue project files, the development server will automatically recompile the project and update the browser window with the latest changes. You can monitor the compilation status, as well as any errors or warnings, in the terminal.
Conclusion
To sum up, the process of installing and running Vue.js on Ubuntu 19.04 is quite simple. You just need to follow a few steps, such as installing Node.js, and npm, and using Vue CLI to create and run your Vue project. Vue CLI offers a convenient way to set up and manage your Vue projects, and the Vue development server allows you to see and test your application in real time in your browser. With Vue.js, you can take advantage of its powerful features to develop dynamic and interactive web applications.