Drupal is a highly capable content management system (CMS) renowned for its power and versatility in building dynamic websites. To ensure optimal performance, it is essential to have a dependable hosting environment, and one popular choice is an Ubuntu 16 VPS Server. In this blog post, we aim to furnish you with a thorough, easy-to-follow guide on installing Drupal on an Ubuntu 16 VPS Server. Whether you’re a beginner or an experienced user, this step-by-step walkthrough will provide the necessary instructions to help you successfully set up Drupal. By the end of this guide, you’ll be well-equipped to embark on your Drupal website-building journey.
Prerequisites
Before we proceed with the installation process, it’s important to ensure that you have the following prerequisites in place. Here’s what you’ll need:
Ubuntu 16 VPS Server: Make sure you have a Virtual Private Server (VPS) running Ubuntu 16 as your chosen hosting environment. It is essential to have SSH access to the server so that you can execute commands and configure settings.
SSH Client: Install an SSH client on your local machine to establish a connection with the VPS server. If you are using a Linux or macOS system, the SSH client is typically pre-installed. For Windows users, applications such as PuTTY or Windows Subsystem for Linux (WSL) can be used to access the server.
Stable Internet Connection: Ensure that you have a stable internet connection throughout the installation process. This is crucial for downloading packages, files, and dependencies required for Drupal.
Root or Sudo Access: Verify that you have either root access to the VPS server or a user account with sudo privileges. This will enable you to execute commands with administrative privileges, which are necessary for the installation.
Domain Name or IP Address: Decide whether you prefer to access your Drupal site using a domain name or an IP address. If you choose a domain name, ensure that it is correctly configured and points to your VPS server.
Basic Linux Knowledge: It is beneficial to familiarize yourself with basic Linux commands and concepts. Having an understanding of commands such as navigating directories, creating and editing files, and managing permissions will be valuable during the installation process.
By having these prerequisites in place, you’ll be well-prepared to proceed with the Drupal installation on your Ubuntu 16 VPS Server.
Configuring LAMP Stack
To install and configure the components of the LAMP stack (Linux, Apache, MySQL, PHP) on your Ubuntu 16 VPS Server, follow the steps outlined below:
Installing Apache Web Server:
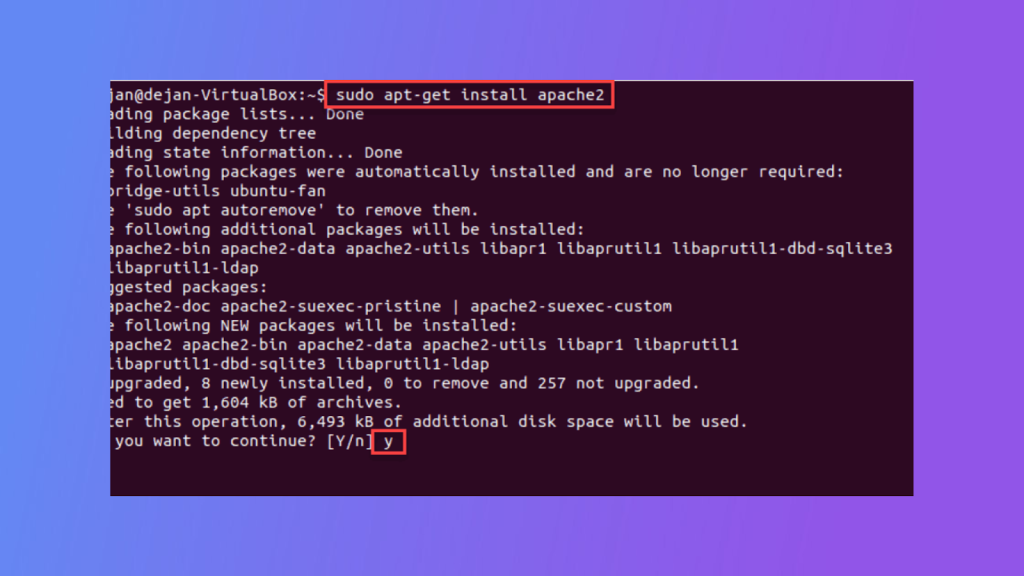
Execute the following command to install the Apache web server:
sudo apt install apache2
During the installation process, you may be asked to confirm the installation and provide your sudo password. Once the installation is complete, Apache should start automatically. To verify this, you can access your server’s IP address or domain name in a web browser, and you should see the default Apache web page.
Installing MySQL Database Server:
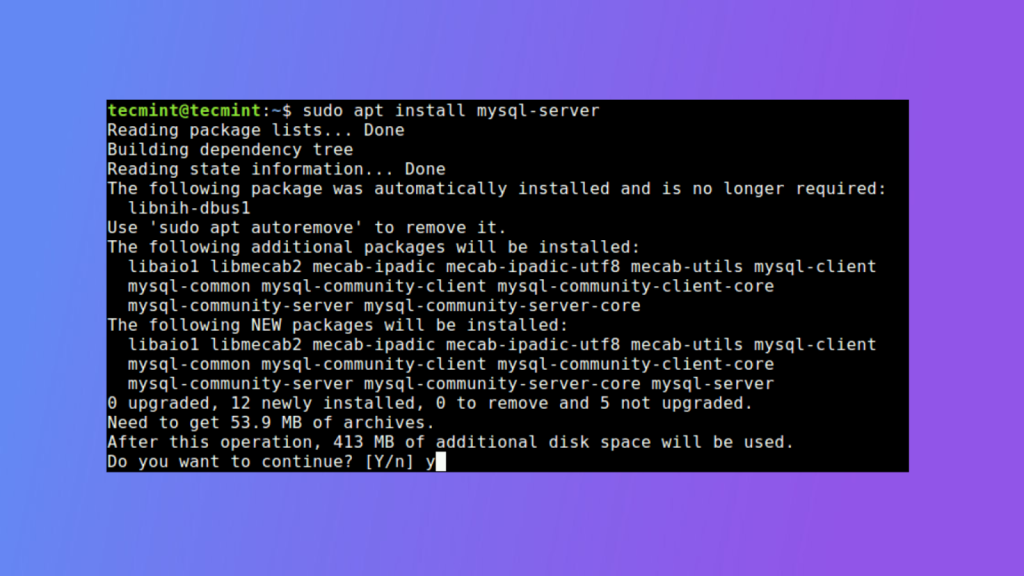
Install the MySQL database server by running the following command:
sudo apt install mysql-server
During the installation, you will be prompted to set a password for the MySQL root user. Choose a strong password and remember it. After the installation, MySQL should start automatically. You can confirm this by running the following command:
sudo systemctl status mysql
Installing PHP and Required Modules:
Install PHP and the necessary modules for Drupal by running the following command:
sudo apt install php php-mysql libapache2-mod-php
Confirm the installation and wait for the packages to be downloaded and installed. To verify that PHP is installed correctly, you can create a PHP info file. Create a new file called “info.php” in the default web directory:
sudo nano /var/www/html/info.php
Add the following content to the file:
<?php
phpinfo();
?>
Save and close the file. Access the file in your web browser by visiting http://your_server_ip/info.php. You should see the PHP information page.
By following these steps, you will have successfully installed and configured the Apache web server, MySQL database server, and PHP on your Ubuntu 16 VPS Server, forming the LAMP stack foundation necessary for hosting dynamic websites like Drupal.
Installing Drupal
To install Drupal on your Ubuntu 16 VPS Server after setting up the LAMP stack, please follow the steps outlined below:
Step 1 Downloading Drupal:
Change your current working directory to the web root folder:
cd /var/www/html
Download the latest stable release of Drupal using the following command:
Open a web browser and visit your server’s IP address or domain name. You should see the Drupal installation wizard.
Select your preferred installation profile and click on the “Save and continue” button.
Configure the database settings:
Database type: Select “MySQL, MariaDB, or equivalent”.
Database name: Create a new database name specifically for Drupal.
Database username and password: Enter the credentials you set during the MySQL installation.
Database host: Leave it as “localhost” unless you have a specific database host.
Click on the “Save and continue” button to proceed with the installation.
Follow the on-screen instructions to complete the installation, including setting up the site details, administrator account, and additional configuration options.
Finalizing the Drupal Installation:
Once the installation is complete, you will be redirected to the Drupal administration dashboard.
Take note of the provided login credentials for the administrator account.
It is recommended to remove the installation files for security purposes. Run the following command to remove the installation directory:
sudo rm -rf /var/www/html/mydrupalsite/install
By following these steps, you will have successfully downloaded and installed Drupal on your Ubuntu 16 VPS Server. You can now proceed with the configuration and customization of your Drupal website.
Conclusion
In this blog post, we have provided you with a comprehensive step-by-step guide on installing Drupal on an Ubuntu 16 VPS Server. By following this guide, you have successfully installed Drupal, a robust content management system, on your Ubuntu 16 VPS hosting Server. With Drupal’s powerful features and flexibility, you now have the foundation to create and manage dynamic websites. Make the most of Drupal’s capabilities and unleash your creativity in building remarkable online experiences.