
How to Extract .tar.gz Files in Linux
The "tar.gz" file format is a common archive format use...


Linux Malware Detect shorts for Maldet is a powerful malware scanner designed specifically for Linux environments. It is particularly useful in shared hosting environments where multiple users share the same server resources. Maldet uses threat data from network edge intrusion detection systems to extract malware that is actively being used in attacks and generates signatures for detection.
In this post, we will cover the process of installing Maldet on your Linux server along with essential configuration steps.
Before install Linux Maldet make sure you have the following:
Following are the steps described below to install Maldet on the Linux server:
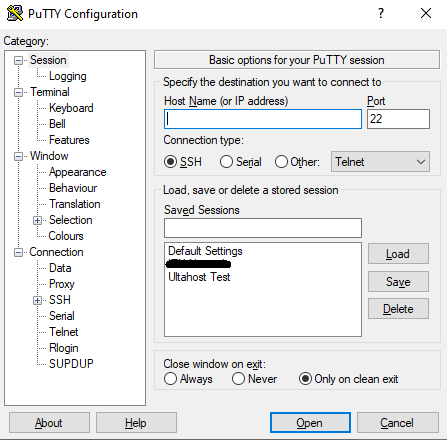
First, connect to your Linux server using SSH. You can use a terminal on Linux or macOS or an SSH client. You need to install PuTTY on Windows system. Log in with SSH access such as IP address, username, and password.
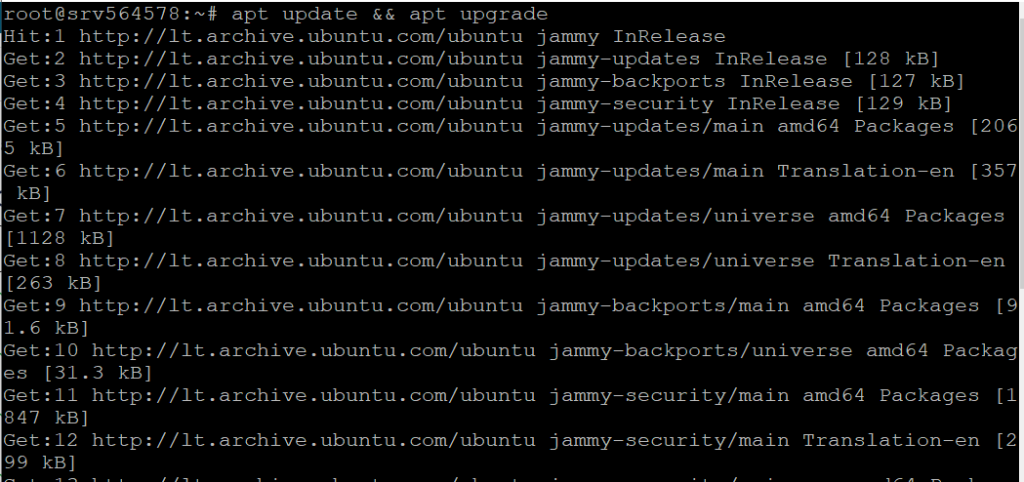
It’s always a good practice to update your system before installing new software. Run the following commands to update your package lists and upgrade your installed packages:
apt update && apt upgrade
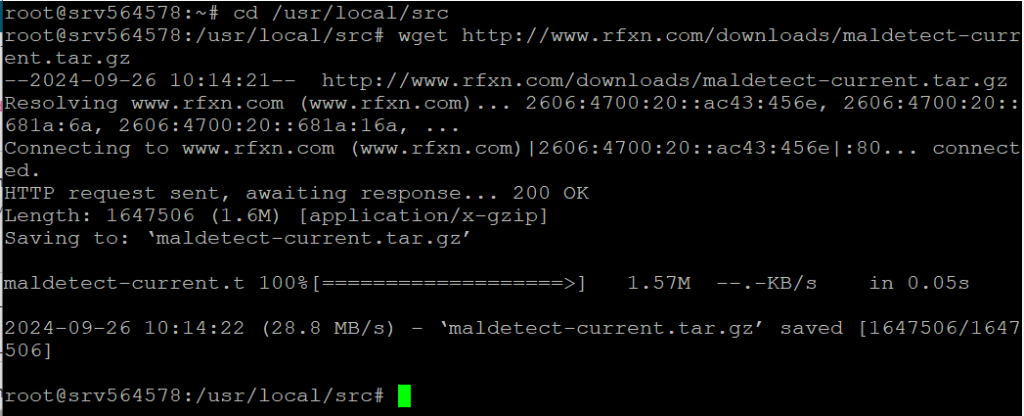
Next, download the latest version of Maldet from the official website. First, navigate the /usr/local/src directory with the cd command:
cd /usr/local/src
Use the wget command to download the tarball
wget http://www.rfxn.com/downloads/maldetect-current.tar.gz
Once the download is complete extract the tarball using the tar command:
tar -xzf maldetect-current.tar.gz

This will create a directory named maldetect-* in your current directory.
Navigate to the extracted directory and run the installation script:
cd maldetect-* && ./install.sh
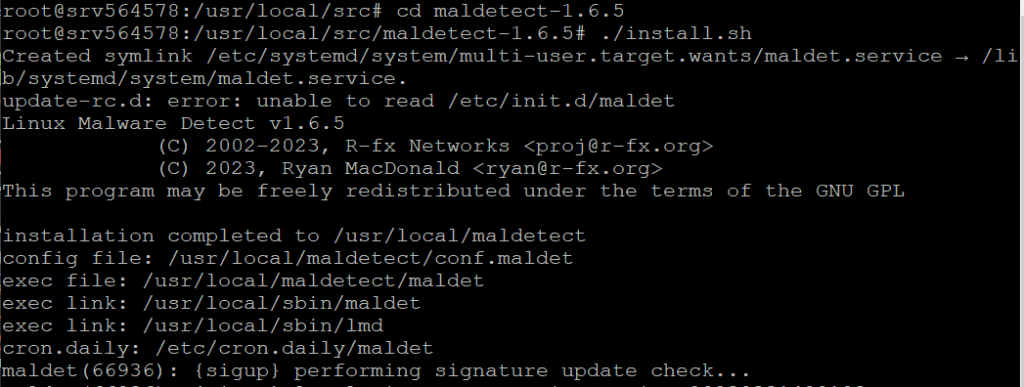
The installation script will install Maldet to /usr/local/maldetect and create a Linux symbolic link to the executable in /usr/local/sbin/maldet.
Maldet’s configuration file is located at /usr/local/maldetect/conf.maldet. Open this file in a text editor to configure Maldet according to your needs:
nano /usr/local/maldetect/conf.maldet

Here are some important configuration options:
Save and close the file after making your changes.
Install Maldet on Our Affordable Linux Server!
Combine the power of the world’s most trusted Linux distros with the flexibility of a VPS. Experience lightning-fast performance.
Before running a scan update the Maldet signatures to ensure you have the latest malware definitions:
maldet -u

You can now run a scan using Maldet. Here are some common scan commands:
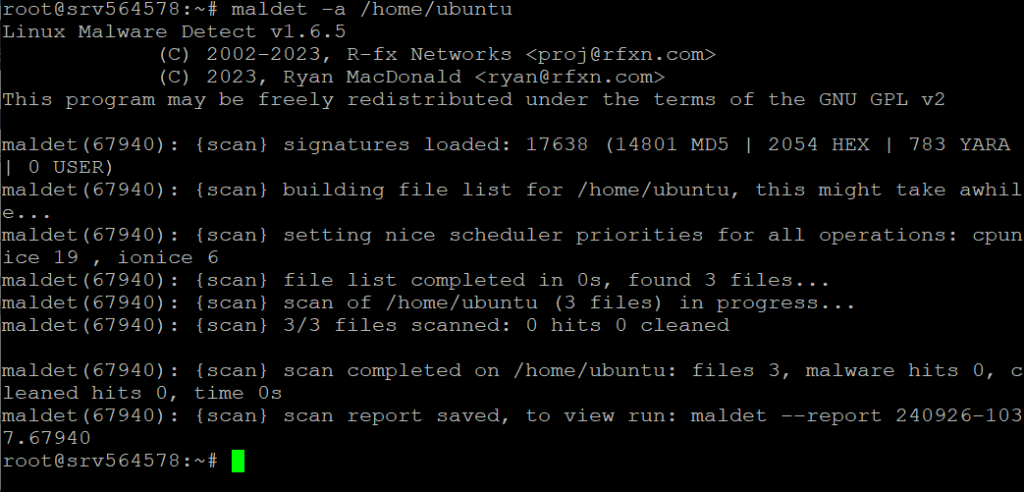
To scan a specific directory:
maldet -a /path/to/directory
To scan all user directories under /home:
maldet -a /home?/
To scan a specific user directory:
maldet -a /home/username
Replace /path/to/directory and username with the actual path and username you want to scan.
After the scan is complete you can view the scan results using the following command:
maldet --report SCANID
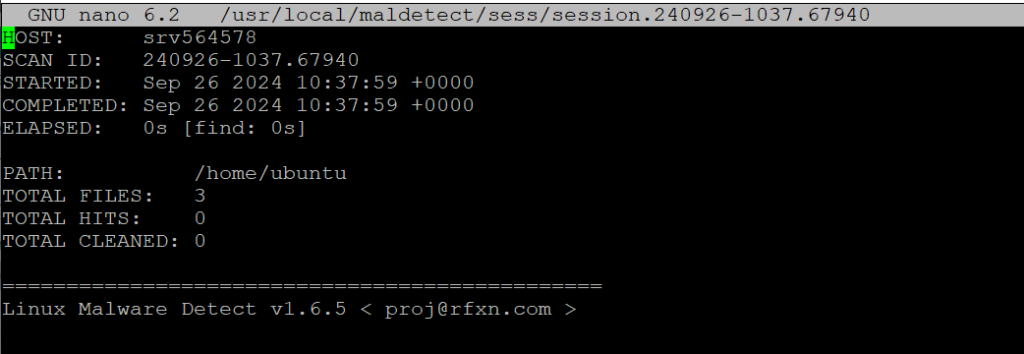
Replace SCANID with the actual scan ID provided at the end of the scan.
To ensure your server remains protected schedule regular scans using cron jobs. Open the cron table for editing:
crontab -e
Add a line to schedule a daily scan at a specific time for example 2:00 AM:
0 2 * * * /usr/local/sbin/maldet -a /home?/
Save and close the file. This will run a scan of all user directories /home every day at 2 AM.
Following are some important considerations after Maldet download on your Linux server:
--report option to generate reports in various formats for example HTML and CSV.Maldet is a valuable tool for detecting and mitigating malware on Linux servers. By following this guide you can install and configure Maldet to protect your server from malicious threats. Regular updates and scans will help ensure your server remains secure.
When it comes to buying hosting Ultahost is the best place to provide shared hosting for bloggers, small-business owners, web designers, and developers. Check out our plans according to your requirements.
Maldet (Linux Malware Detect) is a malware scanner for Linux servers.
Maldet helps protect your Linux server from malware and security threats.
Download the Maldet package extract it and run the installation script.
Maldet can run on most Linux distributions with basic system resources.
Yes, Maldet is an open-source tool and free to use.
Run the command maldet -u to update Maldet to the latest version.
Yes, you can configure Maldet to run scheduled scans on your server.
The "tar.gz" file format is a common archive format use...

A firewall safeguards a system by managing what network...
File Transfer Protocol (FTP) refers to a network standa...
Checking and managing free space on your system disk is...
Linux is an open-source operating system that offers a ...
Managing and transferring files efficiently is a key pa...