
How To Install Node.js on Ubuntu 22.04
Node.js is an environment for executing and running ser...


Odoo, the powerful open-source enterprise resource planning (ERP) software, offers a comprehensive suite of business applications tailored for various industries. Installing Odoo on Ubuntu, a popular Linux distribution, provides users with a stable and secure environment to harness the full potential of this versatile platform.
One of the primary advantages of running Odoo on Ubuntu is the seamless integration with the Linux ecosystem. Ubuntu’s robust package management system streamlines the installation process, ensuring that all required dependencies are automatically resolved. Additionally, Ubuntu’s long-term support releases guarantee extended security updates and bug fixes, making it an ideal choice for mission-critical deployments.
Odoo’s modular architecture allows businesses to tailor the software to their specific needs. From customer relationship management (CRM) and accounting to project management and inventory control, Odoo offers a comprehensive suite of applications. Its user-friendly interface and intuitive design facilitate easy adoption across various departments, promoting collaboration and data-driven decision-making. Furthermore, Odoo’s open-source nature encourages community contributions, ensuring continuous improvements and timely security updates.
This article will provide you with the detailed installation process of install Odoo Ubuntu.
Step 1: Update and Upgrade Your System
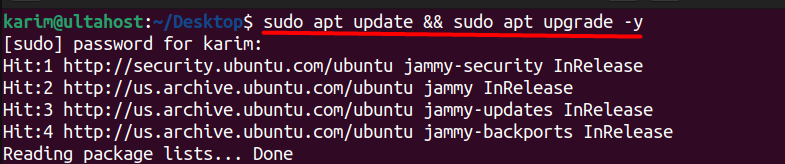
Before installing Odoo installation Ubuntu, it’s crucial to ensure your Ubuntu system is up-to-date. This involves fetching the latest package lists and upgrading any existing software to their newest versions. Open your terminal and execute the following commands:
sudo apt update && sudo apt upgrade -y
Step 2: Install Essential Packages
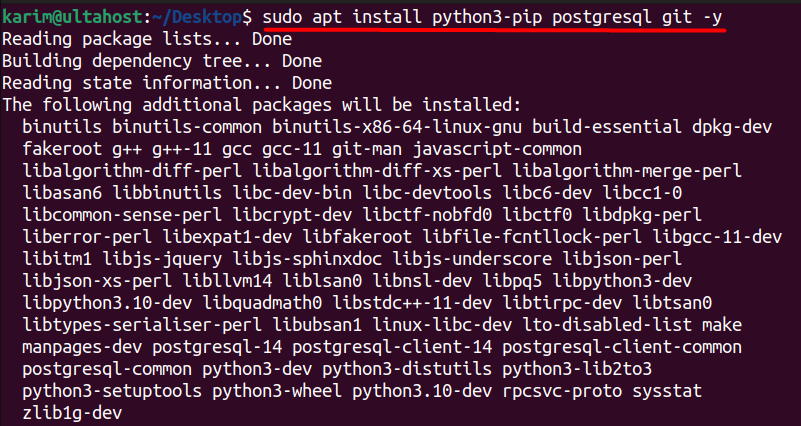
Odoo relies on several packages to function correctly. These include Python, PostgreSQL (the database system), and Git for version control. Let’s install them:
sudo apt install python3-pip postgresql git -y
Here’s a breakdown of what each package does:
Step 3: Create an Odoo User and Database
For security purposes, it’s best practice to create a dedicated user account and database specifically for Odoo:
sudo su - postgres
psql
CREATE USER odoo WITH PASSWORD 'odoo';
CREATE DATABASE odoo OWNER odoo;

Replace odoo with your desired username and password.
Install Odoo on Our Ubuntu VPS!
Experience the dependability of the world’s leading Linux distribution combined with the flexibility of a virtual server. Enjoy ultra-fast speeds and minimal latency.
Step 4: Download Odoo Source Code
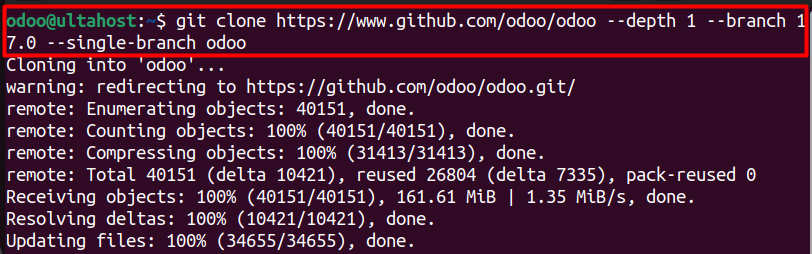
To setup Odoo on Ubuntu, we’ll use Git to clone the official repository. This command clones the Odoo repository from GitHub, specifically the 17.0 branch, and places it in a directory named “odoo”:
git clone https://www.github.com/odoo/odoo --depth 1 --branch 17.0 --single-branch odoo
Step 5: Set Up Odoo Environment
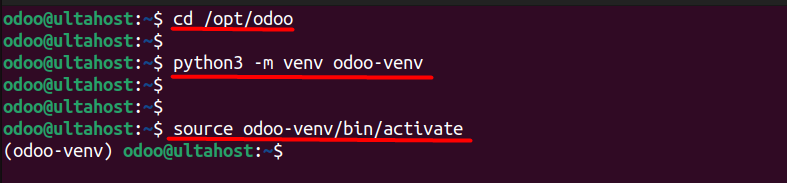
Next, we’ll create a virtual environment for Odoo and install its dependencies. We navigate to the /opt/odoo directory. Then we create a new Python virtual environment named “odoo-venv” using the venv module. We activate the virtual environment using the source command:
cd /opt/odoo
python3 -m venv odoo-venv
source odoo-venv/bin/activate
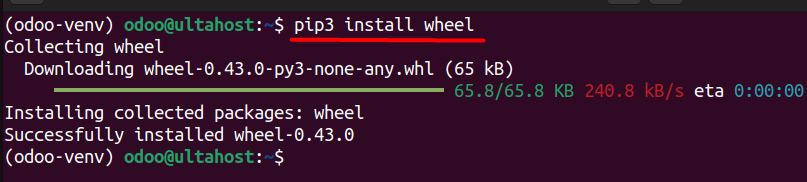
We install the wheel package, which is a dependency for installing Odoo:
pip3 install wheel
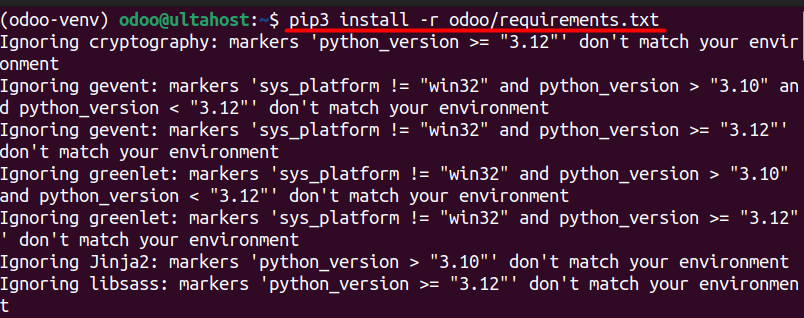
After that, we install all the required packages listed in the requirements.txt file within the Odoo directory:
pip3 install -r odoo/requirements.txt
Finally, we deactivate the virtual environment.
Also, read How to Install Spark on Ubuntu
Step 6: Create a Directory for Custom Addons
Odoo allows you to install custom addons and modules. Let’s create a directory for them:
mkdir /opt/odoo/odoo-custom-addons
exit

This command creates a new directory named “odoo-custom-addons” inside the /opt/odoo directory, where you can place your custom Odoo addons and modules. After that we will logout:
Step 7: Configure Odoo
We’ll now create a configuration file for Odoo:
sudo nano /etc/odoo.conf
This opens the nano text editor to create a new file named “odoo.conf” in the /etc directory. In this file, add the following lines:
[options]
; Database operations password:
admin_passwd = PASSWORD
db_host = False
db_port = False
db_user = odoo
db_password = False
addons_path = /opt/odoo/odoo/addons,/opt/odoo/odoo-custom-addons

Replace PASSWORD with your desired password for the Odoo administrator account. This configuration file specifies various settings for Odoo, including the database user and the path to the addons directory.
Step 8: Create a Systemd Service
To manage Odoo as a system service, we’ll create a systemd service file:
sudo nano /etc/systemd/system/odoo.service
In the opened file, add the following content:
[Unit]
Description=Odoo
Requires=postgresql.service
After=network.target postgresql.service

[Service]
Type=simple
SyslogIdentifier=odoo
PermissionsStartOnly=true
User=odoo
Group=odoo
ExecStart=/opt/odoo/odoo-venv/bin/python3 /opt/odoo/odoo/odoo-bin -c /etc/odoo.conf
StandardOutput=journal+console

[Install]
WantedBy=multi-user.target
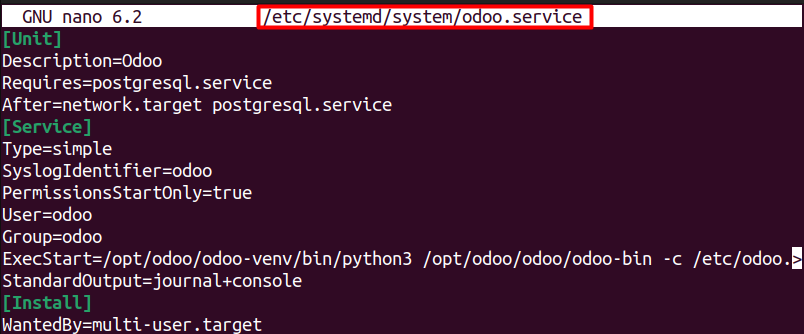
This systemd service file defines how Odoo should be started and managed as a system service.
Step 9: Enable and Start Odoo Service
Finally, we’ll enable and start the Odoo service with systemctl if it is not working refer to our guide on how to fix systemctl command not found error on linux:
sudo systemctl daemon-reload
sudo systemctl enable --now odoo

The systemctl daemon-reload command reloads the systemd manager configuration, which is necessary after creating a new service file. Whereas, the systemctl enable –now odoo command enables the Odoo service to start automatically on system boot and starts it immediately.
The systemctl status odoo command displays the current status of the Odoo service, allowing you to verify if it’s running correctly:
sudo systemctl status odoo
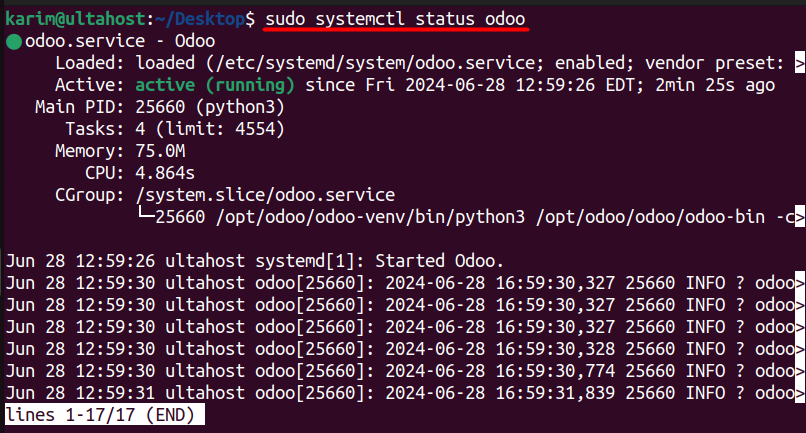
After completing these steps, Odoo should be installed and running on your Ubuntu system and can access the sudo web interface.
This article provides a comprehensive guide to configuring Odoo install Ubuntu Linux server. The step-by-step approach covers the essential prerequisites, including updating and upgrading the system, installing necessary packages, creating a dedicated Odoo user and database, and downloading the Odoo source code using Git. Additionally, the article explains how to set up the Odoo environment, create a directory for custom addons, configure Odoo, and create a systemd service to manage Odoo as a system service.
By following these steps, users can successfully install and configure Odoo on their Ubuntu system, ensuring a secure and optimized deployment. The article also provides valuable post-installation tips, enabling users to access their Odoo instance and start managing their business operations efficiently. With Odoo’s powerful platform and Ubuntu’s robust server capabilities, businesses can leverage a comprehensive suite of business applications to streamline their operations and drive growth.
If you are a developer or starting your journey and trying to dive into the Linux operating system consider that you ensure your current setup can handle the demands of your specific needs. This is where you need a powerful and reliable platform like Ultahost. We provide affordable Linux VPS which helps to manage your server and dedicated resources for guaranteed speed and stability to perform your required task.
Odoo is an open-source ERP (Enterprise Resource Planning) and CRM (Customer Relationship Management) software that provides a range of business applications to help businesses manage their operations effectively.
Open your web browser and go to http://localhost:8069
Node.js is an environment for executing and running ser...

Time To Live (TTL) is a numeric descriptor for how long...
Django is one of the most recognized frameworks for web...

A proxy server acts as an intermediary between a client...
It is often required to run multiple services at a give...