
How to Install Node-RED on Windows
Node-RED is a powerful flow based programming tool that...


Power BI is a business analytics service provided by Microsoft. It allows users to take non-business related raw data and change it to visual reports and dashboards. Businesses use Power Bi to track the performance of its operations, analyze, trends, and make downstream informed decisions based on the data provided by Power BI. The program allows users to use charts, graphs, and visual elements that are interactive to help users understand data rather than interpreting data.
When using Power BI on operating system the best and most stable and compatible version is Windows. Windows has all of the Power BI features available and does not restrict anything for a user experience. Power BI also creates a better experience if you are already familiar and run other Microsoft software like Excel, Teams, and SharePoint. There is an easy and practical installation process and not many Windows installations that it could not work on today.
This guide provides the complete rationale for installing Power BI on Windows system. You will learn how to download and install before heading off to set up some projects. This Microsoft Power BI Download guide has taken the time to show you the process to install Power BI correctly and better further understand one of the best data management tools available.
Power BI is Microsoft’s business analytical tool. Power BI takes raw, non-business, data and changes it into visual reports and dashboards. Businesses use Power BI to track the performance of its operations, analyze, trends, and make downstream informed decisions based on the data Power BI provides. This program uses charts, graphs, and visual elements that are interactive which helps the user understand the data and not have to interpret the data.
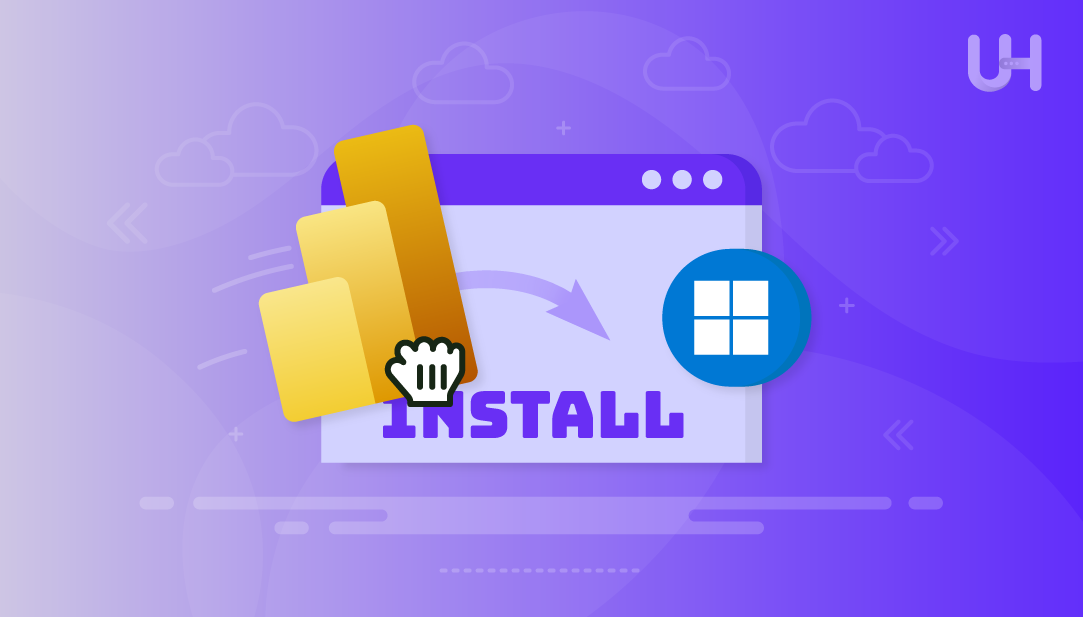
Install Power BI on Your Windows PC
Transform your data into powerful visuals with Power BI. Connect to multiple data sources, explore insights, and install it on your Windows PC with ease!
When using Power BI on an operating system the best and most stable and compatible version is Windows. Windows has all of the Power BI features readily available and does not restrict anything for a user experience. Power BI also provides a better experience if you are familiar and already run other Microsoft software (Excel, Teams, and SharePoint). Power BI has a simple and practical installation process and not many Windows installations that Power BI was not able work on today.
Using Power BI on Windows enables full ability to use all features. All data connectors are supported, a performance optimization is available, and even excellent integration with other Microsoft 365 tools. Using Power BI on Windows is faster in performance and with a stable connection than on a virtual environment or unsupported installation.
To download the Power BI app, click on the Start Menu in the bottom left corner of your computer screen. In search, type Microsoft Store, and click on it in the search results. An app will open for Microsoft Store that shows a variety of applications available for download:

Make sure you are signed in with your Microsoft account before proceeding.
Once in the Microsoft Store app, locate the search bar on the upper right and follow the instructions on how to download Power BI. Type Power BI Desktop, and hit Enter. The Power BI Desktop app from the publisher Microsoft Corporation will display in the search results. Be sure the publisher is Microsoft Corporation to ensure the correct version:

Click on the Get button. The store will begin downloading the Power BI installation files:

After the download completes, the app will automatically install on your system. You will see the status change from “Downloading” to “Installing”.

Once installed, you will see an Open button within the Microsoft Store page:

Clicking it will launch Power BI Desktop immediately, completing the install Power BI process through the Microsoft Store.
Read also How to Install Bitwarden on Windows
If you prefer to open it later, you can click the Start menu or use the Windows search bar, type Power BI Desktop, and select it from the results:

When you open the Power BI application, you should be able to see its main interface:

When Power BI Desktop opens for the first time, you’ll get a sign-in screen. Sign in with your Microsoft account email and password. You can use an organization account that was given to you by your company or a personal account. You will need to sign in if you want to: save reports, publish reports to the Power BI Service, or use other cloud features in Power BI Desktop. If you do not sign in, you can continue to use Power BI Documents locally. The only difference is that you will not be able to share or publish your files.
After you sign in, go to the File menu and choose Options and settings. You can set preferences and set default files locations, data load settings, and regional formatting from here. The best approach is to get Power BI to resemble your work process and, importantly, format big numbers, dates, and currencies for your region. Setting up Power BI after install will also optimize performance and allow you to control background arrangements for query behavior and data refresh.
To get to know the interface, you should first connect to a sample data set. On the Home tab, click on Get Data and select the Sample data option. Microsoft has published a lot of datasets, including the Retail Analysis Sample, that lets you play around with the features in Power BI even without your own data. This is the perfect step to provide some semblance of report creation practice, visual testing, or checking how well Power BI handles different sources of data.
There are a number of keyboard shortcuts that you can learn that save you time and improve your workflow. For example, you can hold Ctrl and press N to create a new report, hold Ctrl and press S to save quickly, and hold Ctrl and press Z to undo your last few changes. In addition, if you hold Alt and let go on the keys for different menus, you can directly use menu items rather than hands on the mouse. These little changes will allow you to build reports faster and with more efficiency, without being overly complicated for new users, or inconvenience for experienced users.
Power BI has many data connector options, including Excel, SQL server, SharePoint, as well as online services including Google Analytics. To connect to a source you will go to the Home tab, and you will click on Get Data. You will choose a data connector to connecting to the data source with some possibly needed parameters to ensure that the data is retrieved correctly and optimally. This flexibility is perhaps, one of the greatest benefits anyone could have and looking for Power BI beginner tips and quick start guide.
Power Query is utilized for loading, cleaning, and shaping data before analysis, while DAX (Data Analysis Expressions) is used to generate calculated columns, measures, and custom aggregations, and understanding both the process and DAX, will help you improve Power BI performance and gain deeper insights. Start either locally within Power Query with simple transformations, then move into using simple DAX formulas for summing, averaging, and percentages.
Power BI is powerful business analytics that transforms raw data into visually formatted reports and dashboards. Installing Power BI on Windows allows for optimal compatibility, smooth integration with Microsoft applications, and full access to all features with no restrictions. Using the Microsoft Store installation route provides a straightforward way to download and install Power BI, with automatic setup and easy access from the start menu.
After successfully installing Power BI Desktop, signing in to your Microsoft Account, changing basic settings, and exploring sample datasets will help you get started quickly. Learning keyboard shortcuts, connecting with different data sources, using applying Power Query with DAX can enhance productivity to another level. After completing these steps you can begin building professional reports and make data-driven decisions effectively using Power BI.
Experience powerful and efficient data analysis with Power BI on Windows. With seamless integration, interactive dashboards, and support for multiple data sources, Power BI is the perfect solution for professionals who value clarity and control. Paired with UltaHost’s reliable VPS hosting, it offers a smooth and secure way to visualize and share insights from any environment.
You can install Power BI from the Microsoft Store by searching for “Power BI Desktop” and clicking Get. It downloads and installs automatically.
Yes, Power BI Desktop is free to download and use on Windows. Advanced sharing features require a Power BI Pro or Premium subscription.
Yes, you can download the installer directly from the official Microsoft Power BI website and run the setup file manually.
You need Windows 10 or later, at least 4GB RAM, and 1GB free disk space. A 64-bit processor is recommended for best performance.
You can launch it directly from the Microsoft Store using the Open button or search for “Power BI Desktop” in the Windows Start menu.
No, you can use Power BI Desktop without signing in. However, a Microsoft account is required to publish and share reports online.
Yes, Power BI supports direct connections to Excel files, along with databases and online data sources. Use the Get Data option to connect.
UltaAI – Smart AI Assistant for Ultahost Clients
UltaAI is your advisor for anything related to domain or hosting. Experience personalised suggestions.
Node-RED is a powerful flow based programming tool that...
Installing Microsoft Office on Windows is a straightfor...

Bitwarden is a free, open-source password manager to sa...
The host file is a simple text file on your computer th...
AnyDesk has become a popular choice for remote desktop ...