
How to Install Apache Zookeeper on Ubuntu
Apache ZooKeeper Ubuntu is an open-source server that e...


TYPO3 is a free and open-source content management system (CMS) that empowers users to create and manage complex websites with ease. As a robust and scalable platform, TYPO3 offers a wide range of features and tools to help users build and maintain dynamic websites, intranets, and web applications. With its flexibility and customizability, TYPO3 is an ideal choice for businesses, organizations, and individuals looking to establish a strong online presence.
By installing TYPO3 on Ubuntu 22.04, users can leverage the power of this popular CMS to create engaging and interactive websites. With TYPO3, users can manage content, create custom layouts, and extend the platform’s functionality with a vast array of extensions and plugins. Whether you’re a developer, designer, or content creator, TYPO3 on Ubuntu 22.04 offers a robust and reliable platform to bring your online vision to life.
In this guide, we will walk you through the step-by-step process to install TYPO3 on Ubuntu 22.04, ensuring a seamless and hassle-free experience.
For the TYPO3 Ubuntu 22.04 installation, we need to set up the necessary dependencies and configure the environment. In this section, we will cover the installation of Apache2, PHP, and MySQL, which are essential components for running TYPO3.
Apache2 is a popular web server software that serves as the foundation for TYPO3. It is necessary to install Apache2 because TYPO3 relies on it to handle HTTP requests and serve web pages. Apache2 acts as an intermediary between the client’s web browser and the TYPO3 application, allowing users to access and interact with the website.
To install Apache2, run the following command:
sudo apt install apache2
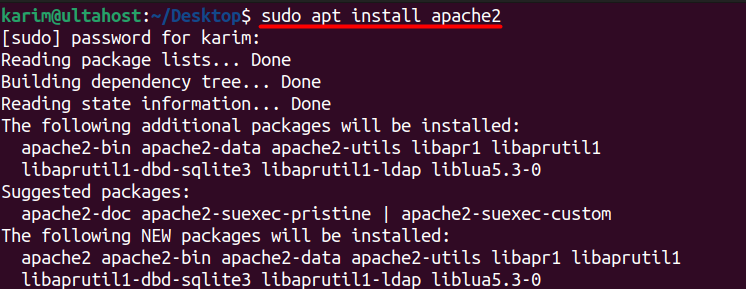
This command installs the Apache2 web server package and its dependencies.
To verify that Apache2 is running, use the following command:
sudo systemctl status apache2
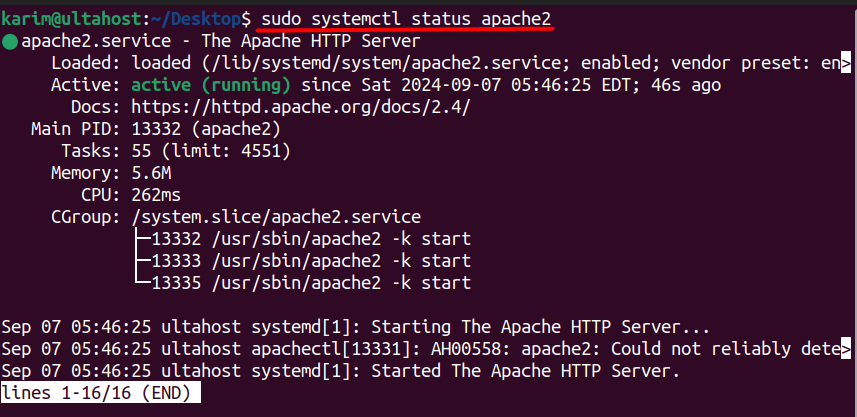
This command checks the status of the Apache2 service, indicating whether it is running, stopped, or failed.
To start Apache2 and enable it to start automatically on boot, run the following command:
sudo systemctl start apache2 && sudo systemctl enable apache2

This command starts the Apache2 service and enables it to start automatically on system boot. The `&&` operator ensures that the `systemctl enable` command only runs if the `systemctl start` command is successful.
PHP is a server-side scripting language that is essential for running TYPO3. TYPO3 is built using PHP, and it relies on the language to execute its core functionality. PHP is necessary to install because it allows TYPO3 to interact with the database, render templates, and perform other server-side tasks.
To install PHP and its dependencies, run the following command:
sudo apt install php libapache2-mod-php php-cli php-common php-gmp php-curl php-mysql php-json php-intl php-mbstring php-xmlrpc php-gd php-xml php-zip php-imap

This command installs the PHP package and its dependencies, including the Apache2 PHP module, PHP command-line interface, and various PHP extensions required by TYPO3.
To verify that PHP is installed correctly, run the following command:
php -v

This command displays the version of PHP installed on the system.
MySQL is a relational database management system that stores and manages data for TYPO3. MySQL is necessary to install because TYPO3 relies on it to store and retrieve data, such as user information, content, and configuration settings.
To install MySQL on Ubuntu, run the following command:
sudo apt install mysql-server
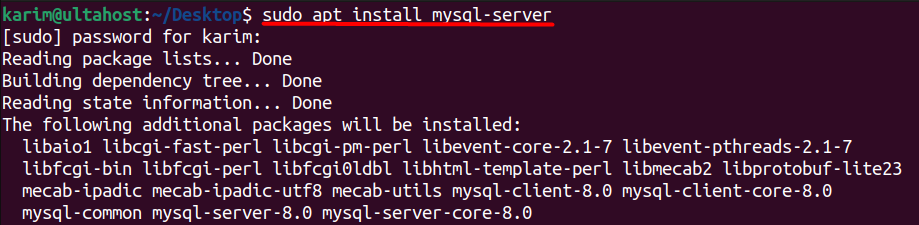
This command installs the MySQL server package and its dependencies.
To verify that MySQL is running, use the following command:
sudo systemctl status mysql

This command checks the status of the MySQL service, indicating whether it is running, stopped, or failed.
To enable MySQL to start automatically on boot, run the following command:
sudo systemctl enable mysql.service

This command enables the MySQL service to start automatically on system boot.
Install TYPO3 on Our Ubuntu 22.04 VPS!
Combine the reliability of the world’s leading Linux distribution with the flexibility of a VPS, and enjoy lightning-fast performance.
In this step, we will download the TYPO3 source code using the wget command. wget is a command-line utility used to download files from the internet. It is a popular tool for downloading files from web servers and is commonly used in Linux and Unix-like operating systems.
To download TYPO3 version 12, we will use the following command:
wget --content-disposition https://get.typo3.org/12.4.19
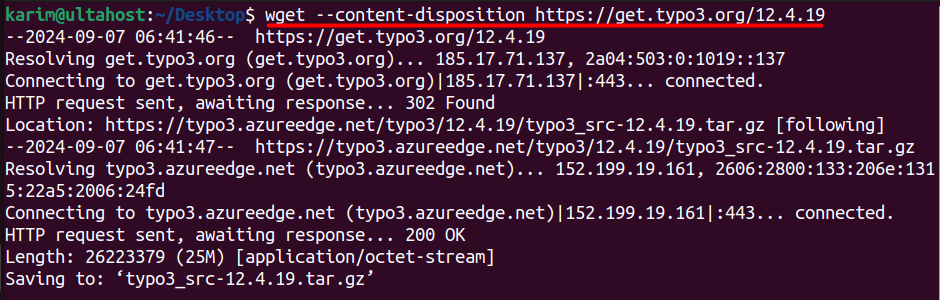
This command downloads the TYPO3 source code in a `.tar.gz` format, which is a compressed archive file. The `–content-disposition` option tells `wget` to use the filename suggested by the server, which in this case is `typo3_src-12.4.19.tar.gz`.
Once the download is complete, we need to extract the contents of the archive file. We will use the `tar` command to extract the files:
tar -xvzf typo3_src-12.4.19.tar.gz -C /var/www/html
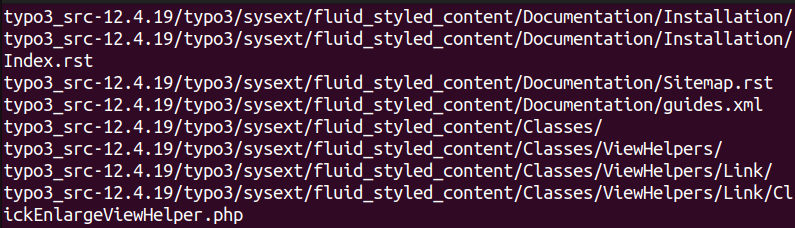
Let’s break down the options used in this command:
The path /var/www/html is the default document root directory for the Apache web server on Ubuntu. This directory is where we will extract the TYPO3 source code. By extracting the files to this directory, we will make the TYPO3 application accessible via the web server.
Now that we have extracted the TYPO3 source code to the `/var/www/html` directory, we can proceed with the installation of TYPO3 using the web interface.
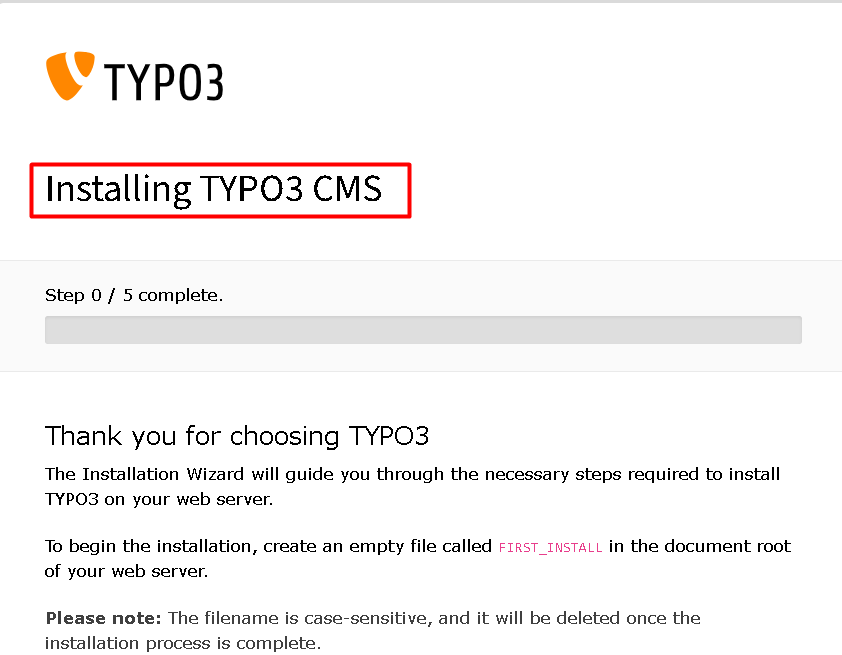
To access the TYPO3 installation wizard, open a web browser and navigate to `http://your_domain.com` (replace `your_domain.com` with your actual domain name or IP address). You will see the TYPO3 installation wizard, which will guide you through the installation process.
On the first screen, you will be prompted to enter your database username and password. Enter the credentials for the MySQL database we created earlier.
Click the Continue button to proceed. On the next screen, you will be asked to select the database to use for TYPO3. Select the option Use an existing empty database and choose the database `typo3db` from the dropdown list.
Database: Select typo3db from the dropdown list.
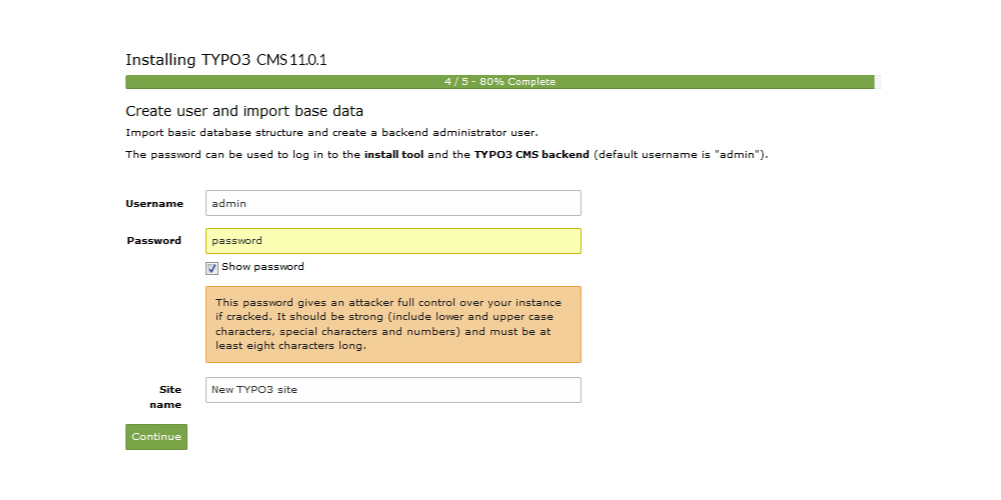
Click the Continue button to proceed. On the next screen, you will be prompted to create an admin user account for TYPO3. Enter the following details:
Click the Continue button to proceed. The TYPO3 CMS installation is now complete. Click the Open the TYPO3 Backend button to access the TYPO3 backend. You will be redirected to the TYPO3 login page. Enter the admin username and password you created earlier to log in to the TYPO3 backend.
Click the Login button to access the TYPO3 backend.
Congratulations!
Now, You will successfully install TYPO3 CMS on Ubuntu 22.04 server. You can now start exploring the TYPO3 backend and configuring your site.
In this article, we walked through the step-by-step process of TYPO3 setup on Ubuntu 22.04. We began by installing the necessary dependencies, including Apache2, PHP, and MySQL, which are essential for running TYPO3. We then downloaded the TYPO3 source code and extracted it to the /var/www/html directory. The installation process was completed using the TYPO3 web interface, where we configured the database, created an admin user account, and set up the site.
The installation process was straightforward, and with these steps, you should now have a fully functional TYPO3 CMS installed on your Ubuntu 22.04 server. With TYPO3, you can create and manage complex websites, intranets, and web applications with ease. We hope this guide has been helpful in getting you started with the TYPO3 Ubuntu 22.04 configuration.
We hope this guide has helped you to set up TYPO3 on Ubuntu 20.04. Installing TYPO3 on a Linux system is simple with the right hosting platform. Specifically, Ultahost’s fast VPS hosting is an ideal choice, offering fast loading times and the flexibility to upgrade resources as your requirements change. Discover the freedom and versatility of a VPS today!
TYPO3 is a robust and versatile open-source content management system (CMS) that is used for building and managing websites. It is known for its flexibility, scalability, and extensibility, making it suitable for a wide range of applications from small websites to large enterprise-level portals.
Open your web browser and navigate to http://yourdomain.com (or http://localhost if running locally). Follow the TYPO3 installation wizard.
Ensure that the web server user (usually www-data) has write permissions to necessary directories:
sudo chown -R www-data:www-data /var/www/html/typo3/typo3conf /var/www/html/typo3/typo3temp /var/www/html/typo3/fileadmin
Follow TYPO3’s security guidelines, such as keeping TYPO3 and all extensions up to date, securing file permissions, and configuring HTTPS for your site.
Extensions are plugins that add functionality to TYPO3. They can be used to enhance the CMS with features like e-commerce, SEO tools, and more. Extensions can be installed via the TYPO3 Extension Repository (TER) or manually.
Backup your TYPO3 installation and database. Download the new version of TYPO3 and extract it. Replace the existing TYPO3 files with the new version’s files. Run the TYPO3 upgrade wizard from the backend to apply database updates.