
How to Install Oracle Database on Ubuntu
The Oracle Database is a powerful relational database m...


Webmin is an open-source tool for Linux distributions that lets us manage servers with a web-based graphical user interface (GUI). It enables us to perform various system administration tasks through a browser. Regular users can monitor system resources, like CPU, memory, and disk usage. However, administrative tasks are typically limited to users with sudo privileges. Moreover, with Webmin, you can update software packages, manage files via the File Manager, and access a terminal shell for direct command-line operations, all from the same interface.
In this tutorial, we’ll demonstrate how to install, configure, and use a Webmin server on Ubuntu.
You can easily install Webmin Ubuntu Server by appropriately following the below-given steps:
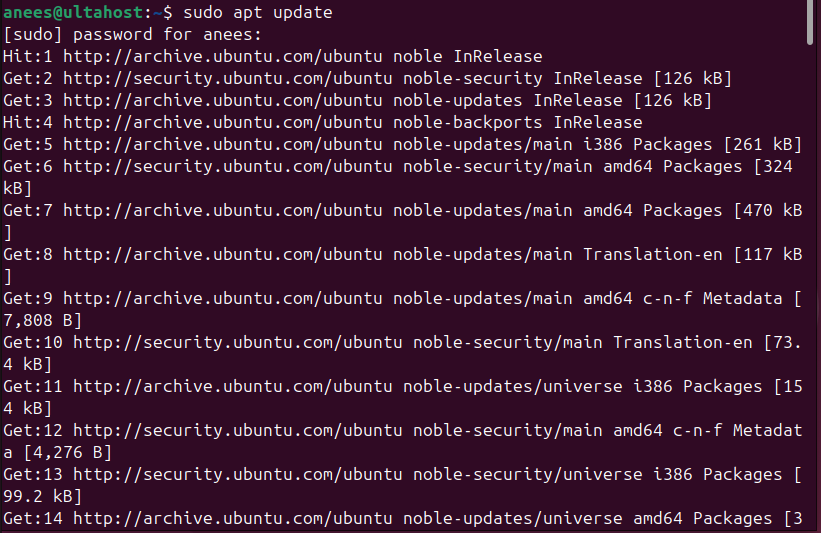
First, check Ubuntu version and update the system package list to make sure you get the latest versions of available software:
sudo apt update
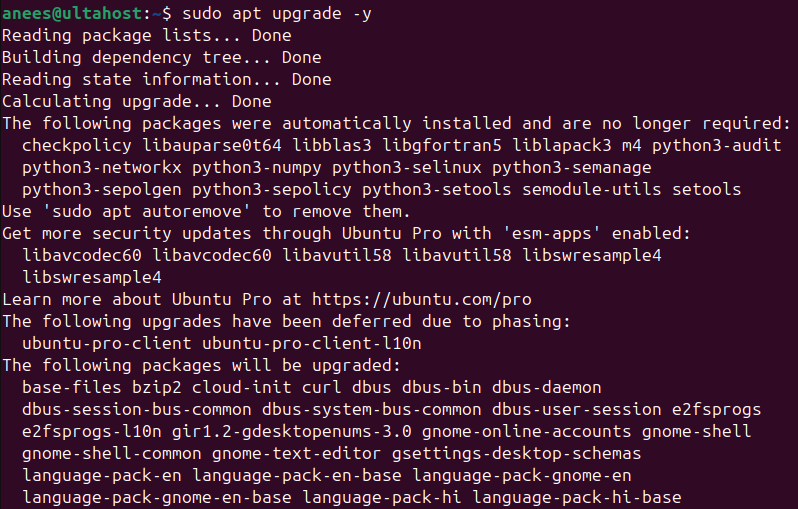
Now upgrade the upgradable packages using the below-mentioned command:
sudo apt upgrade -y
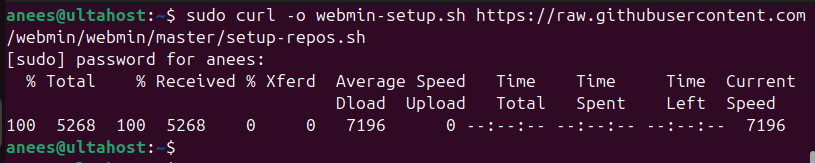
After updating the system packages, run the following command to download the Webmin repository script from the official Webmin website:
sudo curl -o webmin-setup.sh https://raw.githubusercontent.com/webmin/webmin/master/setup-repos.sh
Now run the following command to execute the downloaded Webmin repository script using bash:
sudo bash setup-repos.sh
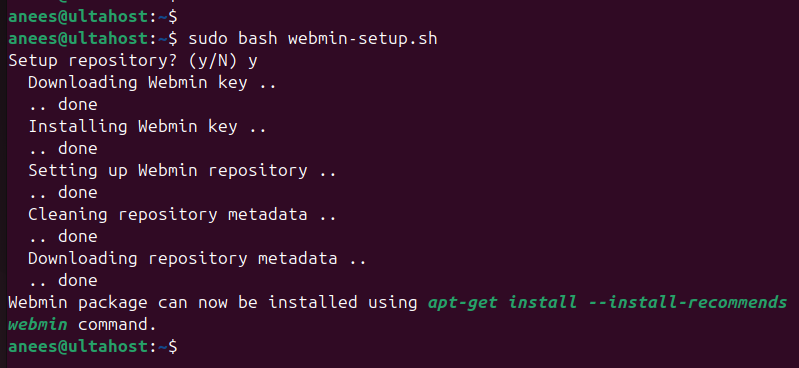
The output confirms that we’re now all set to install Webmin.
Let’s use the below-given command to install the Webmin Ubuntu server using the default apt package:
sudo apt install webmin -y
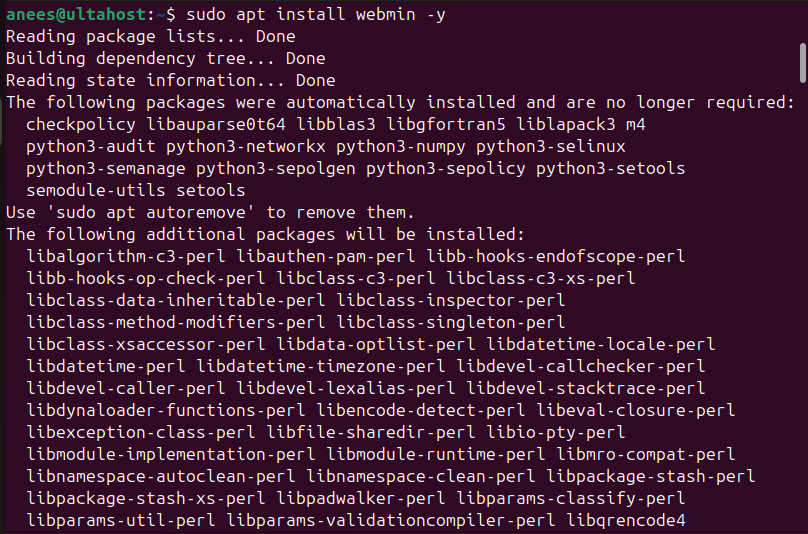
It will take some time to install the Webmin server on your system.
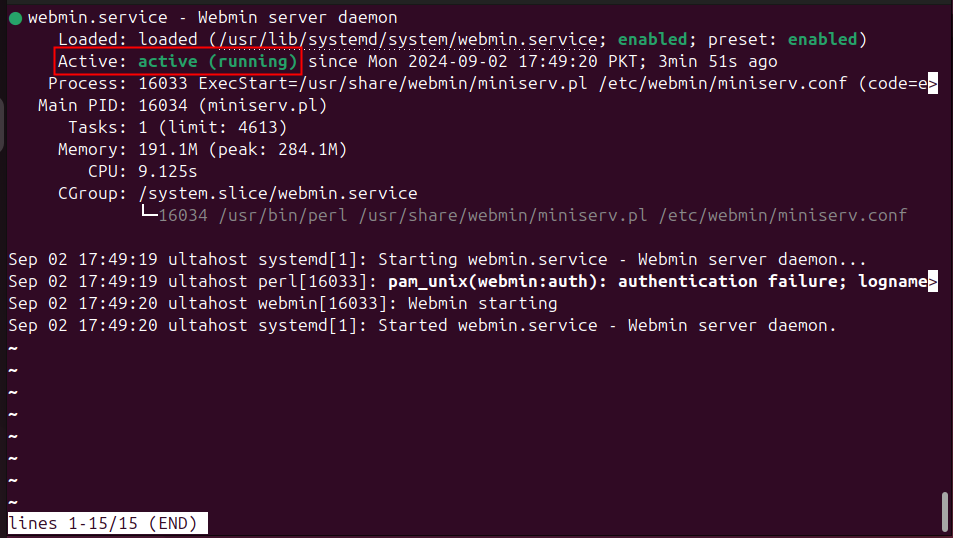
After installing Webmin on your system, you can confirm its installation by checking its status. For this purpose, use the systemctl command as follows:
sudo systemctl status webmin
The output confirms the successful installation of the Webmin server on our system:
Alternatively, we can run the below-provided command to verify the Webmin installation:
dpkg -l | grep webmin
The output shows that we are using Webmin “2.202” on our system:

We can access the Webmin Server through the default server port 10000 using HTTP. However, this means the connection between our server and browser is not encrypted.
Therefore, we can change the default port and use HTTPS to improve security for encrypted connections.
Start Managing Your Ubuntu Server with Webmin!
If you haven’t installed Webmin yet, Ultahost offers a Fast and Affordable Ubuntu Server with high availability and performance, ideal for Webmin.
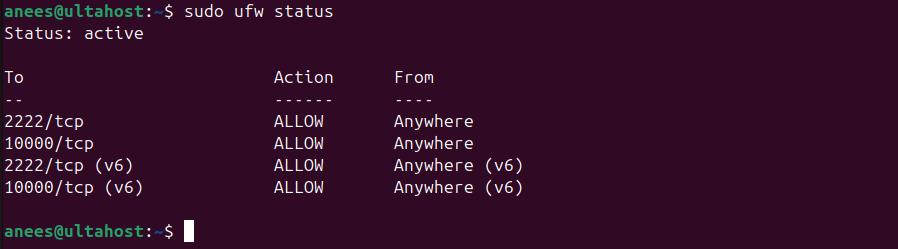
The steps below will show you how to configure firewall rules for Webmin servers to improve security, control access, manage network traffic, etc.
Let’s run the following command to allow traffic on port 10000 for the Webmin server:
sudo ufw allow 10000/tcp
This way, you can add the UFW rules for Webmin:

To apply the changes, reload the firewall by running the following command:
sudo ufw reload

Finally, run the following command to confirm that the firewall rule for the Webmin port has been applied:
sudo ufw status
Read also How to Restart Ubuntu From the Terminal.
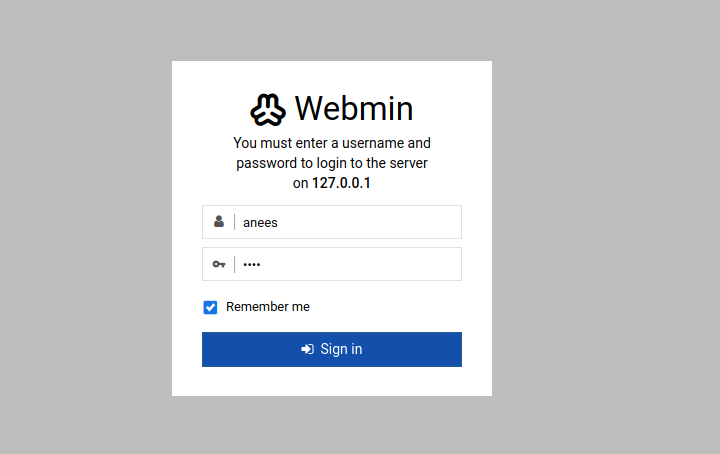
After installing and configuring the Webmin server, we can access it on port 10000. For this purpose, open an internet browser, and specify your server’s IP followed by port 10000 in the web address, like this:
http://your-server-ip:10000
Replace “your-server-ip” with the IP address of your local or remote server. After this, specify the username and password and then hit the sign-in button to access the Webmin server on Ubuntu:
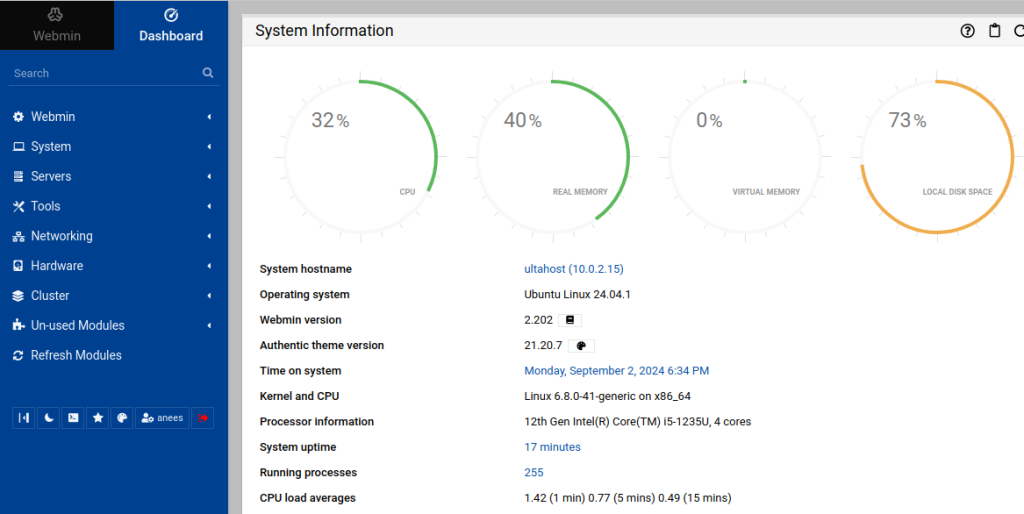
As a result, you’ll be directed to the Webmin dashboard, where you can view details such as CPU usage, memory usage, disk space, running processes, and system statistics:
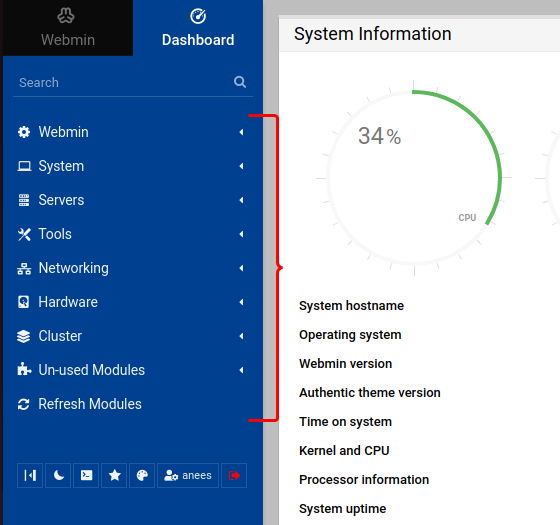
Moreover, you can navigate to the main navigation menu and perform different tasks like updating software packages, managing files, and opening a terminal shell for direct command-line access, etc:
Webmin provides a user-friendly web-based interface for managing Linux servers. With Webmin, you can monitor system resources, update software, and manage files all from one platform. In this article, we illustrated the installation, configuration, and usage of Webmin on Ubuntu 24.04. Moreover, we demonstrated everything from the initial setup to accessing the Webmin dashboard for system management.
We hope this guide has helped you install Webmin on Ubuntu 24.04. Installing Webmin on a Linux system is simple with the right hosting platform. Specifically, Ultahost’s VPS hosting is an ideal choice, offering fast loading times and the flexibility to upgrade resources as your requirements change. Discover the freedom and versatility of a VPS today!
Webmin is an open-source tool for Linux systems that allows server management through a web-based graphical user interface (GUI). It enables tasks such as monitoring system resources, updating software, managing files, accessing a terminal shell, etc.
Update and upgrade your system packages, download the Webmin repository script, run the script to set up the repository, install Webmin using apt, and verify the installation with systemctl or dpkg.
Allow traffic on port 10000 using ufw, reload the firewall to apply the changes, and verify the firewall status to ensure the rule is in effect.
Open a web browser, navigate to http://your-server-ip:10000, and log in using your credentials to access the Webmin dashboard.
By default, Webmin uses HTTP on port 10000, which is not encrypted. To enhance security, change the default port and use HTTPS.
Make sure that Webmin is active and running by checking its status with systemctl. Also, verify that port 10000 is allowed in your firewall settings and that there are no network issues preventing access.
You can monitor system resources, update software packages, manage files using the File Manager, and open a terminal shell for direct command-line operations.