How to Install Ansible on Ubuntu
Ansible, an open-source automation tool, simplifies inf...
WordPress is a popular content management system (CMS) used by millions of websites worldwide. WP-CLI is a powerful command-line tool designed to manage WordPress installations efficiently. It allows users to perform various administrative tasks without having to navigate through the WordPress dashboard.
WP-CLI is a powerful tool that can significantly improve your WordPress workflow. In this article, we will explore how to install and use WP-CLI on an Ubuntu system.
Before we begin, ensure that you have the following:
sudo privileges.Following the steps described below on how to install WP-CLI on Ubuntu operating system:
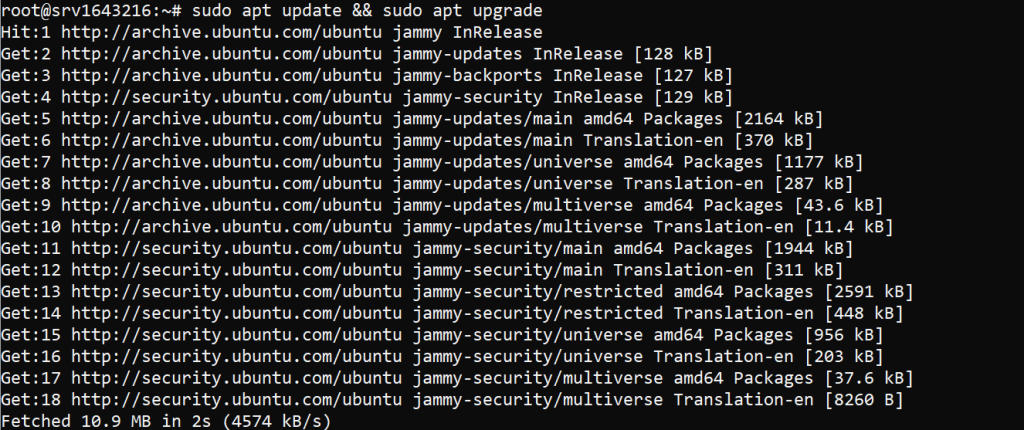
First, it is essential to update your system packages to their latest versions. Open your terminal and run the following commands:
sudo apt update && sudo apt upgrade

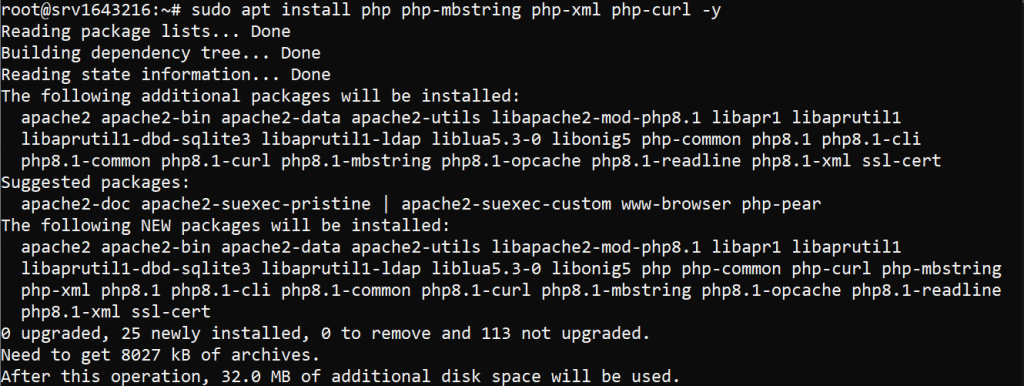
WP-CLI requires PHP to run. You need to install PHP and some additional extensions. Use the following command to install them:
sudo apt install php php-mbstring php-xml php-curl -y

Next, download the WP-CLI Phar file. Phar is an archive format for PHP that allows you to distribute a complete PHP application in a single file. Run the following commands to download WP-CLI:
curl -O https://raw.githubusercontent.com/wp-cli/builds/gh-pages/phar/wp-cli.phar

After downloading WP-CLI, you need to make the file executable. Use the following command:
chmod +x wp-cli.phar
To make WP-CLI globally accessible, move the wp-cli.phar file to a directory that’s in your system’s PATH. Typically, /usr/local/bin is a good choice:
sudo mv wp-cli.phar /usr/local/bin/wp
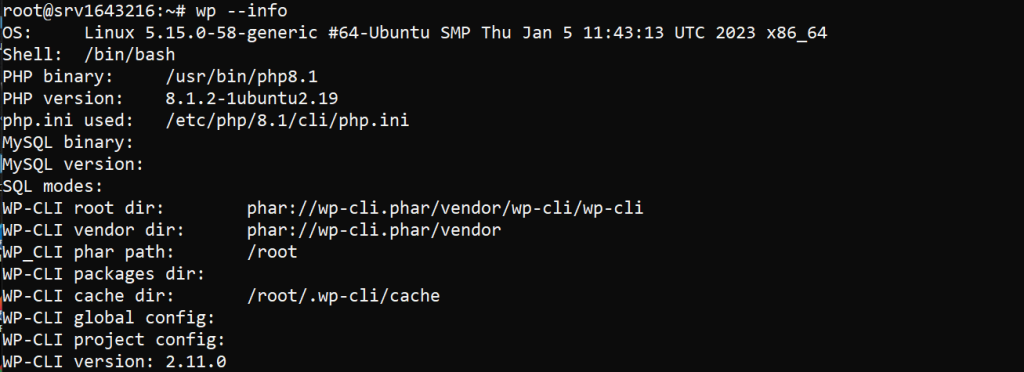
To ensure that WP-CLI is correctly installed, run the following command:
wp --info

You should see an output displaying the version of WP-CLI and other relevant information.
Unleash the power of Scalable WordPress Hosting
Increase the speed of your WordPress website with Ultahost’s scalable WordPress hosting and provide your visitors with the best possible faster page-loading experience.
Now that WP-CLI is installed, let’s explore some common tasks you can perform with it.
To download the latest version of WordPress, navigate to the directory where you want to install WordPress and run:
wp core download

After downloading WordPress, you need to generate the wp-config.php file. Provide database credentials and other necessary information using the following command:
wp config create --dbname=your_database_name --dbuser=your_database_user --dbpass=your_database_password --dbhost=localhost --dbprefix=wp_
Once the configuration is complete, you can install WordPress using the following command:
wp core install --url="your_domain" --title="Your Site Title" --admin_user="admin_username" --admin_password="admin_password" --admin_email="[email protected]"
Keeping WordPress updated is important for security measures and performance. You can update WordPress core, plugins, and themes using WP-CLI. To update the WordPress core, run:
wp core update
To update plugins, use:
wp plugin update --all
And to update themes, run:
wp theme update --all
WP-CLI makes it easy to manage plugins. Here are some common commands:
To install a plugin:
wp plugin install plugin_slug --activate
To deactivate a plugin:
wp plugin deactivate plugin_slug
To delete a plugin:
wp plugin delete plugin_slug
Similarly, you can manage themes using WP-CLI. Here are some useful commands:
To install a theme:
wp theme install theme_slug --activate
To deactivate the current theme and activate another theme:
wp theme activate theme_slug
To delete a theme:
wp theme delete theme_slug
WP-CLI provides several commands to interact with the WordPress database. Here are a few examples:
To export the database:
wp db export
To import a database:
wp db import filename.sql
To perform database queries:
wp db query "SELECT * FROM wp_posts LIMIT 10;"
Following are some important notes while using WP-CLI on the Ubuntu operating system:
WP-CLI is an indispensable tool for WordPress administrators and developers. It streamlines many administrative tasks, saving time and effort. By following this guide, you should now have a solid understanding of how to install and use WP-CLI on Ubuntu. Whether you are managing a single site or a multisite network, WP-CLI will make your workflow more efficient and effective.
Discover a seamless cheap Ubuntu VPS that helps to install WordPress where reliability converges with security. Ultahost ensures efficient server management and dedicates resources to guarantee optimal speed and stability. Elevate your online presence with us.
WP-CLI is a command-line tool to manage WordPress sites without using a web browser.
Download the WP-CLI file using curl, make it executable, and move it to a directory in your system’s PATH.
You need PHP 7.4 or higher and WordPress installed on your server.
Run wp –info in your terminal to check the WP-CLI version and configuration.
Yes, you can install, update, activate, and deactivate plugins using WP-CLI commands.
Yes, it’s safe if you follow best practices, such as keeping backups and using secure connections.
Yes, you can update WordPress core files with a simple command like wp core update.