
How to List Installed Packages on Ubuntu 22.0...
Listing installed packages on operating systems, such a...


Zsh is a Unix shell that qualifies as an interactive login shell and as a scripting language interpreter. Zsh is built on the Bourne shell and incorporates features from other shells like Bash, ksh, and tcsh, making Zsh a versatile tool to use for anyone who uses the command line frequently.
The Zsh shell is also popular with Linux users because it has autocompletion optimal capabilities, supports a wide variety of plugin systems, and has customizable prompts. It is often preferred over Bash because of the overall usability experience Zsh provides using the shell, and other features that enhance developer productivity tools. For users looking to get started, the Ubuntu install Zsh process is quick and integrates well with existing terminal setups.
Ubuntu is one of the most deployed Linux distributions because of its stability, community support, and developer environment and is often selected by developers who use Linux for their day-to-day work environment. Thus, Ubuntu is a favorable choice for a shell to customize. In this article, we will show you how to install Zsh on Ubuntu, set Zsh as the default shell, and add features offered by a framework like Oh My Zsh.
The Zsh or Z shell offers more ease of use than Bash scripting. It has smarter autocompletion that will autocomplete not just commands, but also file paths, and options and it will autocomplete the command with fewer keystrokes with its built-in spelling correction. It also allows command history to persist between sessions, extended pattern matching to match particular files as you type, and themes to customized your command prompt along with the ability to use plugins for adding abilities like syntax highlighting, command autosuggestions, and version control integration, to name a few.
With all of these advancements, Zsh has become more and more popular in development environments since it is easy to use and doesn’t require you to learn a new scripting language, but rather keeps the capabilities already found in the command line and enhances it with the natural interaction of a command line with speed and control that is extremely helpful to a developer who uses the terminal for long periods of time. Zsh promotes compatibility with Bash while modernizing and facilitating your own CLI experience.
Boost Terminal Productivity with Ubuntu VPS!
Customize your shell, speed up command workflows, and enjoy smoother scripting with UltaHost’s Ubuntu VPS. Get fast access, full control, and the perfect setup for running Zsh, Oh My Zsh, and all your favorite plugins with zero lag and full stability!
The Zsh install process on Ubuntu involves just a few terminal commands and completes within minutes. Follow these steps to set up Zsh and prepare it for daily use.
Before installing any software, make sure your system’s package index is up to date. This ensures the latest version of Zsh is available from the official Ubuntu repositories:
sudo apt update

This command fetches the latest package lists from configured sources.
Once the package list is updated, run the following command to install Zsh:
sudo apt install zsh -y
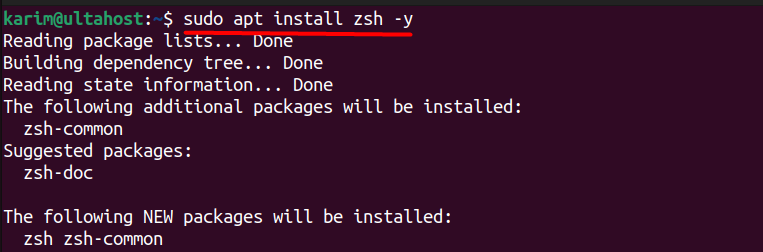
To install Zsh Ubuntu users can run this command, which pulls the required packages from official repositories. This command downloads and installs Zsh along with its dependencies.
After installation completes, you can check if Zsh is installed correctly by verifying its version:
zsh --version

This will display the installed version of the Zsh shell, confirming that the process was successful.
To use Zsh automatically every time you open a terminal, set it as your default shell using this command:
chsh -s $(which zsh)

The chsh command changes your login shell to Zsh for the current user.
For the changes to take effect, log out of your session and log back in. Once you open a new terminal, Zsh will launch instead of Bash.
This completes the installation. You now have Zsh running as your default shell on Ubuntu, ready for customization and plugins.
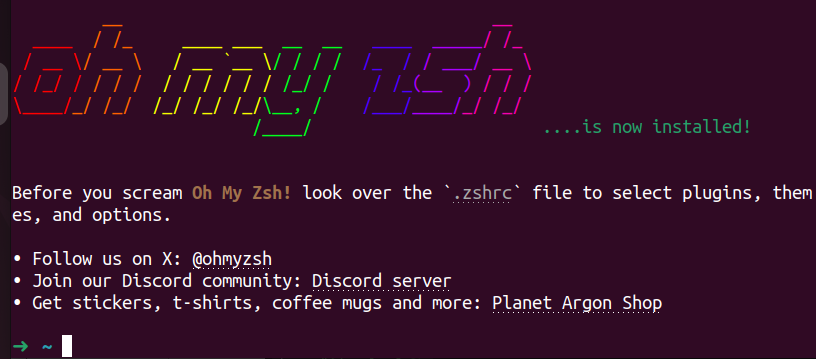
Zsh becomes more powerful when combined with a configuration framework like Oh My Zsh. This tool simplifies customization and adds features that improve the terminal experience.
Oh My Zsh is a community-maintained framework that manages your Zsh configuration. It includes a set of plugins, themes, and default settings designed to enhance usability. It helps users get more out of the Zsh shell without manual setup.
You can install Oh My Zsh using a single command in the terminal. This script downloads and configures the framework automatically:
sh -c "$(curl -fsSL https://raw.githubusercontent.com/ohmyzsh/ohmyzsh/master/tools/install.sh)"
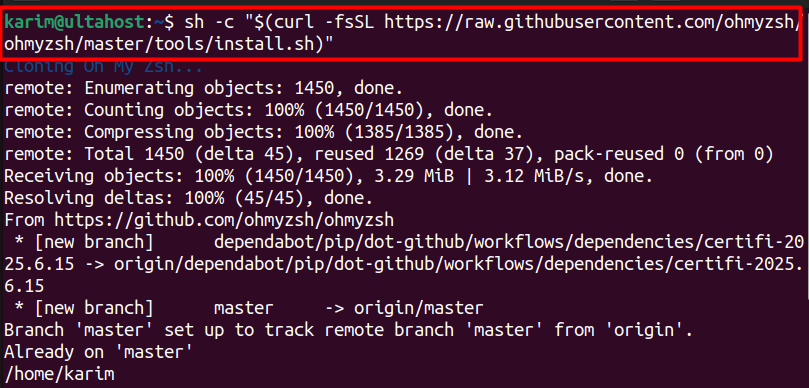
The Ubuntu install Oh My Zsh method uses a simple curl command to fetch and apply the configuration script. This file controls how Zsh behaves and looks:
Oh My Zsh supports a wide range of themes and plugins. Here are a few popular choices:
These plugins help improve productivity and provide a better user interface in the terminal. You can enable or disable them by editing the .zshrc file.
Using Oh My Zsh with Ubuntu gives you access to advanced customization tools, a wide plugin ecosystem, and an active support community.
Zsh allows full control over how your terminal looks and functions. Most settings are stored in the .zshrc file, which is created in your home directory after installing Zsh or Oh My Zsh.
To start customizing, open the configuration file:
nano ~/.zshrc
You can change the theme by editing the line that starts with ZSH_THEME=, for example:
ZSH_THEME="powerlevel10k/powerlevel10k"
This updates the terminal prompt to a new style. You can explore other themes in the Oh My Zsh theme directory.
Aliases let you create shortcuts for long commands. Add lines like this to your .zshrc:
alias ll='ls -lah'
alias gs='git status'
After making changes, apply them by running:
source ~/.zshrc
With a few edits, you can use the Zsh configuration file to create a faster, cleaner, and more efficient command-line setup on Ubuntu.
Read Also How to Set Environment Variables in Zsh
Some users may encounter problems when setting up or using Zsh on Ubuntu. The fixes below address the most common cases.
If the terminal still opens with Bash, check the current shell:
echo $SHELL
If the output is not /usr/bin/zsh, it means Zsh is not set as the default shell. To fix this, run:
chsh -s $(which zsh)
Then log out and log back in.
This error appears when the user lacks permission to change the shell. You can resolve it by using:
sudo chsh -s $(which zsh) your_username
Replace your_username with your actual Ubuntu username.
If the Oh My Zsh script fails to run, make sure curl is installed:
sudo apt install curl
Also, ensure your internet connection is active, as the script fetches files from an external source.
These quick fixes solve the most common issues when installing or configuring Zsh on Ubuntu.
Zsh is a powerful alternative to Bash, offering advanced features like smarter autocompletion, shared command history, and customizable prompts. Built on top of the Bourne shell, it includes improvements from other popular shells, making it suitable for both casual users and developers. Ubuntu, being one of the most used Linux distributions, provides a stable environment for installing and running Zsh.
This guide explained how to install Zsh on Ubuntu, set it as the default shell, and extend its functionality using Oh My Zsh. It also covered how to customize the terminal experience through the .zshrc configuration file and apply useful themes and plugins. With this setup, users can achieve a more efficient, user-friendly terminal. For those who work heavily in the command line, switching to Zsh on Ubuntu offers clear productivity benefits without changing your workflow.
Using Zsh on Ubuntu is all about speed, flexibility, and control. UltaHost gives you that environment with its high-performance Linux VPS. Run Zsh with full plugin support, customize your shell experience, and work faster in the terminal. Start with a free trial and deploy instantly from 20+ global locations.
Zsh is a Unix shell used for running commands, writing scripts, and managing system tasks through the terminal. It improves on Bash with extra features like advanced autocompletion and plugin support.
Run zsh –version in the terminal. If Zsh is installed, it will show the version number.
Use the command chsh -s $(which bash) to set Bash as your default shell. Then log out and log back in.
No, Oh My Zsh is optional. It adds themes and plugins but Zsh works fine without it.
Yes, you can switch between them anytime by typing bash or zsh in the terminal.
No, Zsh runs efficiently like other shells. It may use slightly more memory with plugins but has no noticeable impact on system speed.
The main configuration file is .zshrc, located in your home directory (~/.zshrc). You can edit it to change themes, aliases, and settings.