Exploring the installation process of MongoDB...
MongoDB, a well-known NoSQL database, has a comprehensi...
Migrating your WordPress site from a local development environment to a live Ubuntu server can be a difficult task especially for beginners. However, with a clear understanding of the steps involved and the necessary tools the process can be streamlined.
In this article, we will cover you through the entire migration process from preparing your local site to configuring your Ubuntu server and finally launching your live website.
Before we migrate WordPress localhost Ubuntu ensure you have the following:
Migrating a WordPress site from a localhost environment to a live Ubuntu server is an essential step for taking your website live.
Before making any changes ensure you have a complete backup of your WordPress site which includes:
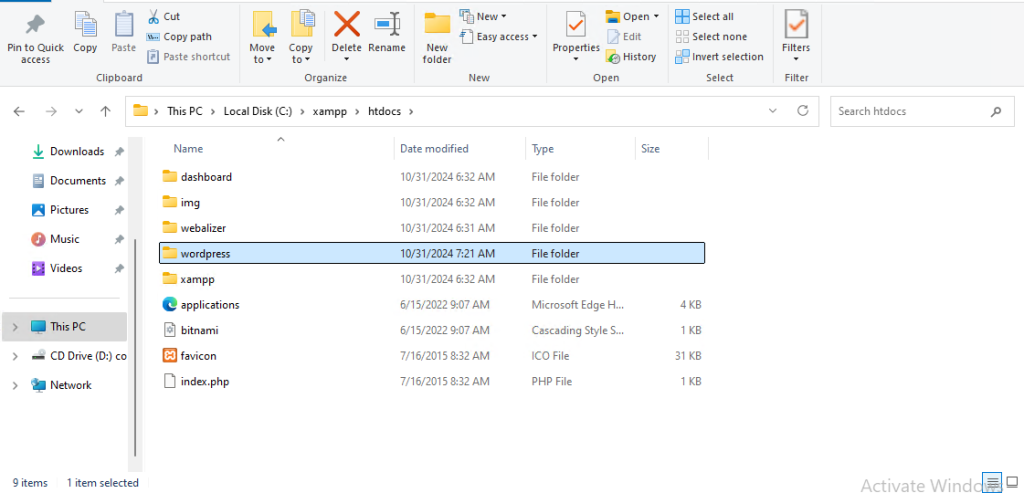
This article assumes that you have installed WordPress locally on your Windows system. To set up WordPress locally you need to install XAMPP on Windows system. Navigate the XAMPP directory then the htdocs folder. Inside the folder your WordPress directory is present, copy the WordPress directory and save it on your desktop.

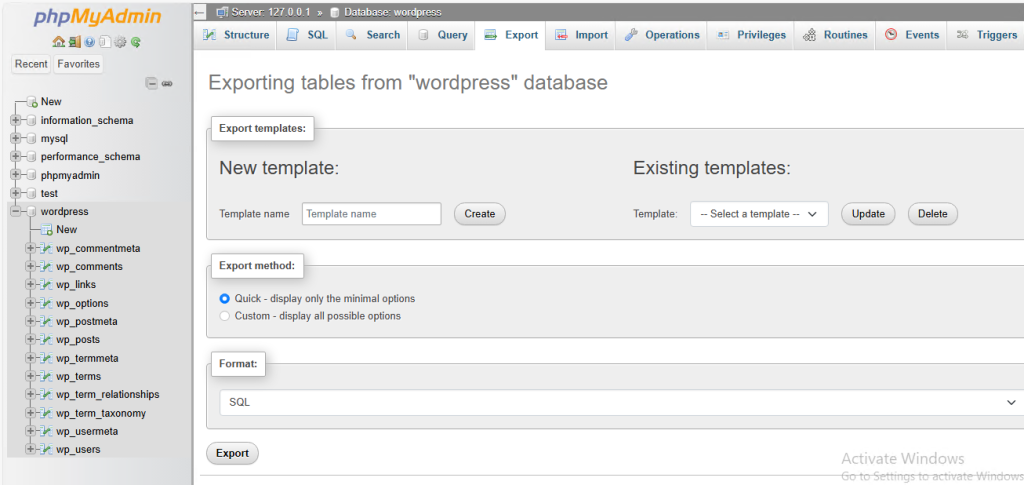
To back up the WordPress database, navigate to your browser and type in the search bar localhost/phpmyadmin You can use the phpMyAdmin interface to export your localhost WordPress database. Select your database then click on the “Export” button.

Choose “Quick Export” and “SQL format”. Download the .SQL file and save it on your desktop.
Now create a wordpress_transfer folder and paste the WordPress folder and .SQL file inside the folder. Compress the folder like wordpress_transfer.zip.

After taking a complete WordPress backup, log in to your Ubuntu server with the provided SSH credentials.
Before proceeding to install WordPress localhost Ubuntu, update your Ubuntu system to ensure that all packages are up to date and compatible with the latest software versions. Execute the following command to update and upgrade your system:
sudo apt update && sudo apt upgrade

Apache is one of the most popular web servers used to serve web content. It’s reliable and flexible, making it an excellent choice for hosting a WordPress site. To install Apache on Ubuntu, run the following command:
sudo apt install apache2

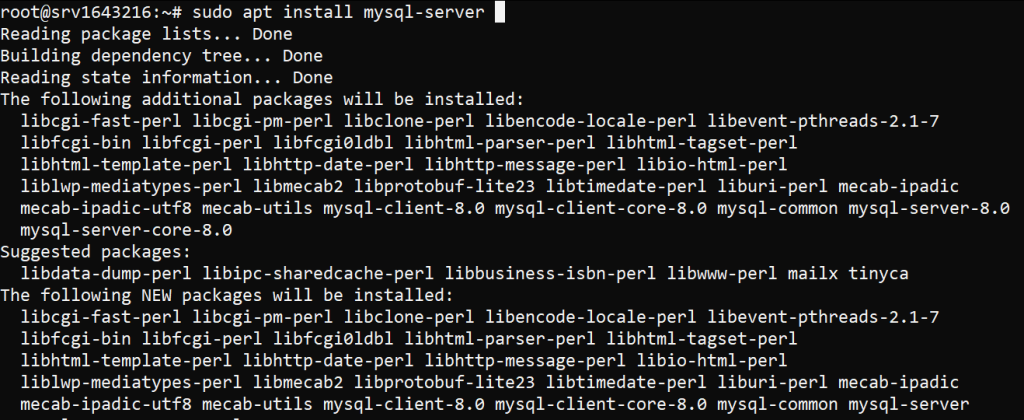
MySQL is a powerful relational database management system that stores and retrieves your website’s data efficiently. WordPress relies on MySQL to manage its database operations. To install MySQL on Ubuntu, type the following command:
sudo apt install mysql-server

PHP is the scripting language that WordPress is written in. By installing PHP and the necessary modules, you enable your server to process PHP scripts and interact with the MySQL database. You can type the following command:
sudo apt install php libapache2-mod-php php-mysql

To recreate your local database on the server you need to set up a new database and user with the required permissions:
Login to MySQL with the following command:
sudo mysql -u root -p

Create a database by typing the following syntax:
CREATE DATABASE your_database_name;

Create a User and Grant Permissions:
CREATE USER 'your_username'@'localhost' IDENTIFIED BY 'your_password';
GRANT ALL PRIVILEGES ON your_database_name.* TO 'your_username'@'localhost';
FLUSH PRIVILEGES;
Creating a dedicated database and user ensures that your WordPress site has a secure and isolated environment to operate in. Granting the necessary permissions allows WordPress to interact with the database without unnecessary privileges.
Unleash the power of Enterprise WordPress Hosting
Increase the speed of your WordPress website with Ultahost’s scalable WordPress hosting and provide your visitors with the best possible faster page-loading experience.
Transferring your WordPress files from localhost to the server involves uploading and extracting them:
As above discussed we created a WordPress_transfer.zip file. Transfer the file with the SCP command:
scp wordpress_transfer.zip username@your_server_ip:/var/www/html

This command will upload the archive to /var/www/html directory on your Ubuntu Server.

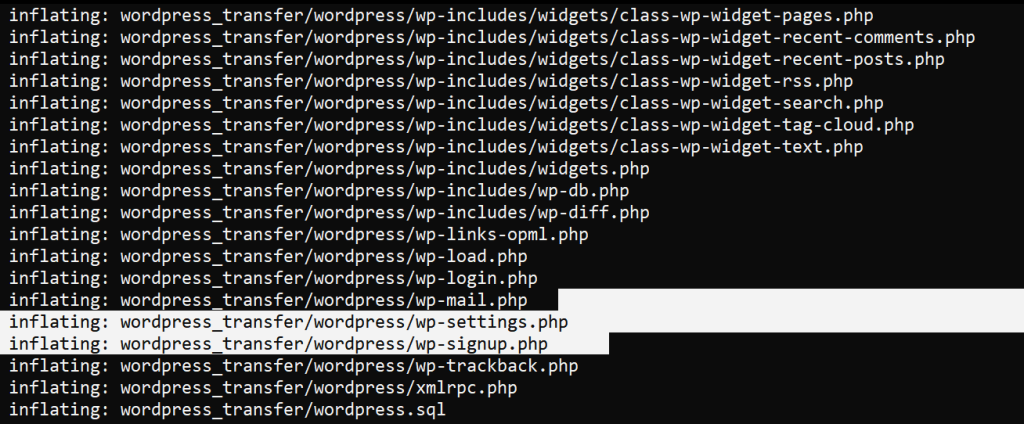
After transferring extract the files on your server with the following command:
uzip wordpress_transfer.zip -C /var/www/html

Compressing the files into an archive makes the upload process faster and more efficient. Extracting them on the server puts them in the right place for your web server to access.
The wp-config.php file contains the configuration details needed for WordPress to connect to the database and work correctly:
Open wp-config.php in a text editor with the following command:
sudo nano /var/www/html/wordpress/wp-config.php
Update the database credentials:
define('DB_NAME', 'your_database_name');
define('DB_USER', 'your_username');
define('DB_PASSWORD', 'your_password');
define('DB_HOST', 'localhost');

Updating these details ensures WordPress can connect to the database you set up on the server making the transition seamless.
Ensuring all files and directories have the correct permissions is vital for security and functionality:
sudo chown -R www-data:www-data /var/www/html/wordpress
sudo find /var/www/html/wordpress -type d -exec chmod 755 {} \; && sudo find /var/www/html/wordpress -type f -exec chmod 644 {} \;
Now, you need to import the SQL file into the newly created database. Execute the following command to import the database.
mysql -u your_username -p wordpress < /path/to/database.sql

This step inserts all the data and structure from your local database into the server’s database, making sure your site’s content and configuration are replicated exactly.
For Apache web servers, we need to create the virtual host. Execute the following command to create a new virtual host in your server.
sudo nano /etc/apache2/sites-available/example.conf
Change the following content in the file. Do not forget to replace the example data with the actual data depending on your site.
<VirtualHost *:80>
    ServerAdmin [email protected]
    ServerName ultahosttest.com
    ServerAlias www.ultahosttest.com
    DocumentRoot /var/www/wordpress
    ErrorLog /var/log/apache2/example-error.log
    CustomLog /var/log/apache2/example-access.log combined
</VirtualHost>
Save the virtual host file. Then, execute the following command to enable the virtual hosts:
sudo service apache2 restart
It is important to note that your domain name points to the DNS of your Ubuntu server. Access your site via the server’s IP address or domain name to ensure everything works correctly.
Migrating a WordPress site from a localhost environment to an Ubuntu server requires a multi-step process. By following this comprehensive guide you ensure that all aspects of the migration are covered from preparing backups to configuring the server and finalizing the site settings.
Discover a seamless Ubuntu server that helps to install WordPress where reliability converges with security. Ultahost ensures efficient server management and dedicates resources to guarantee optimal speed and stability. Elevate your online presence with us.
Migrating moves your site from your computer (localhost) to an online server.
Hosting on an Ubuntu server lets others access your website online.
You’ll need access to the Ubuntu server the WordPress files, and your database.
Export the database from localhost then import it into the Ubuntu server’s database.
Yes, your content stays the same when done correctly.
Yes, FTP software can help you transfer files from your computer to the server.
Yes, update the WordPress URL settings to match the Ubuntu server address.