
How to Install Logwatch on Ubuntu
As a Ubuntu user, managing system logs can be a dauntin...


The ELK Stack, comprising Elasticsearch, Logstash, and Kibana, is a powerful suite of tools for managing, searching, and visualizing large volumes of data in real-time. Users commonly use it for log analysis, application monitoring, and operational intelligence use cases.
When Elasticsearch, Logstash, and Kibana (ELK) are used together, they enable organizations to monitor systems, analyze logs, and gain insights in real-time. In this tutorial, we will guide you on how to install the ELK Stack on Ubuntu 24.04.
Elasticsearch is the core of the ELK Stack, handling data storage and search capabilities. Installing the ELK Stack on Ubuntu involves several steps, each crucial for ensuring a successful setup. Here, it is important to note that you don’t need to install Java on Ubuntu first because the latest Elastic versions come with OpenJDK included. However, if you want to use a different version or already have Java installed, make sure it works with Elastic by checking the compatibility matrix.
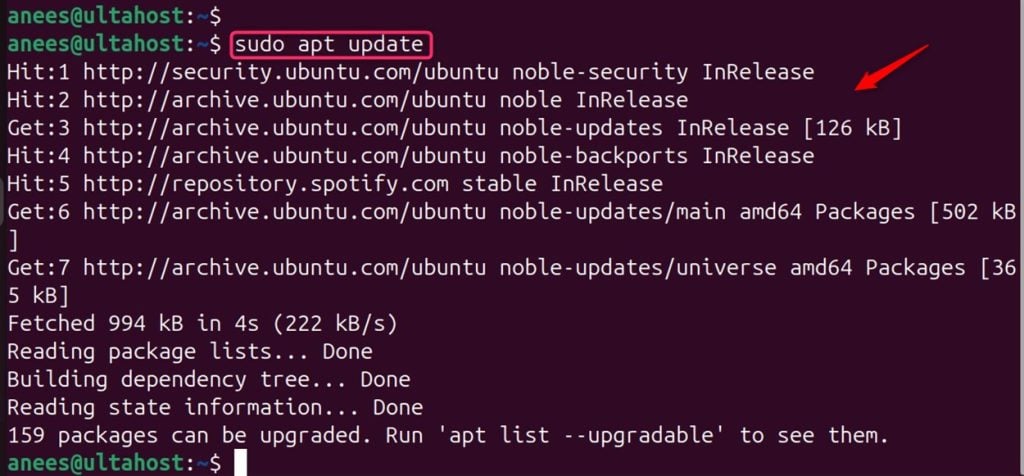
The first step is to install Elasticsearch, which serves as the heart of the ELK Stack, storing all the data and providing search capabilities. To do this, first, update your system’s package index using the following apt command:
sudo apt update
Import the Elasticsearch GPG Key
Before installing Elasticsearch, first, you need to import the GPG keys of Elasticsearch using the command below:
wget -qO - https://artifacts.elastic.co/GPG-KEY-elasticsearch | sudo gpg --dearmor -o /usr/share/keyrings/elasticsearch-keyring.gpg

Add the Elasticsearch Repository
After importing the GPG keys of Elasticsearch, add the Elasticsearch repository URL to the system repository list:
echo "deb [signed-by=/usr/share/keyrings/elasticsearch-keyring.gpg] https://artifacts.elastic.co/packages/8.x/apt stable main" | sudo tee /etc/apt/sources.list.d/elastic-8.x.list

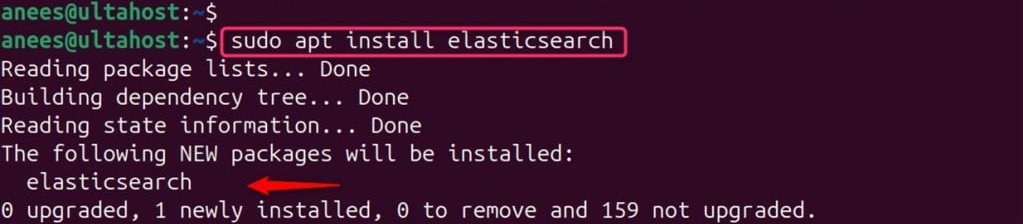
Install Elasticsearch
After adding the Elasticsearch repository, you can install the Elasticsearch package using the apt as below:
sudo apt install elasticsearch
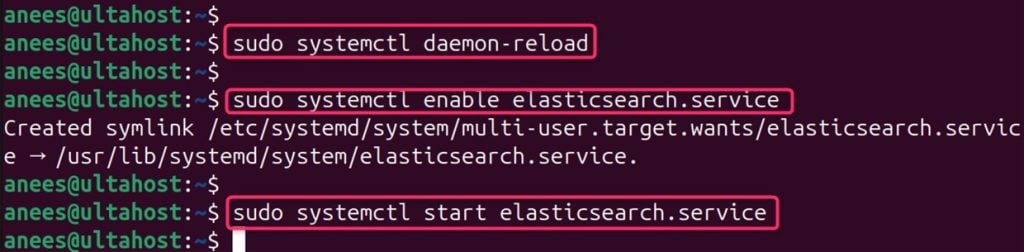
Enable and Start the Elasticsearch Service
After completing the installation, reload the system:
sudo systemctl daemon-reload
Then, enable the Elasticsearch services:
sudo systemctl enable elasticsearch.service
Now you are all set to start the Elasticsearch services:
sudo systemctl start elasticsearch.service
After configuring Elasticsearch, the focus shifts to Logstash, the data processing component that collects, filters, and forwards data to Elasticsearch.
Install Logstash Using apt
Logstash processes data before it’s sent to Elasticsearch. Let’s install Logstash via apt:
sudo apt install logstash

Start and enable the Logstash service
After installation, the Logstash services need to be started via the systemctl command:
sudo systemctl start logstash.service
After starting the Logstash service, run the following command to enable Logstash:
sudo systemctl enable logstash.service

Kibana, the visualization layer, is then installed, allowing for the creation of dashboards and visualizations of the data stored in Elasticsearch.
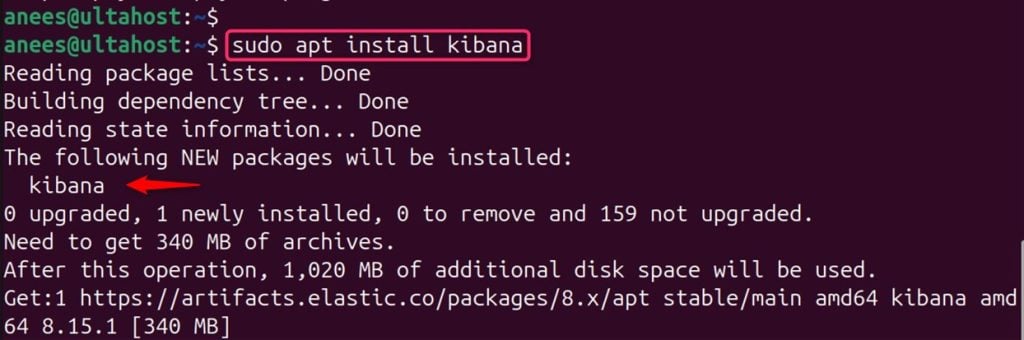
Install Kibana
Kibana provides a web interface for visualizing Elasticsearch data. Let’s install it via the apt command:
sudo apt install kibana
Enable and start the Kibana service
After installing Kibana, you need to enable the Kibana services via the systemctl command, as shown below:
sudo systemctl enable kibana.service
Let’s start the Kibana service as well using the following command:
sudo systemctl start kibana.service

Finally, you can verify the setup by accessing Kibana’s web interface and confirming that data is being processed and visualized as expected.
Install the ELK Stack on Our Ubuntu VPS!
Experience the power of Ubuntu with the flexibility of our VPS for seamless log management and lightning-fast performance.
Once Kibana is running, access its web interface by navigating to http://your_server_ip:5601 in your web browser. For instance, the server IP address of the running machine is 127.0.0.1 as below:
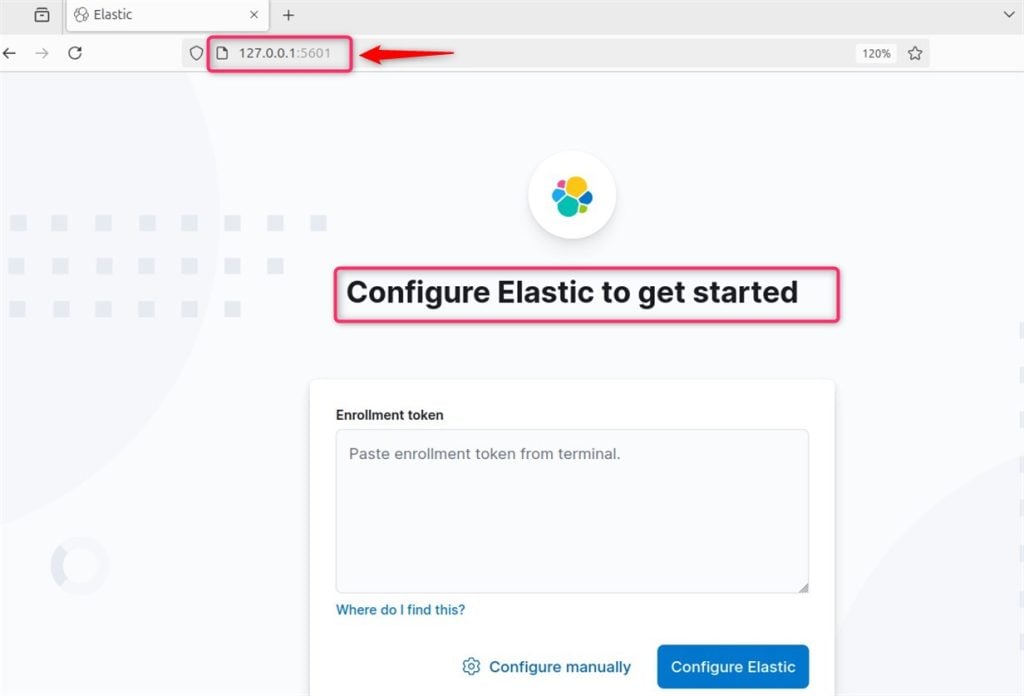
To configure it manually, you need to enter the username and required credentials and hit the “Configure Elastic” button:

Note: Additionally, you can install Beats, lightweight data shippers, on servers to send data directly to Elasticsearch or Logstash. Each component requires careful configuration, including setting up the Elastic repository, adjusting memory settings, and configuring network settings to ensure components can communicate effectively.
After ELK installation on Ubuntu, it’s crucial to secure your ELK Stack. For this purpose, you must go through the following steps:
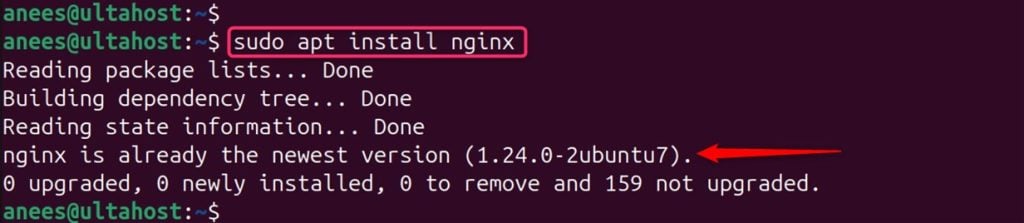
Install Nginx
To secure the ELK Stack, you need to install nginx on Ubuntu with the apt command:
sudo apt install nginx
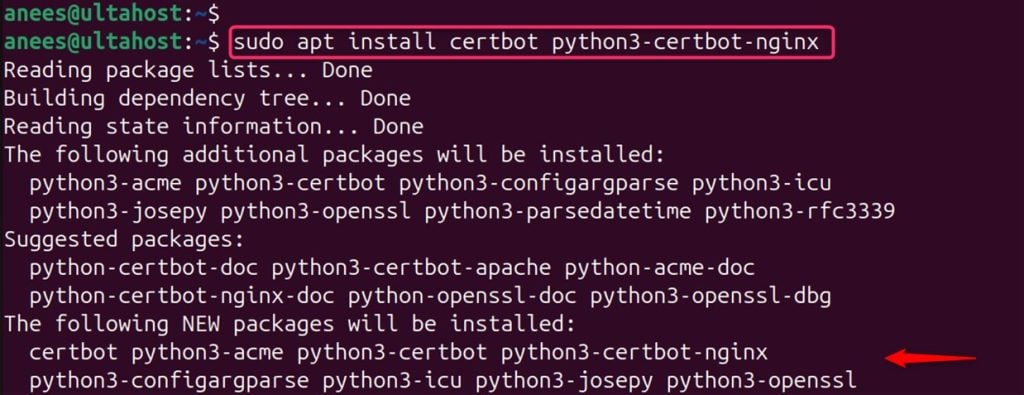
Secure Nginx with Let’s Encrypt
Now, set up Nginx as a reverse proxy with SSL/TLS encryption with the below installation:
sudo apt install certbot python3-certbot-nginx
If you have a firewall enabled, allow traffic to Nginx and the ELK Stack:
sudo ufw allow 'Nginx Full' && sudo ufw allow 5601
For verification, open a web browser and go to http://localhost:5601 or execute the following command by specifying port 5601 as follows:
curl -XGET http://localhost:5601/_cat/indices?v

You’ve now successfully installed the ELK Stack and configured the ELK setup on Ubuntu 24.04. For more detailed configurations and troubleshooting, refer to the official documentation.
To install the ELK Stack on Ubuntu, you start by installing Elasticsearch, followed by Logstash and Kibana. For Elasticsearch, import the GPG keys, add the repository, install the package, and enable the service. Next, install Logstash, and similarly, enable its service. Then, install Kibana, enable the service, and access its web interface to verify the setup. Moreover, you can secure your ELK Stack by configuring Nginx as a reverse proxy with SSL/TLS encryption and allowing necessary traffic through the firewall. Once complete, you can use the ELK Stack to monitor and analyze your data.
Choosing the right server depends on your project needs. Try Ultahost’s cheap Linux VPS hosting, which scales to meet your growing demands. Explore our VPS plans and find the perfect solution for seamless ELK Stack installation and efficient data analysis on Linux.
The ELK Stack is a collection of three open-source tools: Elasticsearch, Logstash, and Kibana, which are used for managing, searching, and visualizing large volumes of data in real-time.
It’s popular because it allows users to efficiently index, search, and visualize data from various sources in real-time, making it ideal for log analysis, application monitoring, and operational intelligence.
You can install Elasticsearch on Ubuntu 24.04 by importing the GPG key, adding the Elastic Ubuntu repository, and installing it via the apt package manager.
After installation, you can start the Elasticsearch service using the command: sudo systemctl start elasticsearch.service.
Logstash can be installed using the apt package manager with the command: sudo apt install logstash.
Kibana provides a web interface for visualizing and querying the data stored in Elasticsearch.
You can install Kibana with the command: sudo apt install kibana.