Tired and sick of your website’s old domain name? Want to start fresh and rebrand your website?
Sometimes, we don’t make the best decisions and it is rare that we get an opportunity to fix those decisions. Choosing the website’s domain name is a very important decision for any website owner (see why here). You ought to be careful when choosing a domain since you will be paying for it and it is something your audience will be using quite often. It will also be something that you will likely have to stick around with forever or probably a pretty long time.
If you don’t want to stick to the same domain, we have some ways for you to get a new domain. There can be several reasons that would make you want to change your domain name. The most common ones usually include rebranding your image or your brand, in case your current branding model has not served you well or if you are looking to bring a change to the brand. Another reason could be to keep up with the times and adopt a more modern TLD for your domain name like a .io TLD (read more here).
However, in this article, we will not give you generalized advice on why you should change your domain name since that would not necessarily be the best option for you. Instead, if you have made up your mind about changing the domain name of your website, we are here to guide you through the process of doing so step-by-step. Let’s get going!
Choosing a new domain name is a relatively easy and straightforward process. If you have bought a domain name before, you would be familiar with how it works. However, if you’ve never bought a domain name there is absolutely no need to worry. We have got you covered.
Follow these instructions to register your first domain. You can read an in-depth article on this here.
Steps:
1- Choose a Domain Registrar of your choice that is reliable and ICANN registered.
2- Use a Domain Availability Checking Tool to make sure that the domain you want to purchase, with its exact TLD is available for purchase.
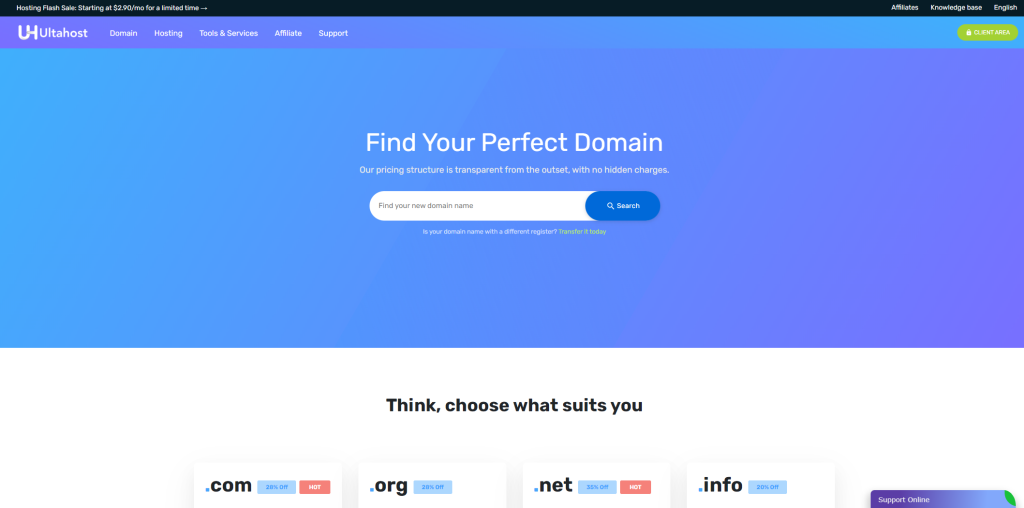
3- Purchase your Domain. Remember, if you buy a VPS subscription with annual payments through UltaHost, you get a registered domain for free for one whole year! Visit this link to make your purchase now.
4- Verify your purchased domain using the same registrar that you purchased it from. We at UltaHost take care of your domain verification for you if you choose to purchase from us.
When you are done making your domain purchase, you have to transfer it to your hosting service for it to become usable. For this, contact your hosting provider for further details.
When you have successfully obtained complete access of your domain, it is time to integrate the domain with your website. If you have changed the name of your brand or your website, you will need to perform an entire rebrand of your website.
You should take a look at what design elements you need to modify and customize to give it a new look. This will bring a fresh perspective to your brand. It will also bring a sense of excitement and unique look to your website that will catch the eye of your audience and they will show renewed interest.
To integrate your new domain, you either need to make it your main domain or a redirecting secondary domain. The common procedure to do this is as follows:
Steps:
1. Transfer your domain to your hosting provider. Follow the procedure if it is available on their website as a tutorial or as a service. If it is not, contact their customer service representative for assistance regarding the transfer of your new domain.
2. After transferring the new domain to your hosting provider, you must now decide whether you want to use it as the primary domain of your website or whether you want it to redirect to your original primary website. In either case, you will have to set up redirections.
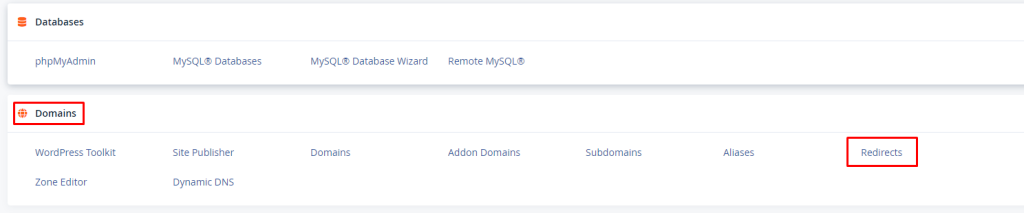
3. Visit your web hosting provider profile and open your cPanel. In the Domains section of your cPanel, you should be able to see a Redirects option. Click on it.
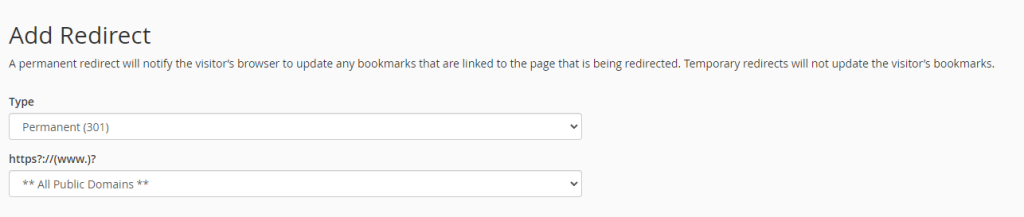
4. Select the host page for the redirect and enter its URL. Select the redirection as Permanent (301).
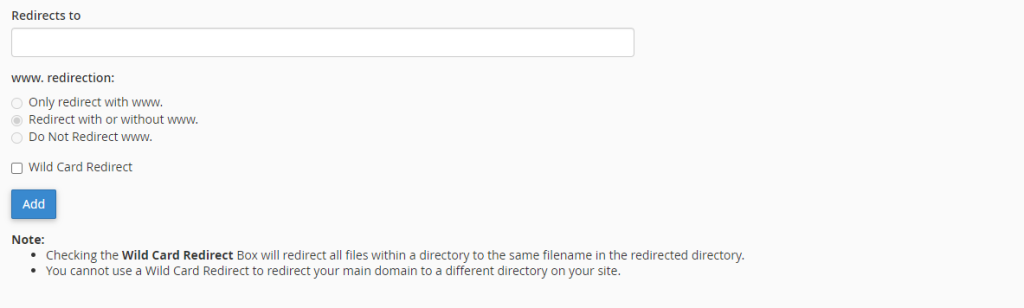
5- Add the link you want your viewer to be redirected to in the “Redirects To” dialog box. Select redirect with or without www. from www. redirection settings.
Congratulations! You have successfully set up a new domain on your website.
You should keep your old domain as a redirect page while your audience is still visiting it. You can unregister, sell or get rid of the old domain when it does not receive any more traffic. The first step to follow after setting up your new domain is to distribute the new URL to all of your audience and readers so they can know the changes you have made. This will also allow them to bookmark your new page and they will now remember this new domain as the name of your website. This will also help you in generating traffic to your new domain.
Tip: Keep in mind that Google tends to rank older domains higher in their search results so it may take a while before your new domain gains the same rankings. The older your previous domain, the longer it will take your new domain to catch up to it.
Did you like our tutorial on How-To change your website’s Domain Name? Let us know in the comments down below! Keep reading our blog for more stuff like this.